Once any adjustments have been made and the accounts report has been generated, you can send the accounts report to your client for approval.
For partnerships and limited companies, you must have recorded relationships for the applicable people, e.g. the partners or directors.
Prepare the accounts for signature
Before sending the accounts report for approval, add the details of the person or people who will be approving and signing them.
- From the Clients menu, select Clients list.
- Change the client list view to either Active clients or a custom view that includes all relevant clients.
- From the Accounts production widget on the Dashboard, select the required accounting period. Ideally, select the latest / newest period.
If a relevant account period does not exist, you must create and set up one first.
- Select the Approval tab. A copy of the accounts report is automatically generated and is displayed in the preview.
- Select Ready for client approval. This process moves the accounts into read-only mode preventing any further changes from being made. You'll need to clear the selection if you need to make any changes.
If you clear Ready for client approval after adding signatories or dates, these will be removed and you will need to start the process again.
-
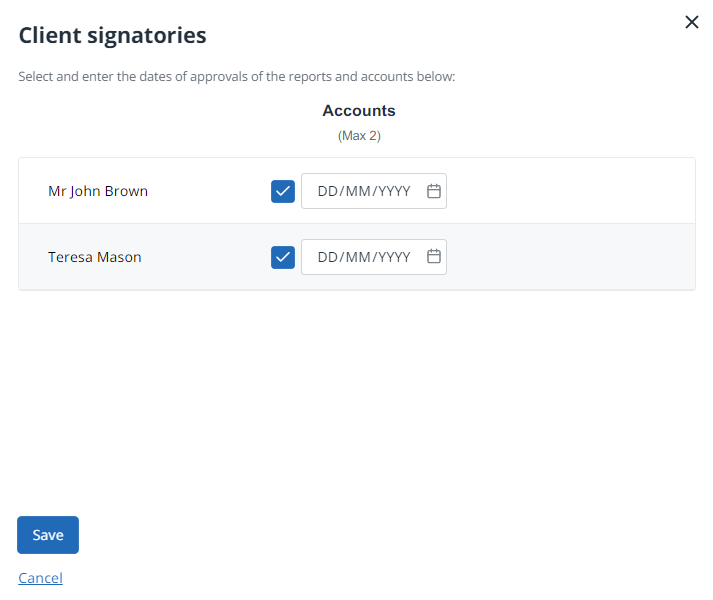
Next, add the details of the person or people who will be approving and signing the accounts. Select Add signatories then select the people who will be signing. Select Save.
If you know the date the client will be signing (if they are physically with you for example), select or enter the date. In most circumstances, the date will be completed later.
For limited companies you can select signatories for both the balance sheet and the director's report.
-
The client signatures are displayed. Select the edit icon to make any changes.
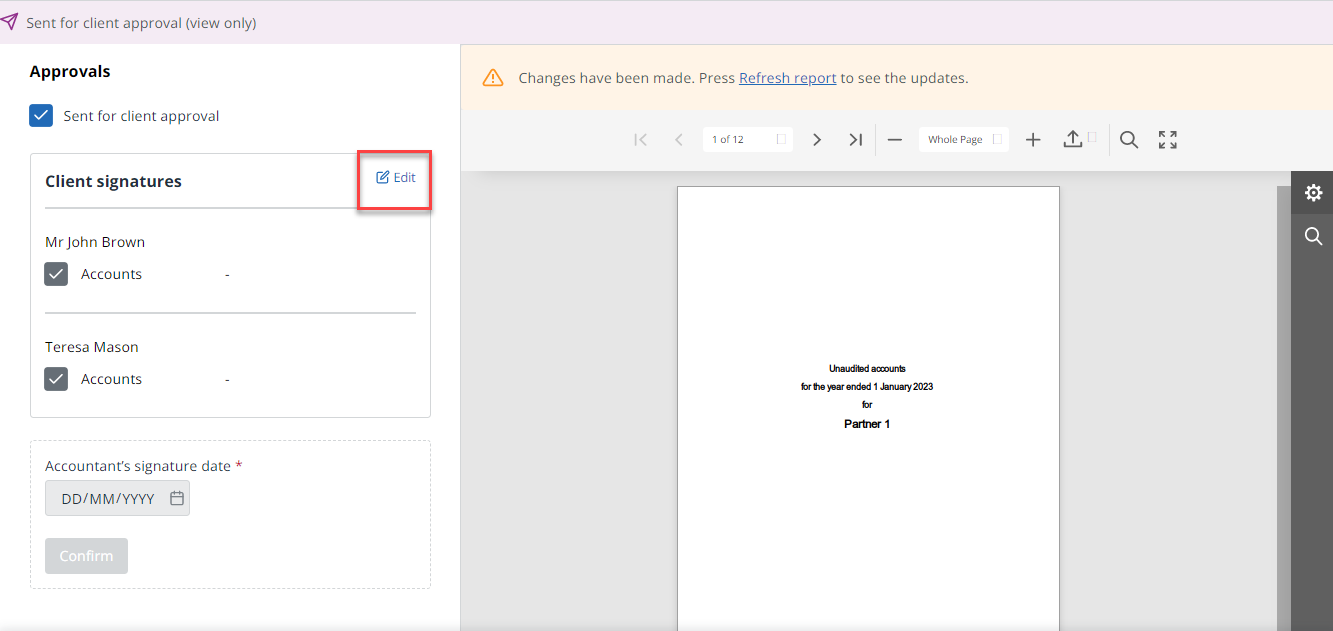
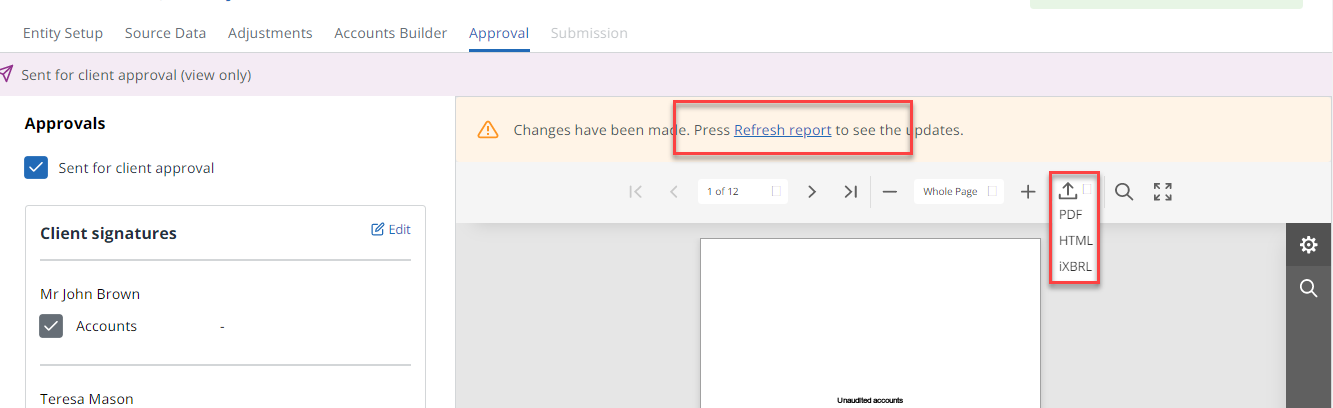
- Select Refresh report to add the signatures.
- Either:
- Download the accounts report and either print and post, or email to your client for their signature.
- Add the document to the client portal and send to request their signature
- Select Send to OpenSpace
All files sent to IRIS OpenSpace always go to the primary contact of this client record. If one is not found, you are prompted to create a primary contact first before attempting to resend the document.
An email notification is sent to the recipient confirming a new document is available to them. If the contact does not exist in IRIS OpenSpace, a registration email is automatically sent for them to create the account first. Both emails are sent from noreply@irisopenspace.co.uk — you must add this email address to your safe list. If the emails cannot be found, check the junk or spam folders.
If you subscribe to IRIS Elements Tax (any level) or IRIS Elements Tax and Accounts, you can download a copy of the accounts in iXBRL format, then attach to the applicable tax return.
Once the accounts have been signed
Once you have received the signed copy of the accounts, enter the date the signatures were added.
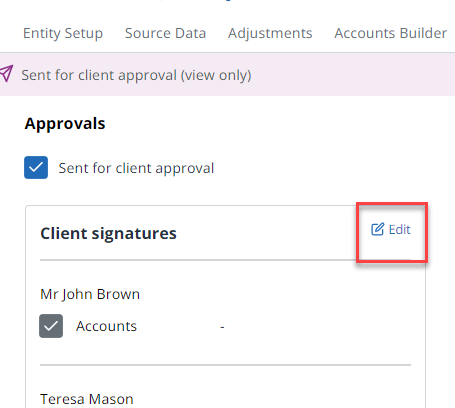
- On the Approval tab, select the Edit icon next to Client signatures.
- Enter the date the accounts were signed for each signatory, then select Save.
- Under Accountant's signature date, enter the date you signed the accounts, then select Confirm. The accounts are marked as Ready for submission (view only).
Next step: Submit the accounts (limited companies only).
Learn how to get approval for your client's accounts in IRIS Elements Accounts Production
More videos and playlists available in our library.