The Accounts Builder tab is used to create the accounts report and add required notes, ready to send to your client's for approval.
- From the Clients menu, select Clients list.
- Change the client list view to either Active clients or a custom view that includes all relevant clients.
- From the Accounts production widget on the Dashboard, select the required accounting period. Ideally, select the latest / newest period.
If a relevant account period does not exist, you must create and set up one first.
- On the Accounts builder tab, select the report you want to generate, then select Generate report.
The latest version of the accounts report is generated and displayed in the preview.
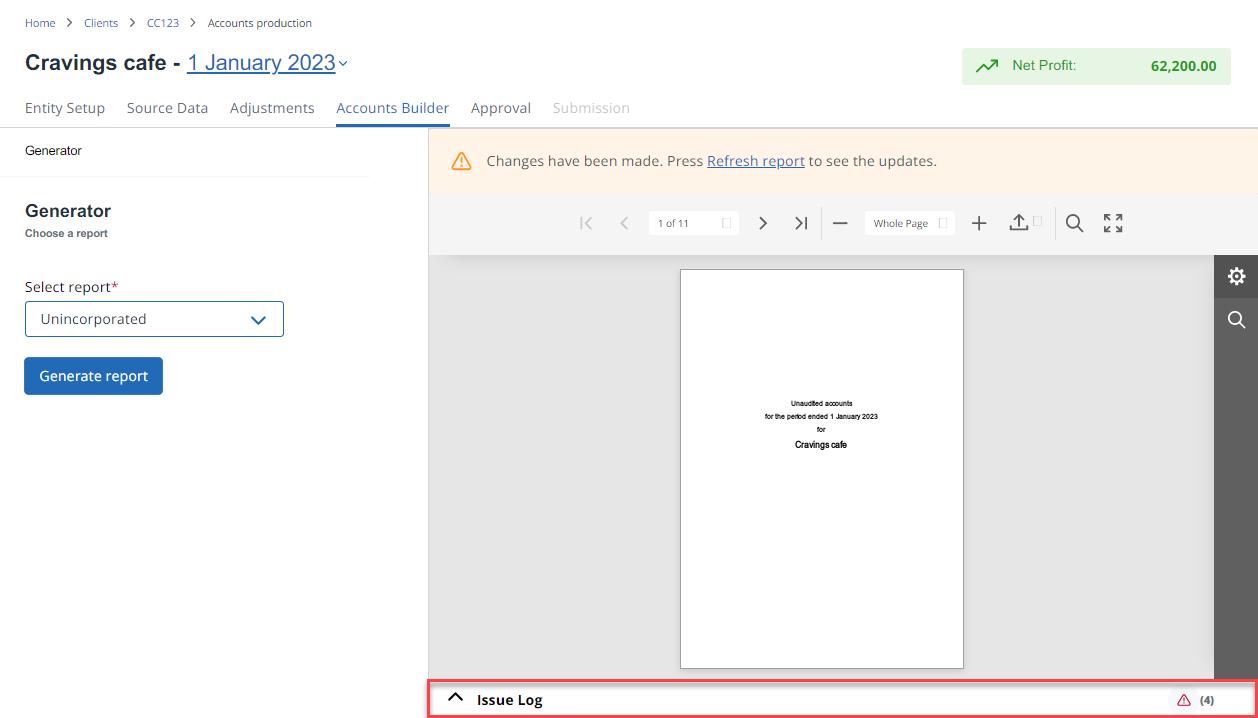
If needed, you can change the supervisory body that is included in the report.
Choose from the following:
Identify and correct report errors
Download a PDF, HTML or iXBRL file
Navigate through the report

Select the applicable arrow icon on the toolbar, or press the left or right cursor key to move backwards and forwards through the pages of the report.
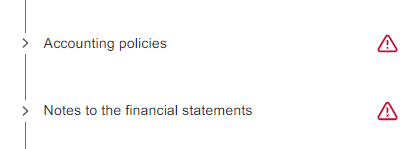
Jump to a specific section in the report by selecting it from the panel on the left (where available).
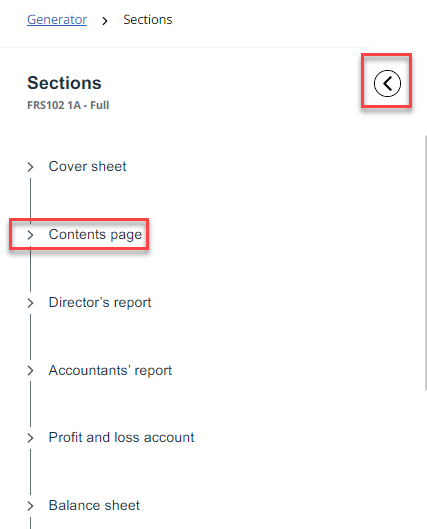
To close the panel, select the left arrow.
A red warning icon is displayed where any errors have been identified. Refer to Identify and correct any errors.
Edit the report view
By default, the whole report page is displayed in the preview.
Change the magnification

Select the plus or minus icon to increase or decrease the size of the page.
View full screen

Select the full scree icon (four arrows) to display the report to fit the whole of your screen. Select the icon again to return to normal size.
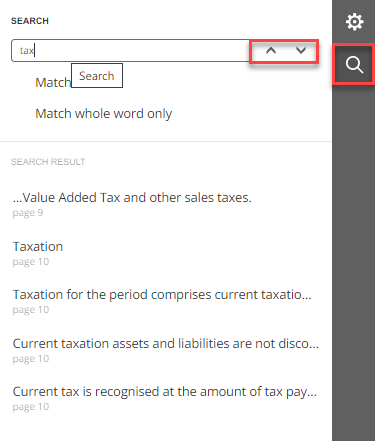
Search the report
You can search the report to find a specific value, sentence, heading, etc.
-
Select the magnifying glass icon on the top or side toolbar.
-
Click on the row containing the up and down arrows, then enter your search term.
-
Select the down arrow to search down through the report, or the up arrow to search up through the report. Any pages containing the searched item are displayed in a list. Select the page to jump to it. The section on the page containing the search item is highlighted.
-
Select the magnifying glass icon to hide the search.
Identify and correct report errors
A message is shown at the top of the page when any errors in the report are detected.

You can check any issues with the accounts report by selecting the Issue Log at the bottom of the report preview. This lists any issues such as missing information.
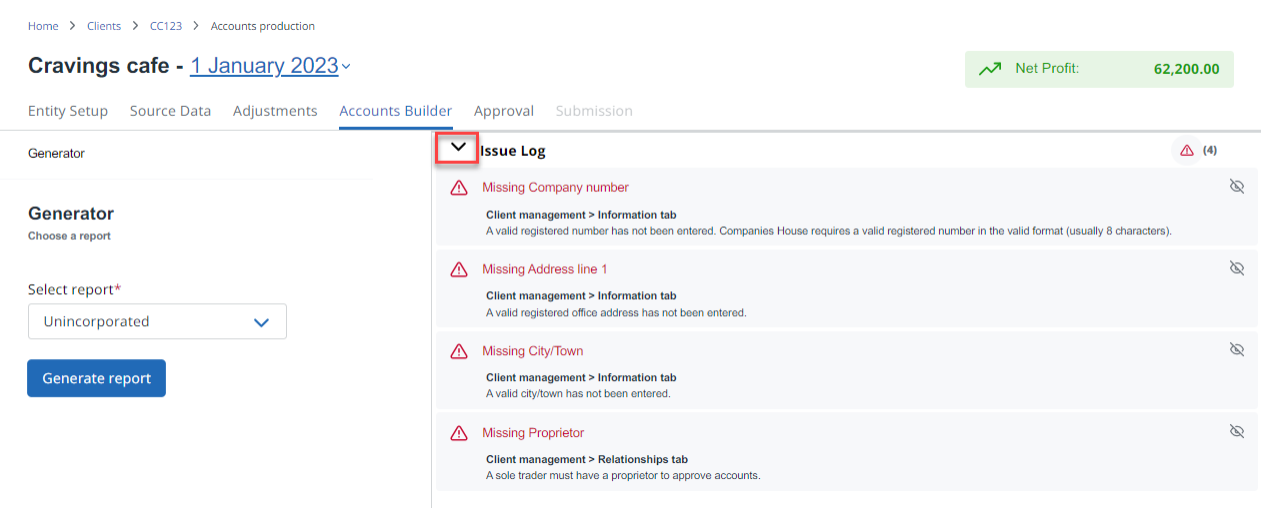
Hide the log by selecting the down arrow next to the Issue Log heading.
You can also identify errors in the left panel
Fix errors
Select the section with an error, then select Fix.
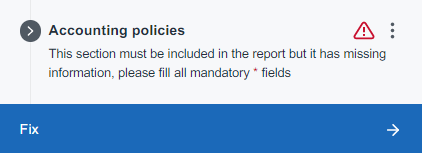
Depending on the error, additional sections may be displayed until the specific error is identified. You can them make the necessary corrections.
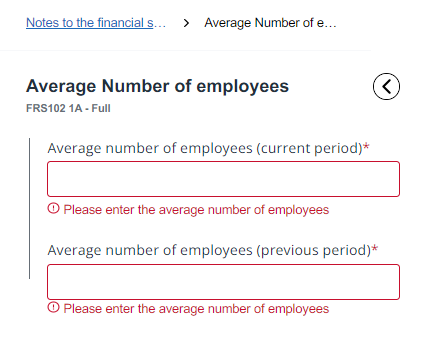
The changes are automatically saved. Select Refresh report to see the changes in the report.
Password protect the PDF report
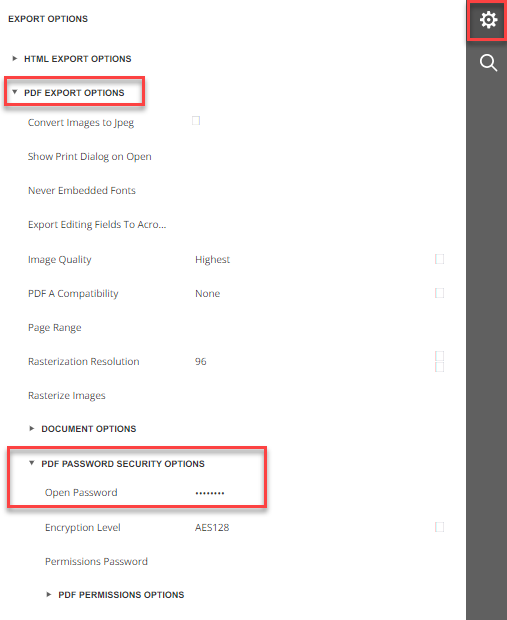
You can password protect the PDF report so that only the recipient can open it.
-
Select the cog icon on the side toolbar.
-
Expand PDF EXPORT OPTIONS, then PDF PASSWORD SECURITY OPTIONS.
If you need to, you can increase the width of the settings area by dragging the left side further across.
-
In Open password, enter a password required to open the PDF. The password is saved automatically.
Download a PDF, HTML or iXBRL copy
You can download a copy of the accounts report in PDF, HTML or iXBRL format.
-
On the toolbar, select the export icon, then select the format from the list.
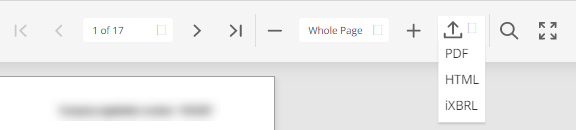
-
PDF - the report is downloaded and named based on the selected report type. If a password has been applied, you will need to enter this to view the report.
-
HTML - the report is downloaded as an HTML file named according to the selected report type. It can be viewed in any browser.
-
iXBRL - the report is downloaded as an iXBRL file named according to the selected report type.
Next step: Send accounts for client approval
 Want to know more
-
Learn how to generate your client's accounts in IRIS Elements Accounts Production
More videos and playlists available in our library.