Before doing anything else, you need to set up the accounts for your client.
- From the Clients menu, select Clients list.
- Change the client list view to either Active clients or a custom view that includes all relevant clients.
- From the Accounts production widget on the Dashboard, select the required accounting period. Ideally, select the latest / newest period.
If a relevant account period does not exist, you must create and set up one first.
-
Complete the setup as described in the next section, then select Save.
Setup
When you enter your settings, they're saved with this period so you won't have to re-enter the information when you create a new period.
Reporting standard - select the financial reporting standard from the list. The options available will depend on the client type.
Entity size (companies only) - select whether the business is micro or small.
We currently support sole traders, partnerships and companies (micro or small)
Trading status - select whether the company is Trading or Dormant.
Dormant status - if the company is dormant, select whether they Never traded or Ceased trading. This option is greyed out if the company is still trading.
Terminology - select the terminology you want to use in the accounts report. In most cases, this will be Companies Act.
Choice of statement of financial performance - select a type of financial performance report from the list.
Previous periods
The previous periods section shows details of any previously recorded periods.
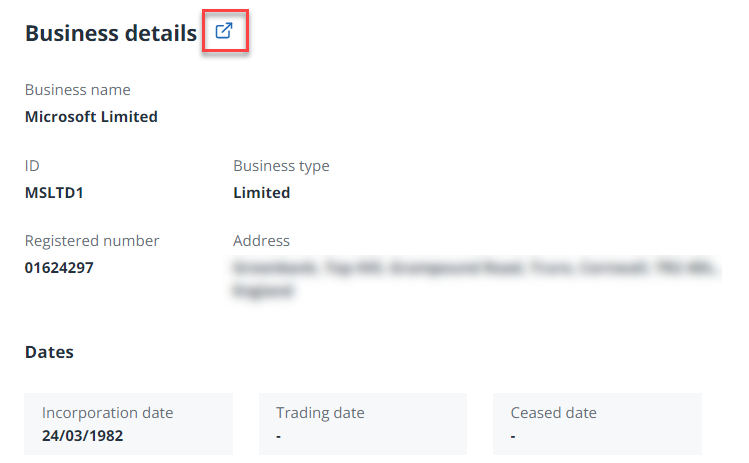
Business details
Business details are extracted from the client record. You can edit the details by selecting the Edit icon next to the Business details heading.
This opens the Information tab for the selected client. Once the details have been edited, you will need to open the required accounting period again. Any missing information is highlighted.
Learn how to set up a new accounting period in IRIS Elements Accounts Production
More videos and playlists available in our library.