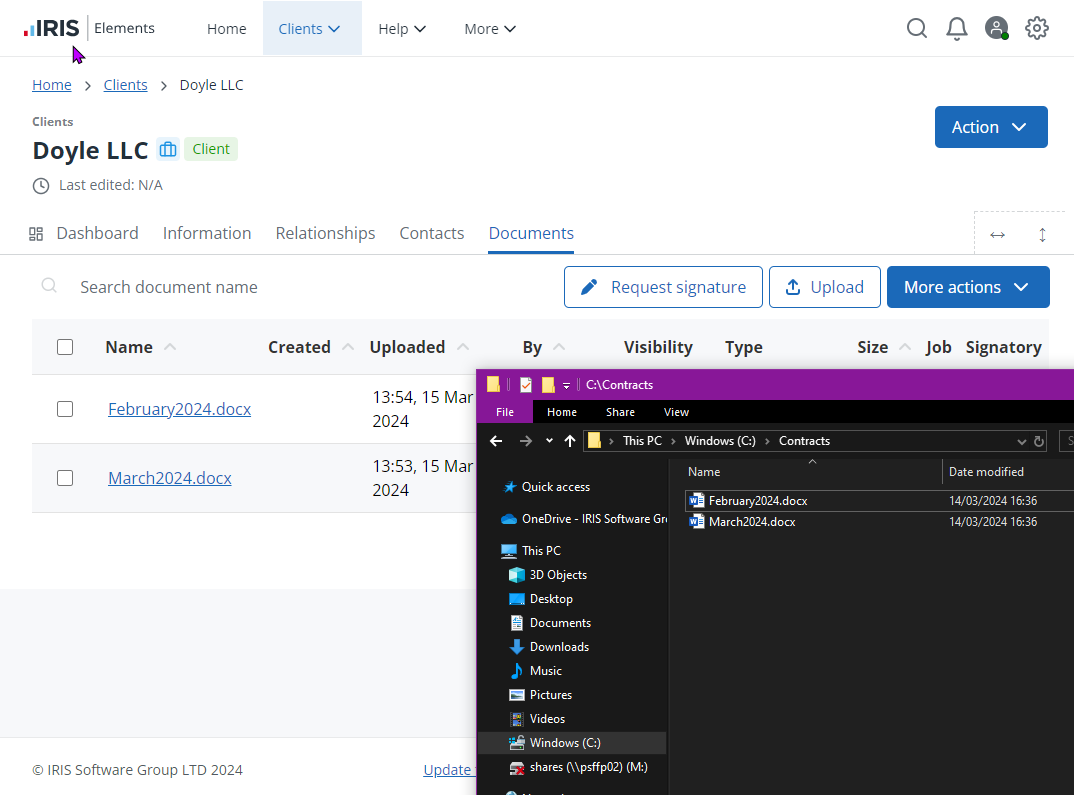
Upload client documents
Store documents relating to a specific client including letters, contracts, terms and conditions, documents for signing, and so on. From here, you can download a copy to view, save, archive or send. Uploaded documents can also be made available to client contacts via the client portal.
- From the Clients menu, select Clients list.
- Change the client list view to either Active clients or a custom view that includes all relevant clients.
- On the Documents tab, select Upload.
- Either drag and drop the document where shown or select Choose, then find the required file.
- When prompted, choose whether the document should be available to Practice only users, All client contacts, a Selected contacts only.
If you don't subscribe to IRIS Elements Practice Management, you can only make the document available to your practice or an individual contact.
You can also drag and drop a file or group of folders and documents from your file explorer anywhere onto the Documents tab.