You can manually enter the accounts data on the Source Data tab. Up to 200 lines can be completed. You can also import trial balance data from a CSV file.
- From the Clients menu, select Clients list.
- Change the client list view to either Active clients or a custom view that includes all relevant clients.
- From the Accounts production widget on the Dashboard, select the required accounting period. Ideally, select the latest / newest period.
If a relevant account period does not exist, you must create and set up one first.
- Select the Source Data tab.
- For each line entry, you'll need to enter an Account code, a Narrative, and a value in Debit or Credit as applicable.
If you know the account code, click anywhere in the Select an account field, then enter the code in the Search box. You can also search on the code description. Any matching codes are listed as you type. Select the required code.
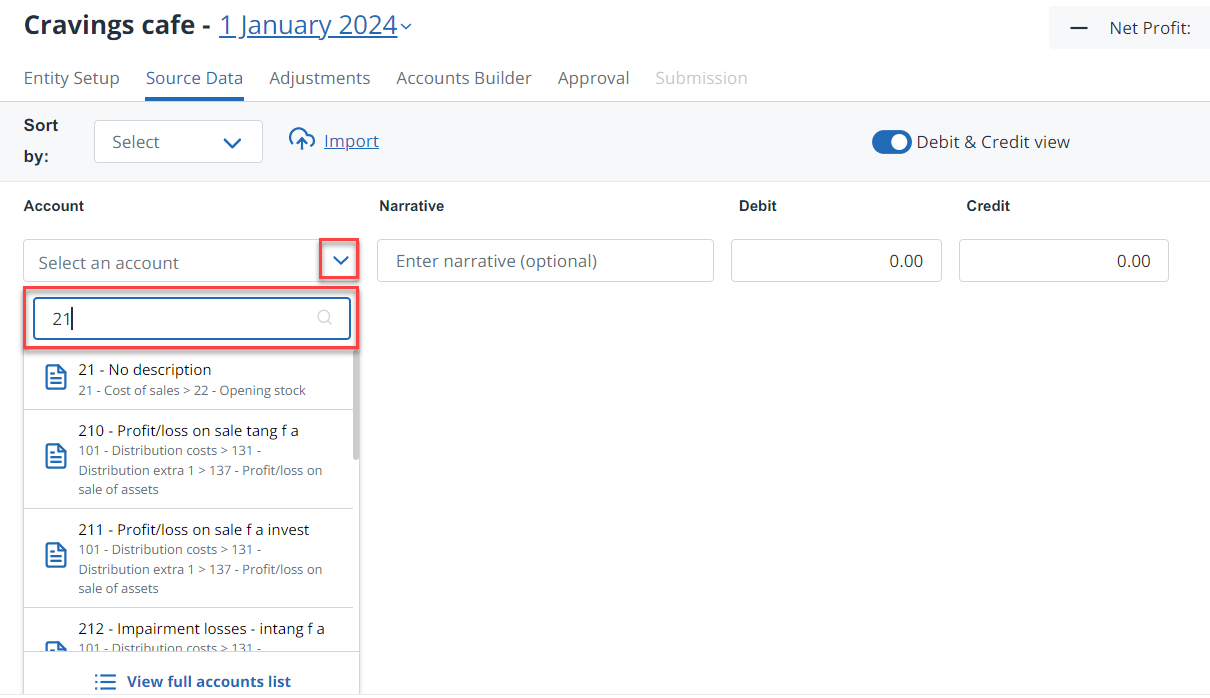
If you don't know the account code, select View full accounts list which opens a list of codes from your selected chart of accounts. Find out how to use the list.
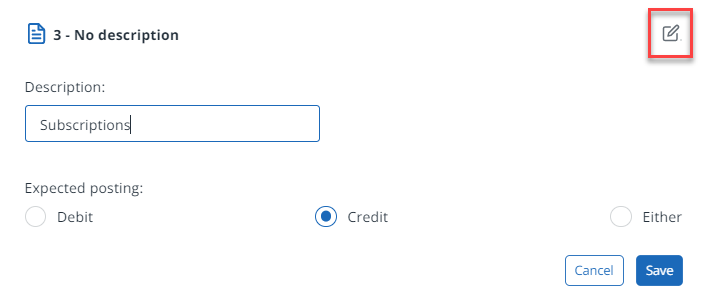
If you subscribe to IRIS Elements Accounts Production Professional, you can edit the account code Description by selecting the pencil icon and replacing the description with your own, then select Save.
-
A new line is added as each entry is completed and is automatically saved.
Next step:
Sort the list
You can change the order of the items in the list by selecting an option from the Sort by list.

The options are:
-
Original order - the order the entries were first entered.
-
Last updated - the most recently entered entries are shown at the top.
-
Account - sorts by account code in ascending order.
-
Amount - ascending - shows the largest amount at the top of the list (either credit or debit).
-
Amount - descending - shows the lowest amount at the top of the list (either credit or debit).
Switch the debit and credit view on or off
Switch to a single amount column rather than individual debit and credit columns view using the Debit & Credit view toggle at the top of the list.
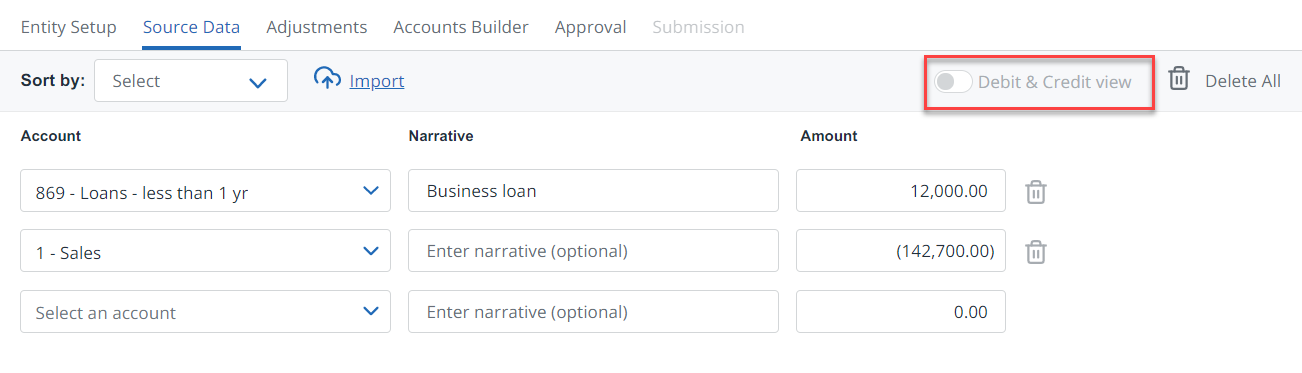
You'll then need to enter credits as a negative value which will be shown in brackets when saved.
Delete all entries
If you need to start again, select Delete all at the top of the list. This process cannot be reversed.
When prompted, select Yes, delete all data.
Learn how to manually import trial balances into IRIS Elements Accounts Production
More videos and playlists available in our library.