Complete or edit client risk assessments
Completing a risk assessment for every client allows you to identify and manage exposure to money laundering risk.
Once a risk assessment has been approved or rejected, it can't be amended, but you can create a new one.
- From the Clients menu, select Clients list.
- Change the client list view to either Active clients or a custom view that includes all relevant clients.
- Select the
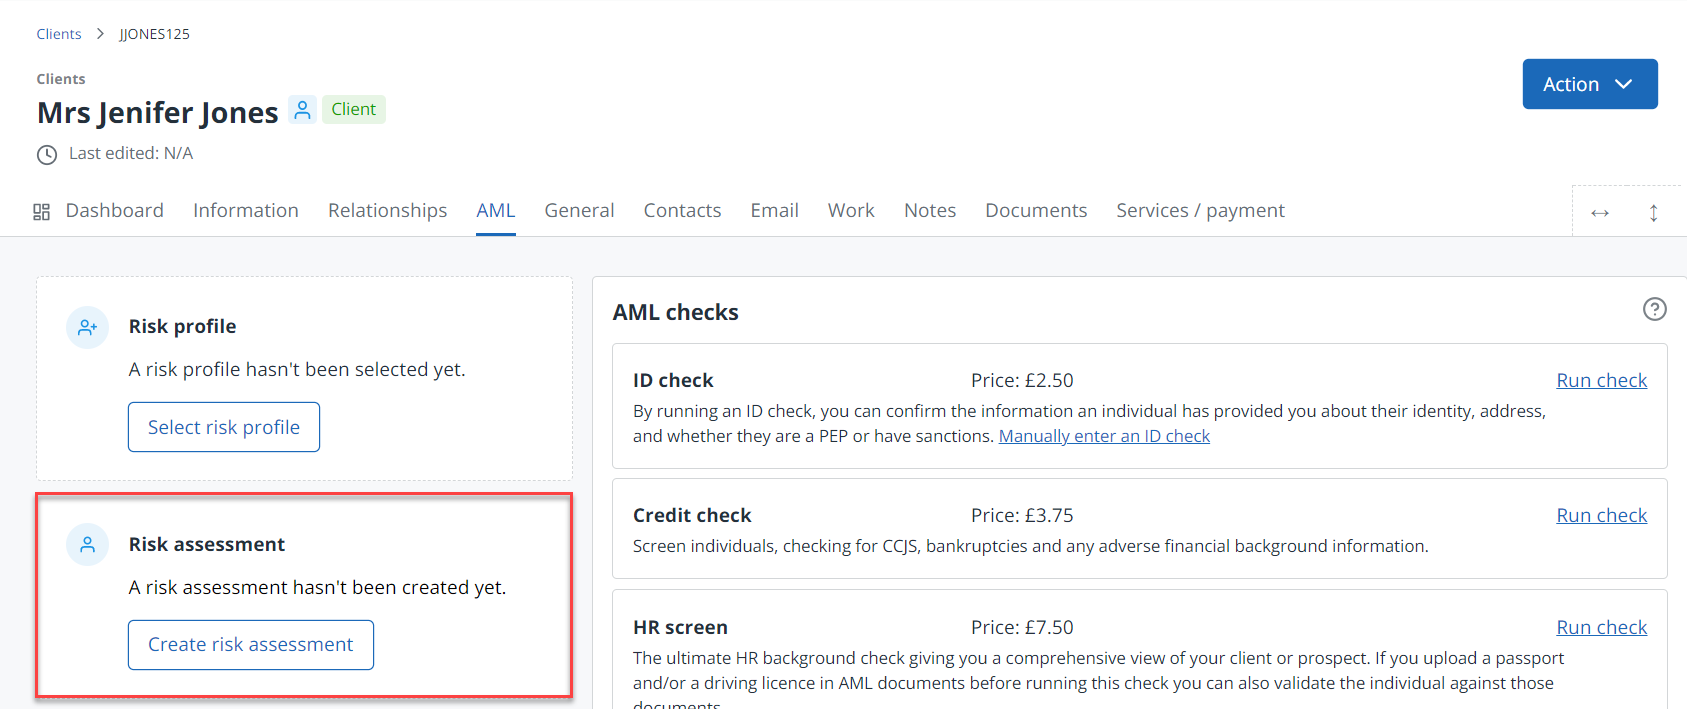
- On the Risk assessment panel select Create risk assessment. To edit an existing open assessment, select Continue.
- Change or complete the sections, providing answers that are relevant to your client.
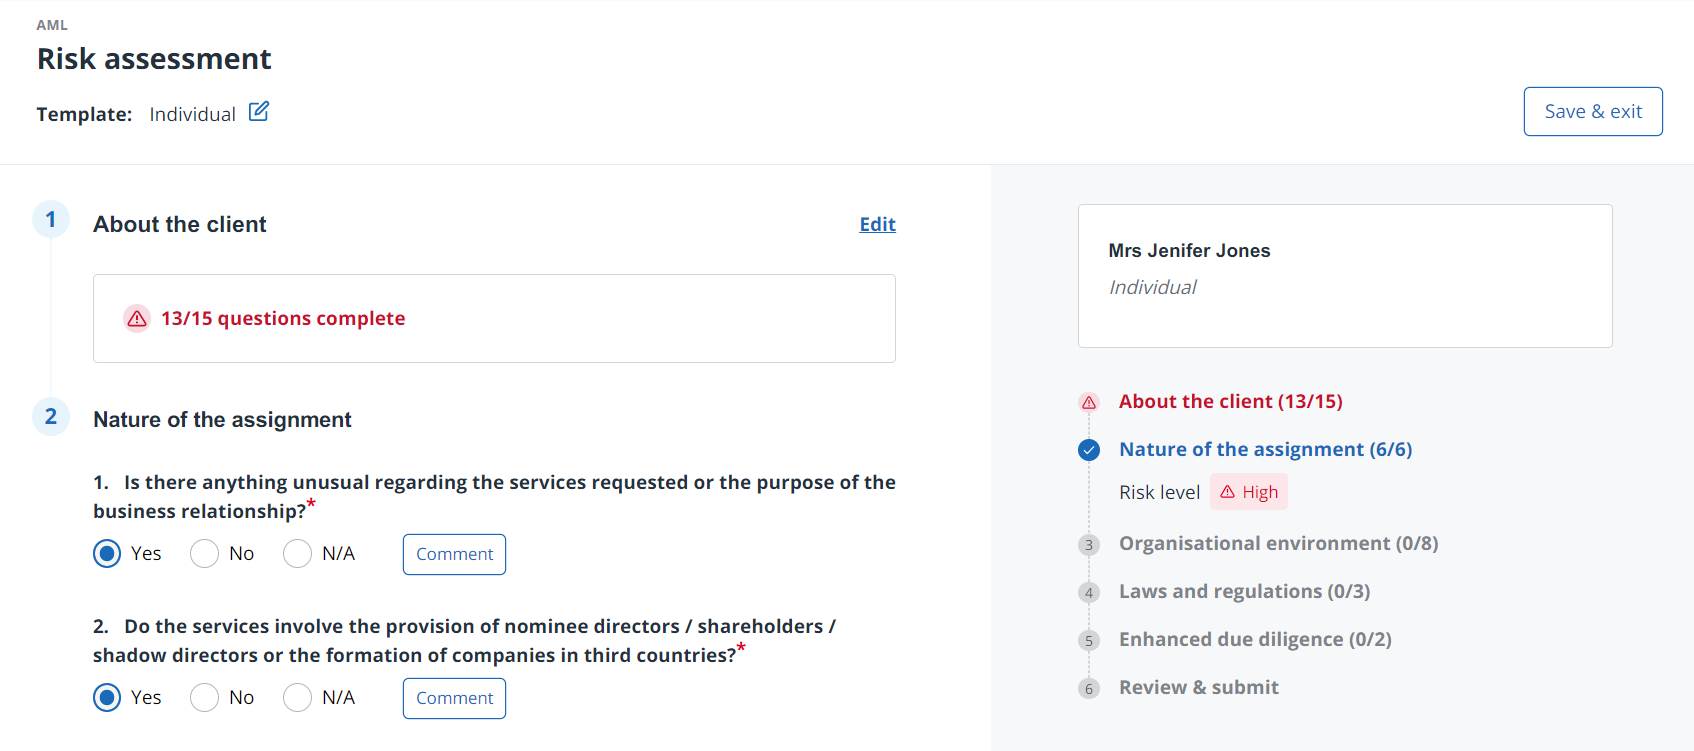
- At each stage, select Save & continue. (You can select Save & exit at any stage and come back to it later.)
- When you've completed or amended the questions, review the overall risk level. You can return to any section of the form by selecting the relevant section in progress panel on the right.
- As you navigate through each section, any risk is highlighted in the panel on the right. When you've completed all sections and questions, the overall Risk Level is shown at the bottom of the screen.
Automatic risk scoring is a feature of the default template provided by IRIS. If you're using a custom template, the risk level is not shown.
- If you are approving the assessment, under Approval, select Approve or Reject. If you're not approving, select Submit.
- Select Complete to finish.
You can now create a risk profile, start a KYC assessment, or run an electronic ID check.
Learn how to complete a client risk assessment in IRIS Elements Anti Money Laundering
More videos and playlists available in our library.