Once a client has been added to IRIS Elements and you have recorded practice management details, a client take-on form is automatically created. This form enables you to choose the services you want to provide to the client. You can also choose these services via the Services tab.
- From the Clients menu, select Clients list.
- Change the client list view to either Active clients or a custom view that includes all relevant clients.
- On the Client page, select the Work tab.
- In the Job column, from the list of jobs, select Client take-on.
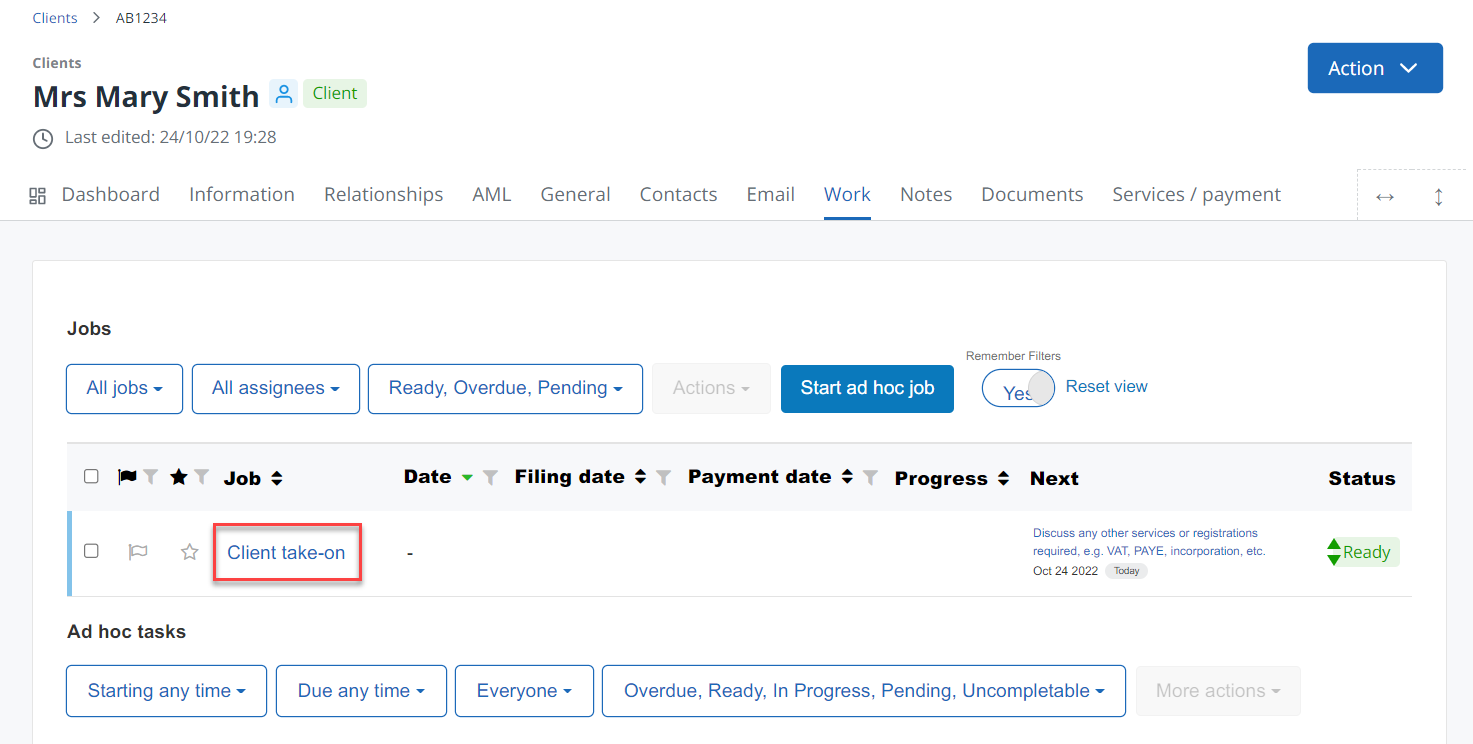
- The form contains the tasks included in the client take-on process. The content of the form varies depending on the type of client.
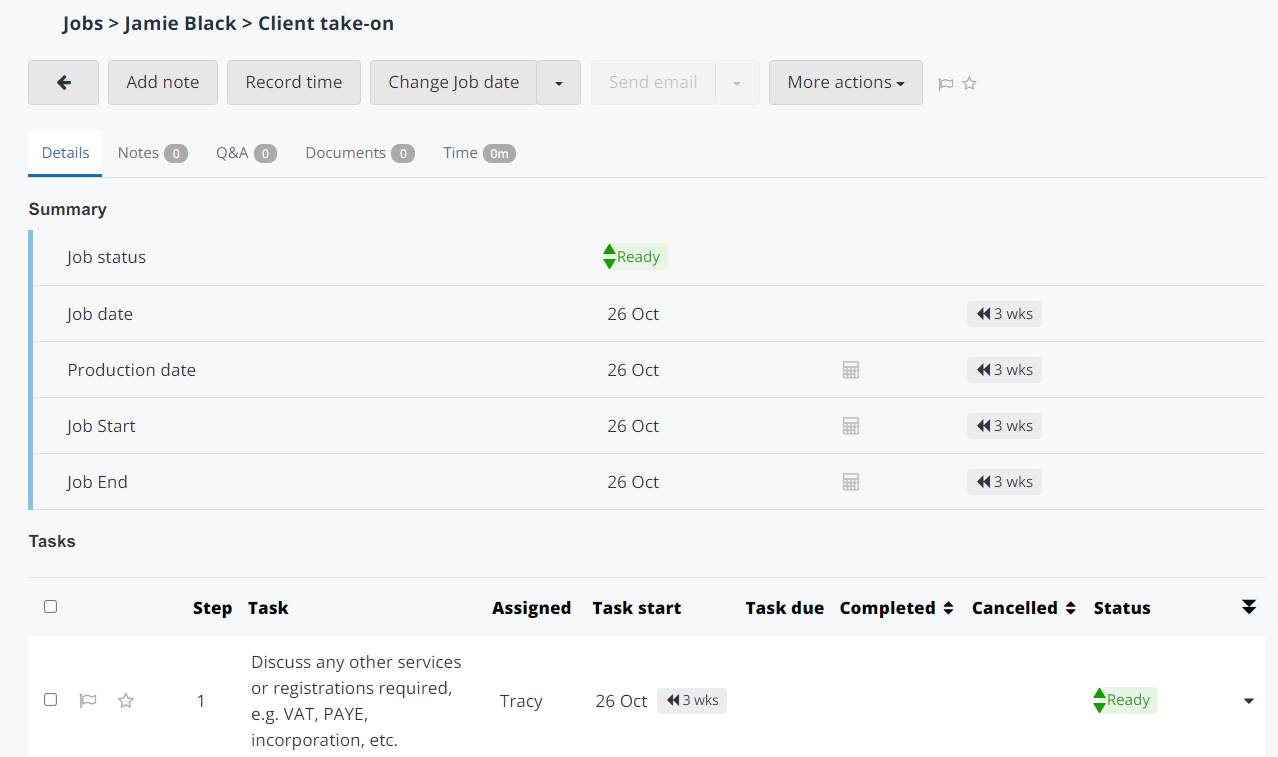
The Summary section lists the jobs that make up the service, with the specific tasks listed in the Tasks column. The first task is to discuss any other services that could be provided for this client. Once complete, you can mark it as completed, or select Snoozeto deal with it later.
- The second task is to complete the form. Select Fill in form.
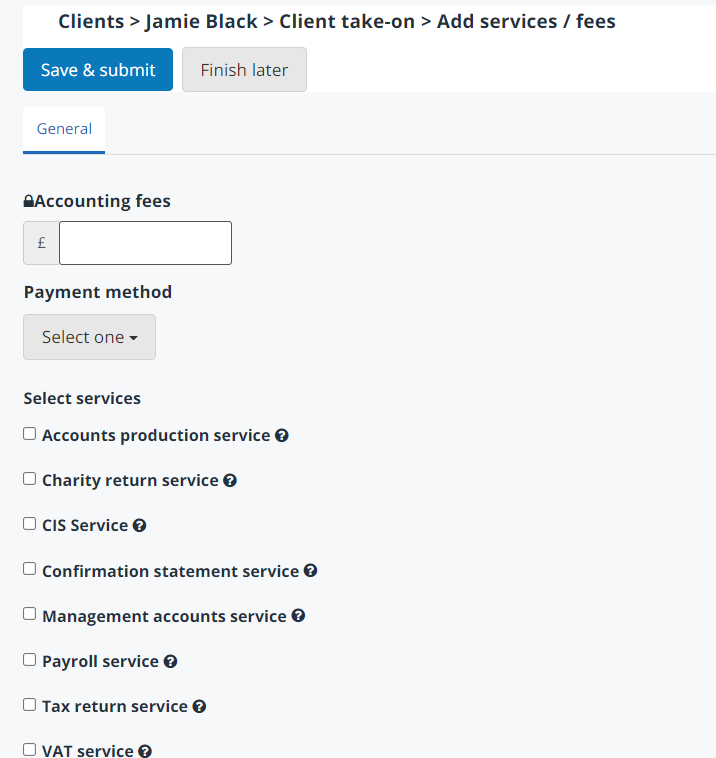
- Select each service that you will be providing this client then select Save. Any jobs attached to the selected service(s) are automatically assigned and displayed in the Jobs / tasks tab.
You can add additional services or edit these services on the Services tab.
- Other tasks may be displayed on the form, such as Client ID upload, and Obtain clearance from previous accountant. Find out more about completing forms.