Adding Pre-Admissions from SIMS
Organisations using SIMS can import pre-admissions using the pre-admissions report.
Before Adding Pre-Admissions
Before importing your pre-admissions into IRIS ParentMail, make sure you have completed the following tasks:
-
For students to be included on the pre-admissions report, in SIMS check their application status is Offered or Accepted.
If your pre-admissions are set under a different application status, to make sure the students are included in the pre-admissions report, update their application status.
-
For account registration invites to automatically send to parents and carers of pre-admissions students, check the registration verification settings have been switched on.
Importing Pre-Admissions in IRIS ParentMail
Download the Pre-Admissions Import File from IRIS ParentMail
- Log into IRIS ParentMail.
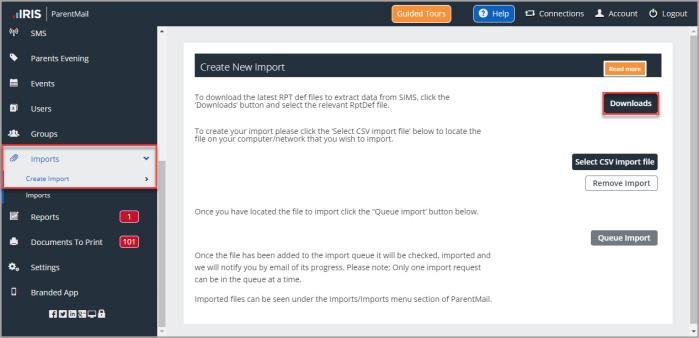
- Go to Imports, then select Create Import.
-
Select Downloads.
-
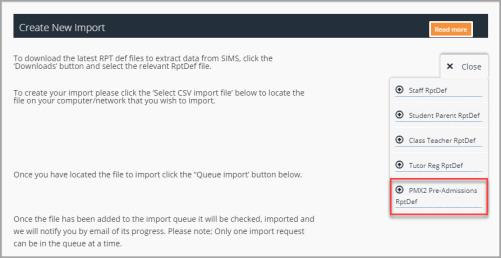
To download the report file, select PMX2 Pre-Admissions RptDef.
-
Save the PMX2 Pre-Admissions RptDef file to your computer.
Do not open the downloaded PMX2 Pre-Admissions RptDef (Report Definition) file. The file is only recognised by SIMS.
Download the Pre-Admissions Report from SIMS
For help completing this process or more information, contact the
- Open SIMS.
- Go to Reports, then select Import.
- Select Open.
- Find the PMX2 Pre-Admissions report, then select Open.
- Select Import and the status of the report is displayed as Imported.
- Go to Reports, then select Run Report.
- Go into Focus, then select Application.
- Within Application, find the PMX2 Pre-Admissions report, then select Run.
-
Select the date of admission range set for your students, then select OK. For example, 1st September 2020 to 20th September 2020.
Not entering a date of admission range or selecting Accept All (bypass filter condition) includes all past and present pre-admissions students from your SIMS database in the report.
If you do not remember your date of admission ranges, check it by going to Focus, then selecting Admission, then Application. - Select Offered or Accepted from the Application Status drop-down list, then select Search.
- To find a student with the earliest and a student with the latest admission date, double-click to open a pre-admission students record. The Date of Admission is displayed in the Registration Details table .
- When you have entered your admissions date range. From Format, select Comma separated, then Browse.
- Save the file with .csv at the end of the file name, for example, Preadmissions2020.csv.
Import the Pre-Admissions files in IRIS ParentMail
-
Open the pre-admissions report from SIMS, then check the data displayed is correct.
If the data is not correct, do not import it to IRIS ParentMail. Check and update the data in SIMS as required, then run the Pre-Admissions report in SIMS again.
- Import the file in IRIS ParentMail.
After Importing Pre-Admissions
Pre-admissions data should be displayed in IRIS ParentMail after completing the import. If pre-admissions students, staff member, or parents and carers are not displayed, we recommend refreshing your browser.
If you checked the registration verification settings were switched on before completing the import, account registration invite emails are automatically sent to parents and carers for pre-admissions students.
For parents and carers without an email address, the account registration invite is sent by text message if a number was entered on the import. Invites sent by text message are charged for the number of credits used for each message sent.
Parents and carers who have already registered with another student at your organisation, do not need to register again, and are automatically linked to the pre-admissions student.
The student is displayed when you first send a message regarding them (for example, an email, text message, or for a payment item).