Manually enter ID checks
If you have previously carried out an ID check outside of IRIS Elements, you can manually enter the results.
- From the Clients menu, select Clients list.
- Change the client list view to either Active clients or a custom view that includes all relevant clients.
- Open the relevant client.
- Select the
- In ID check, select Manually enter an ID check.
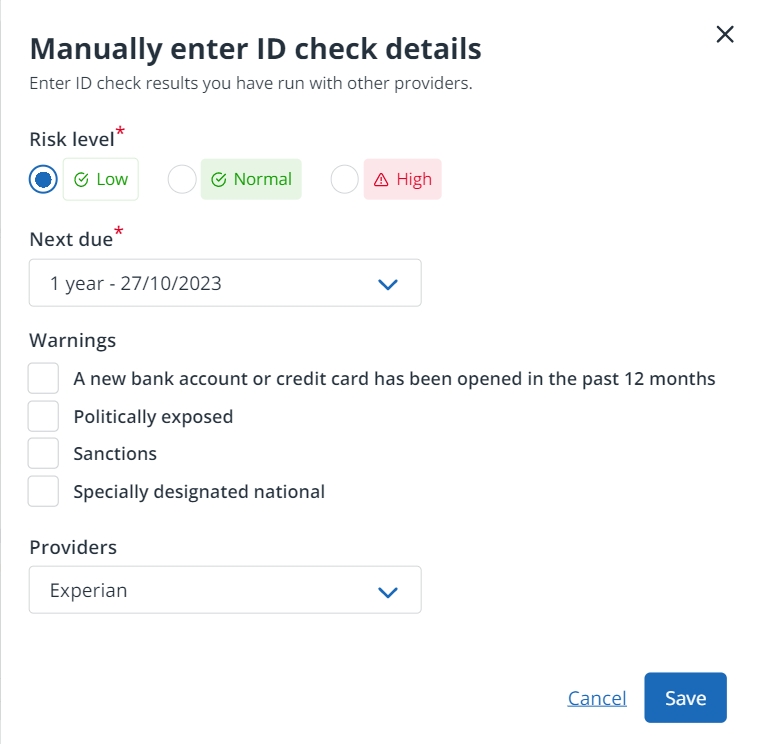
- Complete the details ensuring the Risk level and Next due date are recorded as a minimum.
The due date will be used to populate the Electronic ID checks widget on your home page dashboard.