Configuring access to LINKS panel options
This guidance is only for IRIS Financials Version 7.0.2103 or earlier. If using version 7.0.2223 or later, go to Security for Menus.
LINKS panels are available in various areas of IRIS Financials, containing one or more additional functions related to the account type you are viewing. For example, when looking at a supplier account, the LINKS menu offers options to add an invoice, add a credit note, generate a payment run, and so on.
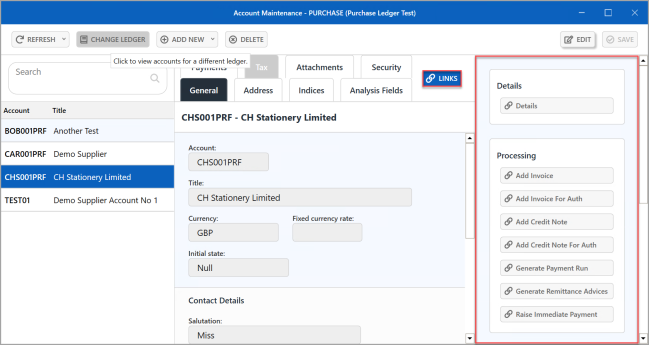
The panel is separated into different sections. In the previous graphic, Details and Processing sections are displayed containing applicable options.
- Go to Home, then select Command Security from the menu.
- The Command Security window is displayed. The left-hand panel lists the functions in IRIS Financials where access can be set. Expand each area by selecting Expand (+).
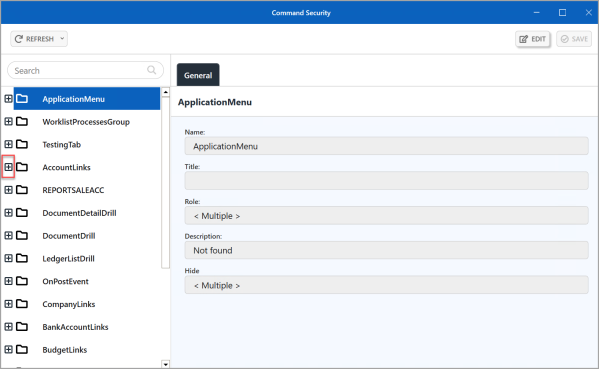
- When expanded, the AccountLinks heading displays the sections that are available within the LINKS panel, which can be further expanded to show the individual links. You can either set access for the section (e.g. Processing), which gives access to all the links within that section, or give access to one or more links from within a section, e.g. Add a Credit Note. If you are giving a security role access to most of the individual links, it can be quicker to give access to the section, then disable access to the unwanted functions.
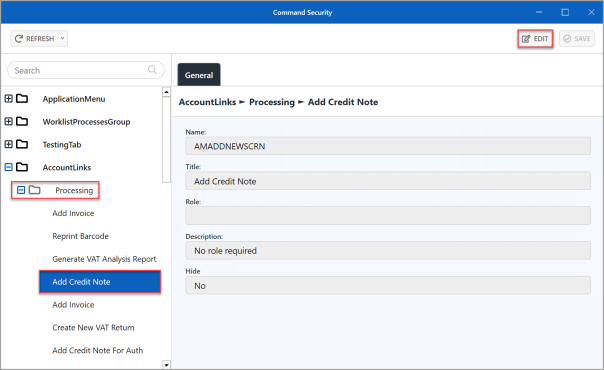 The setting shown in the previous graphic relates to the Add Credit Note link in the Processing section.
 - The EDIT button is enabled whenever a link can be edited. With the required section or link highlighted, select EDIT. The available fields are then editable.
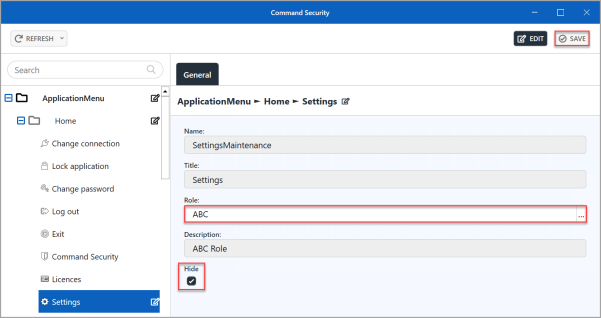
- Select Drill (...) in Role, then double-select to select the required security role from the Select a role for dialog.
- The selected role is displayed in Role. If you want to hide the link function from all users, select Hide.
- If you want to edit other link functions, select the next section/link and changes are automatically saved. Alternatively, select SAVE.
-
An Update complete message is displayed. Select OK to close the message and return to the previous window.
Related Topics