Edit a bank account
The images and steps in this topic are based on our new design (which you can currently switch on and off). If you haven't switched the new design on, the images may look different.
To edit an existing account:
-
Go to Banking > Bank. Select Edit details for the appropriate account.

-
Enter an Account name. This name will be displayed in IRIS KashFlow.
-
The Account Code is generated but can be changed; it represents this bank in your chart of accounts.
-
The Start Balance should be left at zero.
If there are transactions recorded in IRIS KashFlow that relate to this account (such as sales or purchase invoice payments), you need to import the transactions, manually add the transactions or record the relevant opening balance using a journal.
-
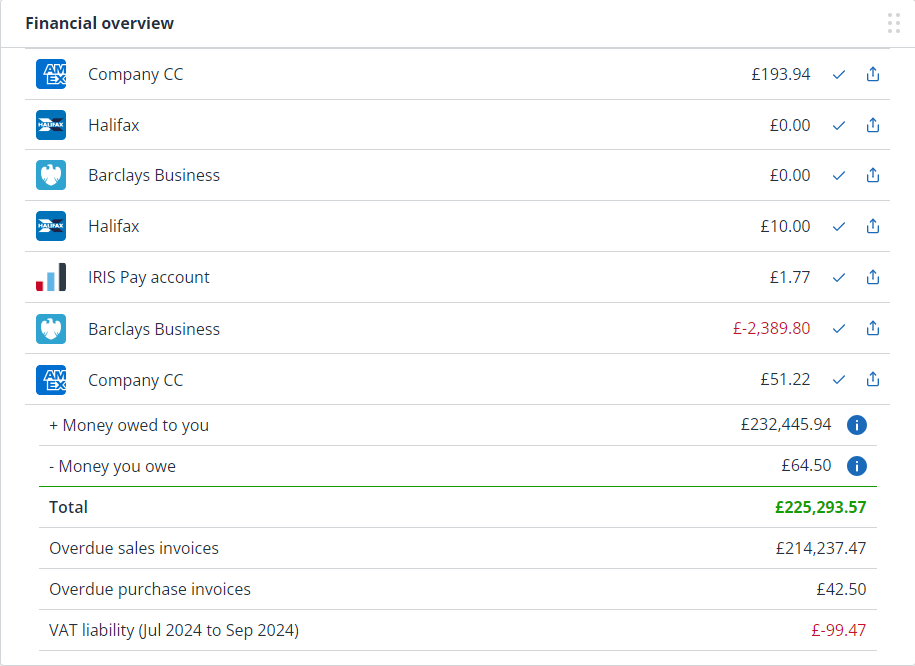
You can select an Icon from the list to visually represent your bank. This is displayed on the Financial overview widget.
Additional details
-
The Reconcile Date sets the date to start recording transactions for this account. When you perform a bank reconciliation, any unreconciled items after this date will be shown. Typically, this is set to the day before you started using IRIS KashFlow.
-
Transaction locking will prevent any changes or deletions to bank transactions prior to the Lock date. Enter the Lock date date and select the Lock date checkbox.
-
Choose the default Payment method for Sales Invoices from the list. Do the same for purchase invoice payments by choosing from the Payment method for Purchase invoice list. We'll use these defaults when you record incoming or outgoing payments for this bank account.
-
Select Include on overview page if you want this bank account to be shown on the Financial Overview widget on your dashboard.
-
Select Set as default account if you want this account to be shown first in the list and selected by default where applicable.
-
Select Finish.