Create permission groups
IT Mgr Practice Admin
Permission groups enable one or more permissions to be grouped together to make it easier for them to be applied to one or more users.
We recommend having basic permission groups for System Administrators, Staff, Managers and Partners, then use function groups to provide any additional permissions that are required.
An example set of groups are:
| Group Name | Description |
| Administrators | System Administrators – access to all permissions |
|
Partners |
Partners |
| Managers | Managers |
| Staff | Professional staff – all staff who need to do timesheets, expenses, client lookups |
| Bill Draft | Ability to draft fees, zero bills and credit notes |
| Assurance | Ability to create new contacts and clients |
| Super Admin | Limited system administration group |
|
Data Entry |
Disbursements, Lodgements, Journals and other data entry options |
| Disbursements |
Disbursements |
| BillConfirm |
Confirm fees only |
| Gatekeeping | Approval of questionnaires in Assurance |
Create new user groups
-
Select Admin > Task Pad from the menu, then click Security Administration in the System Maintenance section.

-
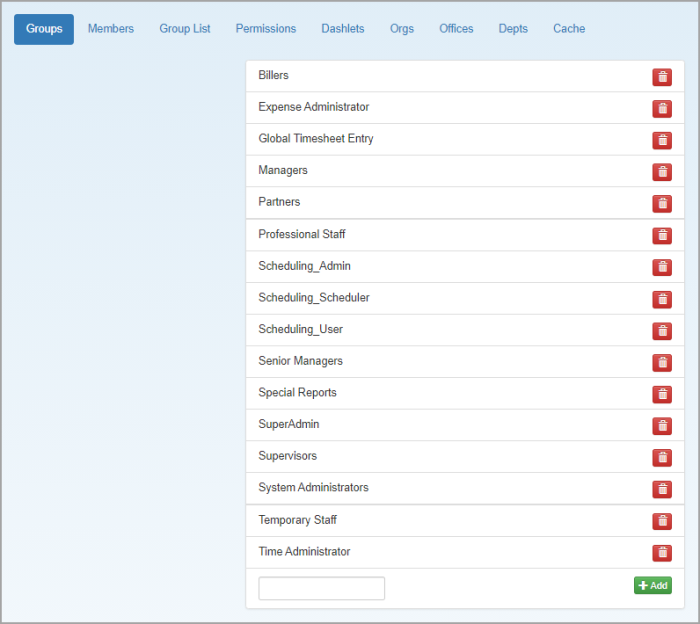
From the Security Administration page, enter the name of the new group at the bottom of the list, then click Add. The new group name will then appear alphabetically in the list.
Ensure that the name is as required before clicking Add, as the group name cannot be subsequently renamed. If you need to change a group name, you will need to delete the group and re-add.
Next steps: