Create a new employee
To create a new employee record:
Open the Create New Employee form
-
Sign in to IRIS HR Professional.
-
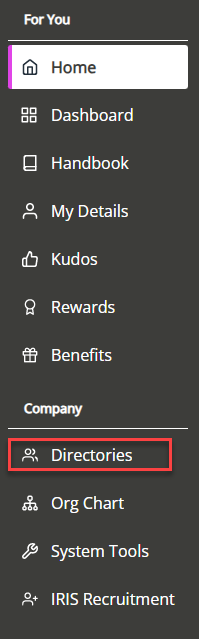
In the left navigation menu, select Directories.
-
Choose Create New at the top right of the screen.
-
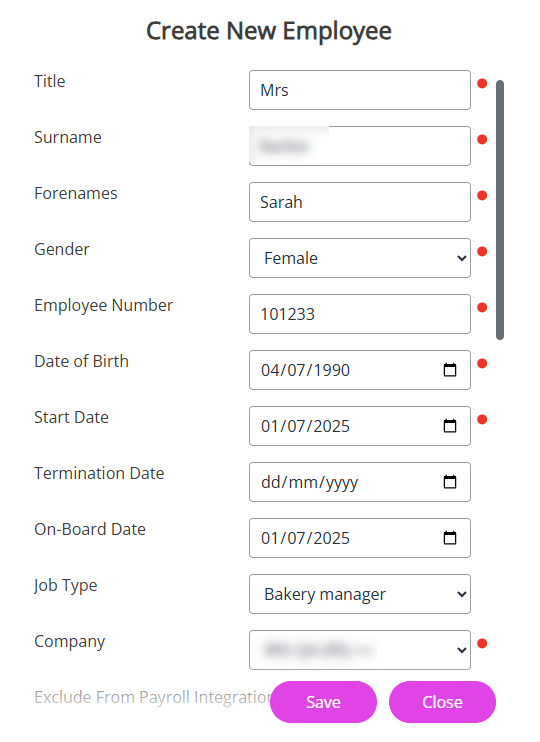
The Create New Employee form opens.
Fields marked with a dot are mandatory and you must complete them.
Enter the employee's personal details
-
-
Enter the employee's information such as their title, name (including middle names), gender, and date of birth.
Add the employee's start date
-
Add when the employee joined your company in Start Date.
-
Optionally, add a Termination Date The last day of an employee's employment and the day their contract is terminated. (contractual end date).
Job type and company details
-
Select the employee's Job Type from the list (optional).
-
Choose the Company the employee works for. This is mandatory if you use the Staffology Payroll integration.
The Company option may not display if you have not activated it in System Configuration.
To activate it, go to System Tools > Utilities > Tools > System Configuration. In the Contract section, select the Company Field checkbox.Set absence year start date
-
Add the employee's Absence When an employee or worker is absent from work. This can be for a variety of reasons. Year Start Date.
This ensures the system pro-ratas the employee's holiday allowance from the day they are added into the system.
This field only displays for companies with Employee Absence Year active.
-
Complete the remaining mandatory fields.
For information on FTE Schemes, refer to Create an FTE Scheme .
Volunteer option - Not-for-profit Licence
This feature is currently not available in IRIS HR Professional.
Skip this step if you don’t use a not-for-profit licence.
-
Select the Volunteer option to flag the volunteer as an unpaid worker.
-
Create a volunteer Directory and make sure to select the Exclude from Headcount checkbox so that the volunteers are not included in your company's headcount.
If you deselect the flag, the system adds the volunteer to your primary licence.
Contact your Account Manager for more information about Not-for-Profit licences.
Add contact information
-
Enter the employee’s work, personal, or both email addresses.
Send Invitation Email (optional)
You can send the employee an invitation email to create their HR account password now or later.
To send now:
-
From the Send Invitation Email dropdown, choose either Work or Personal.
The email you choose becomes the employee's system username.

To send later:
-
Open the employee’s record
-
Go to the Personal tab
-
Select Actions > Send Invitation Email
Visit Send or resend an invitation email for further guidance.
Save the record
-
-
Select Save.
-
You have created a record for the employee.
-
If you selected an option from the Send Invitation Email list, the invite email is sent automatically.
Next steps
The Create New Employee form only prompts you to add core information. Depending on your onboarding process, you may need to complete more fields in the employee’s record.
We recommend updating the following tabs:
-
Personal
-
Contract
-
Payroll
To create another employee
Go to Home > Directories and repeat the same steps.
-