Edit the Handbook
Only Set Rights users (system admins) can edit the Handbook.
In this section:
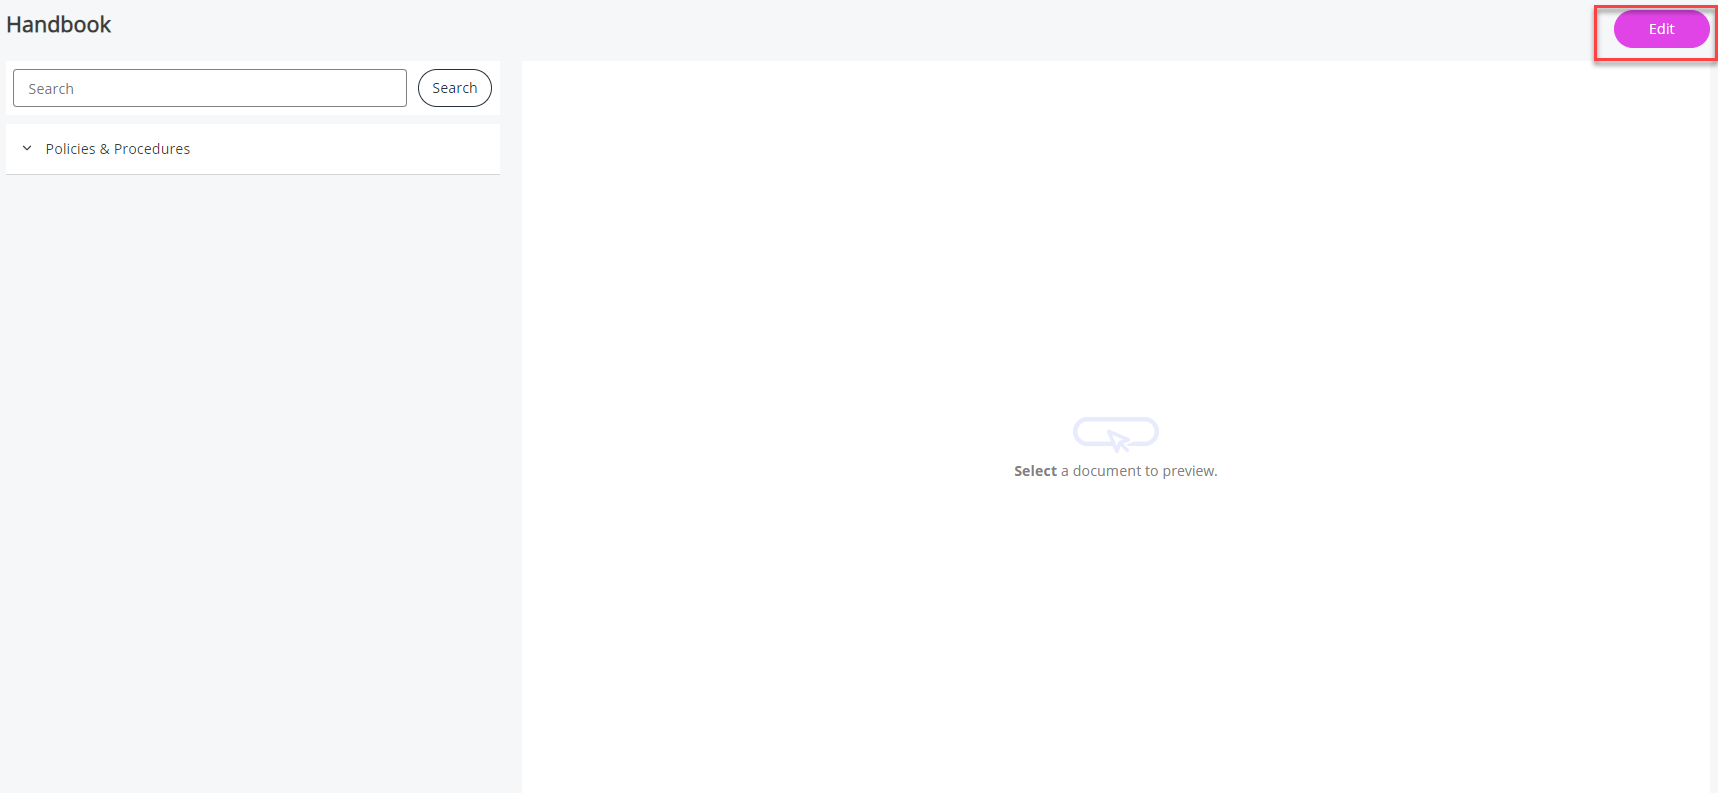
Access the Company Handbook
Screenshots are taken from a test system and may not match your system exactly.
-
Sign in to IRIS HR Professional.
-
On your Home screen, select Handbook from the navigation menu.
-
Choose Edit/ Create.
You can also access the handbook from System Tools > Utilities > Company > Handbook.
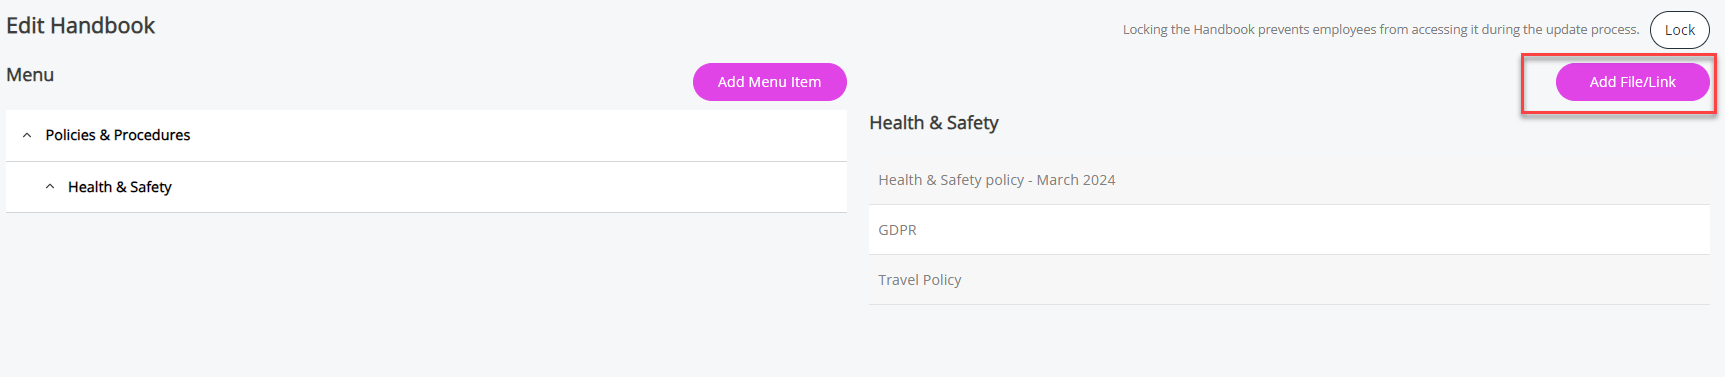
Lock the Company Handbook
-
An option to 'lock' the Handbook is available at the top right of the screen.
This is useful when updating or amending the Handbook, as it prevents employee access until unlocked.
Lock the Handbook
-
Select Lock.

Unlock the Handbook
-
Select Unlock after you have finished updating the handbook to allow employees to access it.
You must remember to unlock the handbook otherwise employees cannot open it.
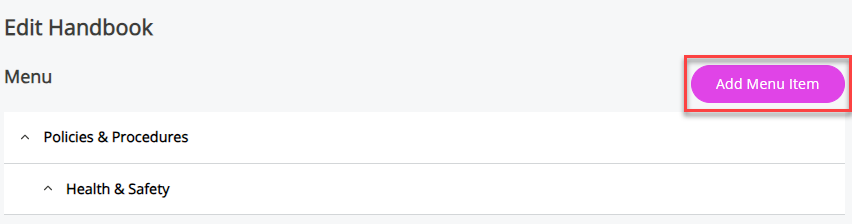
Add a Menu
To create a menu within your Handbook:
-
Select Add Menu Item.
-
Complete the fields displayed on the form using this table as a guide:
Type Enter a name for the menu.Notes Add any notes or comments to be displayed alongside the menu. For example, you may add a note to say:These are Read & Accept Documents. Please refer to the Read & Accept section on your Home page for more information.Where Clause A Where Clause Allows you filter records using a specific criteria. controls who can access the menu.For example, you may only want to make this menu visible to line managers because it includes documents such as: How to conduct an Appraisal. In this case, you would add a where clause for TheIsLineManager = 1.To do this:-
Select the Builder icon
-
From the Field list, select Contract - Line Manager.
-
From the Operator list, select Equal to.
-
From the Value list, select Yes.
-
Choose Set to create the clause.
-
The Where Clause field updates with the information added. In this case, the clause is: TheIsLineManager = 1
-
Select the Preview icon to check the clause includes the correct employees.
If you leave the Where Clause field blank, all users can view the menu item including any documents.
You must select the Employees or On-Boarding checkbox regardless of whether you have added a clause.
Employees Selecting the Employees checkbox means all employees can view the menu and the documents.Adding a Where Clause in addition to selecting this checkbox allows you to filter the groups of employees who can view the menu.On-Boarding Select the On-boarding checkbox to make the menu item visible to new starters with an onboarding date set in their My Details > Contract tab.Once the employee's onboarding date has passed and their record moves into the Employee Directory, the menu item and its contents become unavailable for them to view.External Access This is for Support purposes. Active Allows an administrator to deactivate a menu item without deleting it. Defaults to On. -
-
Select Save to create the menu item.
Add a Submenu to a Menu
Adding a submenu to a menu allows you to create different categories within the Handbook.
-
In the menu item you want to add a submenu to, select the plus icon within a folder.

-
Complete the screen fields using this table as a guide:
Type Enter a name for the submenu.Notes Add any notes or comments to display alongside the submenu.Where Clause A Where Clause controls who can access the submenu.For example, you may only want to make this submenu visible to line managers because it includes documents such as: How to conduct an Appraisal. In this case, you would add a where clause for TheIsLineManager = 1.To do this:-
Select the Builder icon.
-
From the Field list, select Contract - Line Manager.
-
From the Operator list, select Equal to.
-
From the Value list, select Yes.
-
Choose Set to create the clause.
-
The Where Clause field updates with the information added. In this case, the clause is: TheIsLineManager = 1
-
Select the Preview icon to check the clause includes the correct employees.
If you leave the Where Clause field blank, all users can view the submenu item including any documents.
Employees Selecting the Employees checkbox means all employees can view the menu and the documents.Adding a Where Clause in addition to selecting this checkbox allows you to filter the groups of employees who can view the menu.On-Boarding Select the On-boarding checkbox to make the menu item visible to new starters with an onboarding date set in their My Details > Contract tab.Once the employee's onboarding date has passed and their record moves into the Employee Directory, the menu item and its contents become unavailable for them to viewExternal Access This is for Support purposes. Active Allows an administrator to deactivate a menu item without deleting it. Defaults to On. -
-
Select Save to create the submenu.
Upload a Document/Add Link to a Menu/Submenu
You can upload a document to a Menu or Submenu Item as well as create a link to a webpage, Intranet or SharePoint.
To do this:
-
Select the Menu or Submenu in the Handbook you want to add a file or link to.
-
Choose Add File/Link.
-
Complete the screen fields using this table as a guide:
Name
Enter the name of the menu item where you want to add the document.
Status
This is read-only and contains details of the user as well as the date and time of the document uploaded or any replacements.
File
This is automatically completed after a document is uploaded or replaced with details of the document's file name.
Add File
Select Choose File, browse and upload to upload a document i.e. PDF/Word file types.
If the file is a Read & Accept document, it must be in MS Word format.
Employees can preview documents within the Handbook provided they are in PDF format.Link
If you have not uploaded a file, add a URL to a webpage.
Either create a file or add a link, you cannot do both. You cannot select the Read & Accept checkbox if adding a URL in the Link field.
Employees
If you have added a Where Clause in the Menu/Submenu, select this to allow employees who are included in the Where Clause to view the document/link.
If you have not added a clause, select this to make the document/link available to all employees.
On-Boarding
If you have added a Where Clause in the Menu/Submenu, select this to allow new starters who are included in the Where Clause to view the document/link.
If you have not added a clause, select this to make the document/link available to all new starters.
Read & Accept
Select this to make this document Read & Accept for employees included in the Where Clause or all employees if you have not added a clause.
Active
This defaults to selected; however, it allows an administrator to deactivate a menu item without deleting it.
Review Reminder
Select this to receive a reminder later to review your document and make sure it is still up to date.
Review Date
Enter the date the document needs reviewing by.
Review Recipient List
Select who needs to review the document.
-
Select Save to upload the document/link to the menu/submenu.
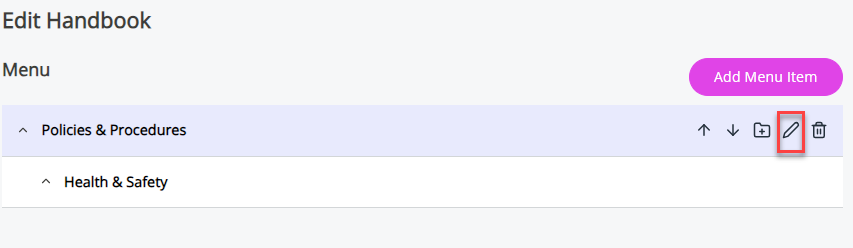
Modify a Menu item
-
To modify a menu item, select the required option in the Handbook and choose the pen icon. Hover your mouse over the menu item to view the icons.
Replace a Document in a Menu/Submenu
-
In the required menu/submenu, locate the required document, hover your mouse over it, and select the pen icon to replace the file.

-
Find the Replace File option, select Choose File, and upload the document.
If you have made a document Read & Accept, after an employee has accepted it, you cannot replace it. To replace the document, add a new version.
Related topics:
Working with Read & Accept