Batch upload employee photographs
Screenshots are taken from a test system and may not match your system exactly.
Before you start, check out the sizing requirements for employee photos.
The batch upload feature is generally only used the first time you upload employee photos into the system. It is best practice to upload a test photo on one employee's record to check the format is correct.
-
Document Upload only allows selections of a maximum of 50 employees at a time. Use the Employee Selector if your headcount is higher than 50.
-
If using the Employee Selector, we recommend selecting by Department, as these usually have less than 50 employees.
To do this, in the Employee Selector, select Department and choose an option from the dropdown.
This populates the Results column with all employees assigned to this department. Choose Select All. The employees' names are added into the Selected column. Choose Close.
-
Sign in to IRIS HR Professional.
-
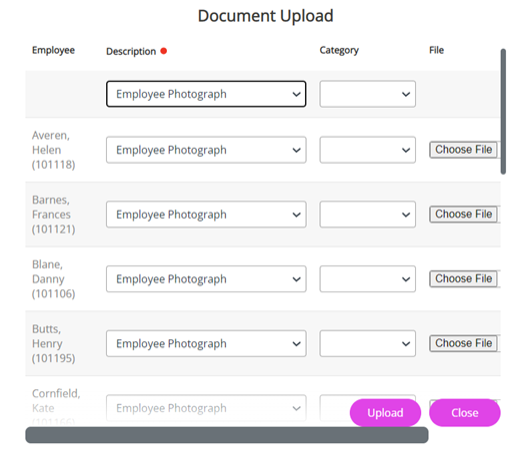
Go to Home > Directories > Actions > Document Upload.
-
From the Description dropdown, select Employee Photo. This copies the information into the below rows.
-
Do the same for Category, if needed.
-
After the files have uploaded, refresh the Directory to display the photos.
Sometimes an upload fails and no pictures display. This is usually because one of the pictures has incorrect dimensions or formatting, making the upload time out. Or employees may already have a photo uploaded.
-
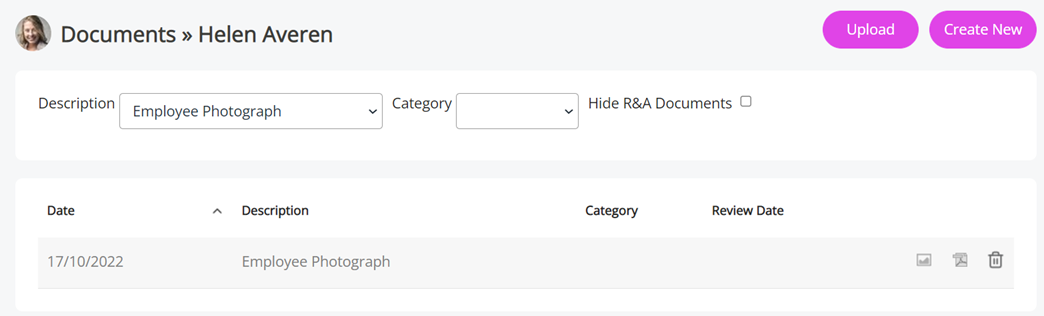
Go to the employee's Document tab and from the Description dropdown, choose Employee Photograph to ensure there is not an existing photo.
-
If there is an existing one, select the documents details pop-up and check if you have selected the Employee Photo checkbox.
-
Alternatively, to replace the photo, select Replace Document and Save. Choose File and Upload as a single photo.