Print Cheques or Confirm being Filled Out
Payment Runs - Step 5 Back to Set Up Payment Runs
To make the payments added to a payment list,
Cheques must only be filled out or printed for payment lists in Media ready to print or Waiting for media approval state.
If you are using cheques from a cheque book, to update the payment run State as Done, confirm the media has been successfully created.
To print cheques from IRIS Financials:
-
Go to Payments, then select Payment Run History.
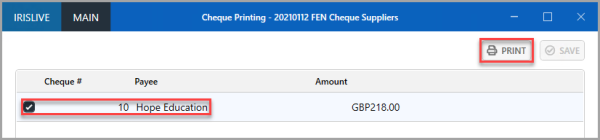
- Select the required payment run, then PRINT CHEQUES.
-
Select the cheques to be printed.
It may take a few moments for the cheques to display. If they do not display, close the Cheque Printing and Payment Run History windows, then start the process again.
-
PRINT the cheques.
For each
-
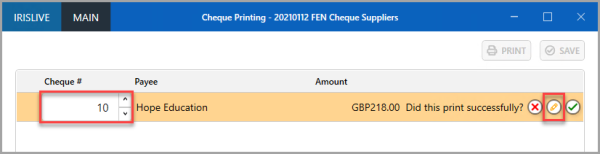
- Select the Pencil icon.
Enter the number in Cheque #.
Cheque document types are usually set with a controlled number range. If the cheque number being entered is different to the numbers in the set range, the range must be updated.
-
To confirm the cheque has
To make cheques that did not print successfully available to print again, select Cross.
- SAVE the updates.