Run an export
Once the export function has been configured in the Curriculum Manager module, you can run an export from either:
-
The Configuration tab.
or -
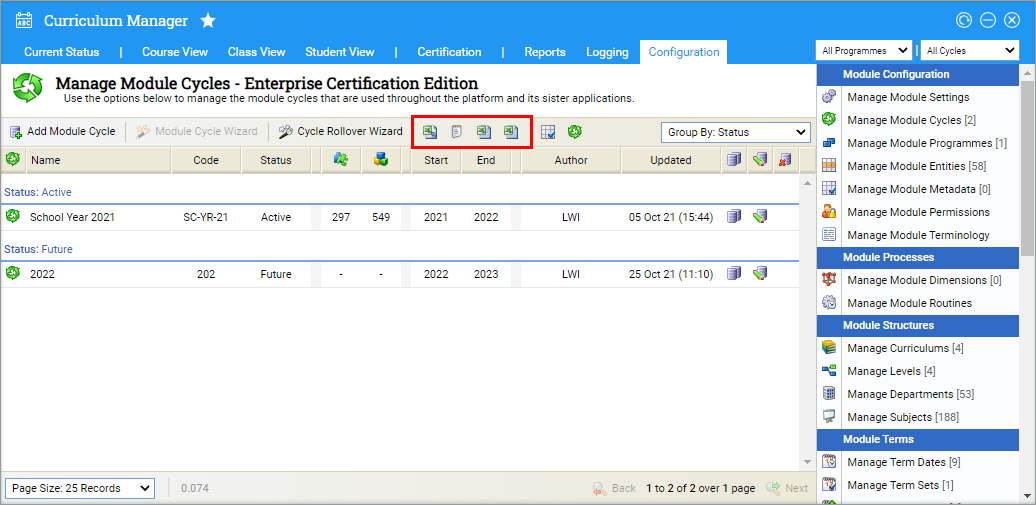
Wherever you see the relevant export icons in the module:
Run an Export from the Configuration Tab
All entities for the selected data are displayed when this method is selected.
- Open the Curriculum Manager and select the Configuration tab.
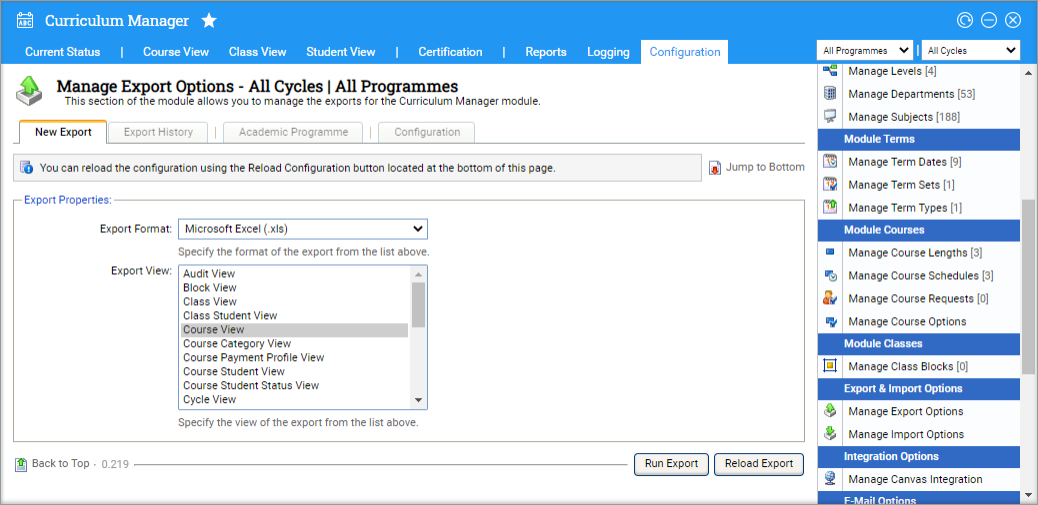
- Select Manage Export Options from the right hand menu.
- Select the New Export tab:
- Select the Export Format and Export View that you want to run. Hold Ctrl to select more than one export if required.
- Select Run Export.
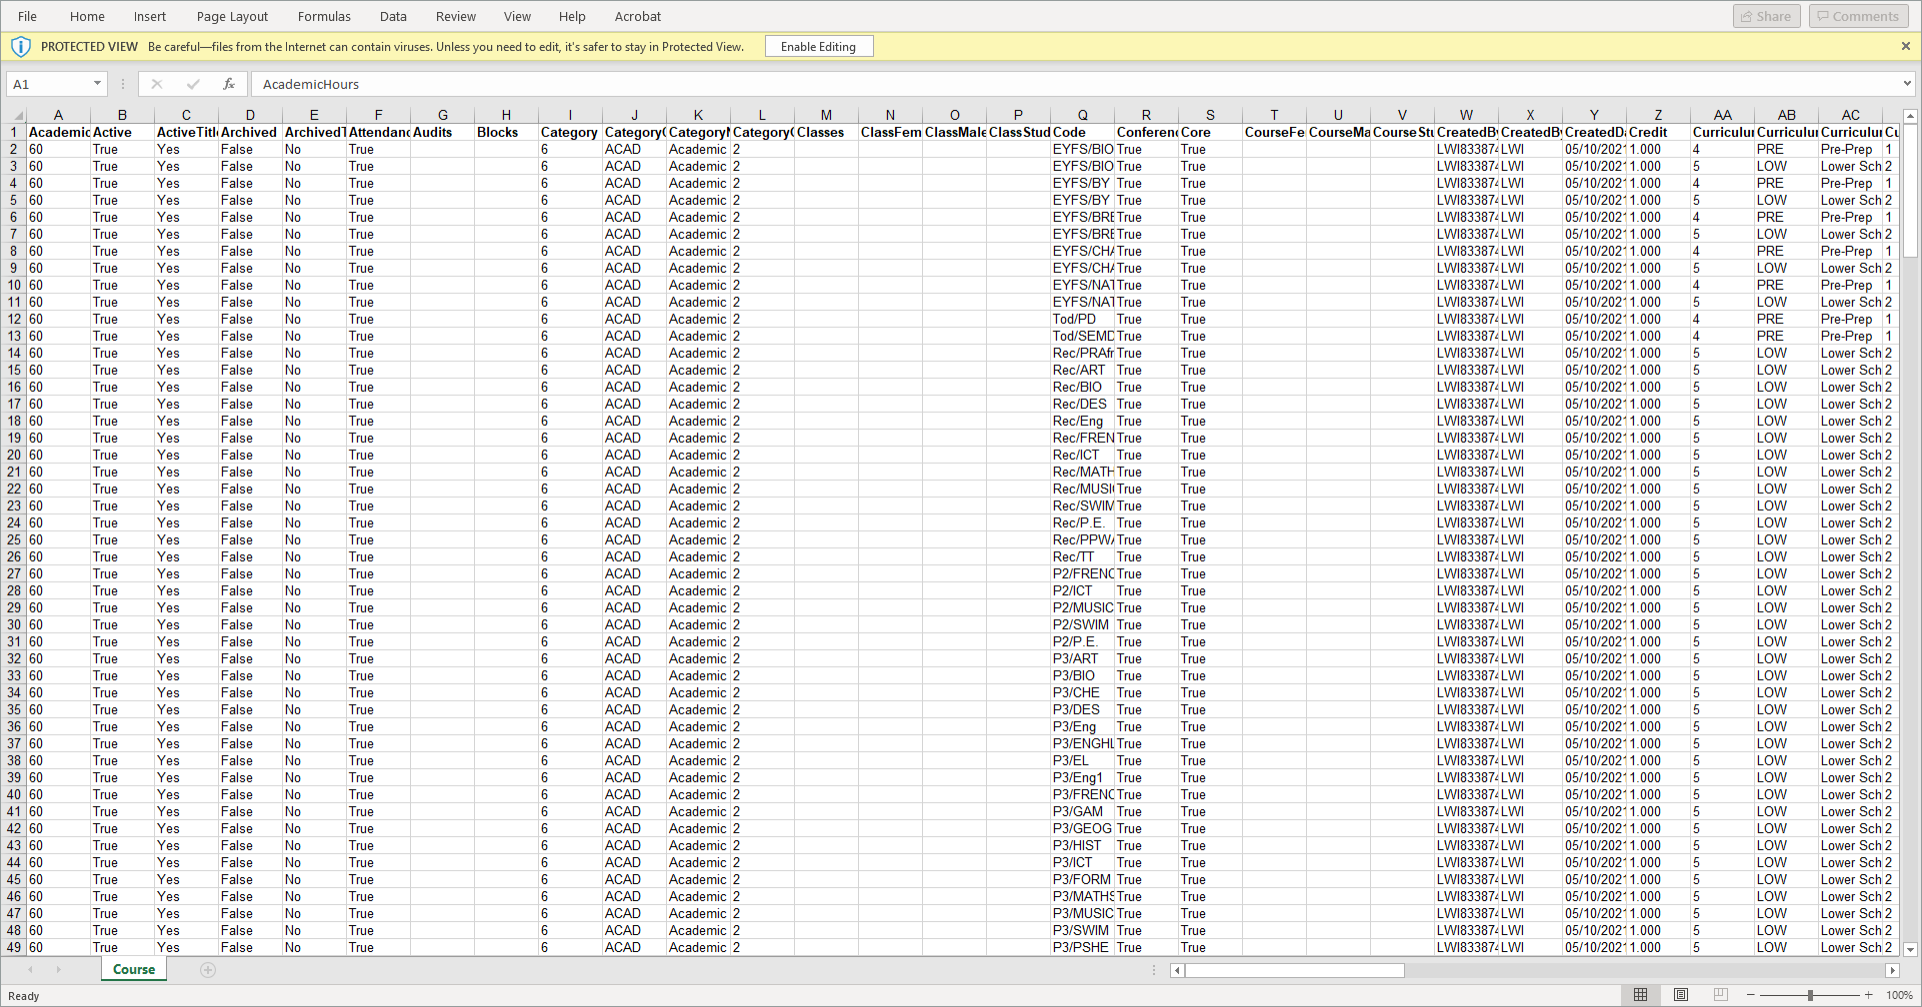
- The export is downloaded.
- Choose to open and save the export as required. An example is shown below:
- A log of exports is listed in the Export History tab.
Run an Export by Selecting an Export Icon
When running an export in this way, you can choose to only display the entities displayed for the selected data or all of the entities available for the selected data. This is useful for restricting the amount of data to be exported and shared.
- Open the Curriculum Manager and select the tab that you want to work with:
- Hover over an icon to see the export format available.
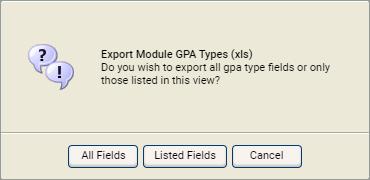
- Select your chosen export format. A popup window is displayed:
-
Select the entities that you want to include in your export:
- All Fields. All entities are shown in the export.
- Listed Fields. Only the entities displayed for your selected data are shown in the export.
- The export is downloaded.
- Choose to open and save the export as required.
- A log of exports is listed in the Export History tab.
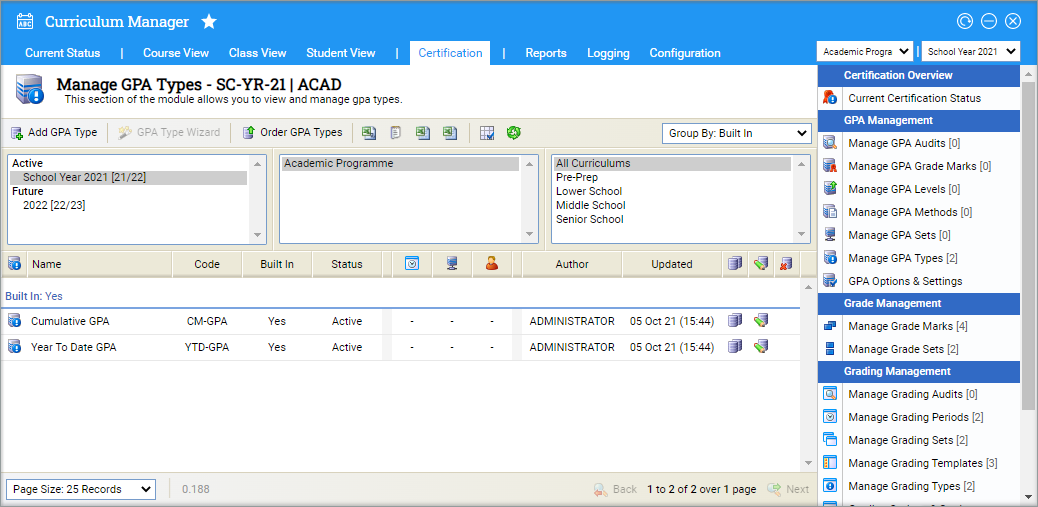
The export icons are displayed at the top of the screen.
