Manage GPA Levels
Use the Certification tab in the Curriculum Manager module to view and manage grade point average (GPA) levels.
To manage GPA levels, follow the steps below:
- Open the Gradebooks module and select the Certification tab.
- Select Manage GPA Levels from the right hand menu to display this screen:
- All of the GPA levels are listed.
- The details displayed and how they are displayed is determined by the settings in entity preferences. See Update GPA Management entity preferences for more help with this.
- Hover over any column header icons shown for more information.
- Use the drop-down in the top right of the screen to change the Group By setting if required.
- Use the navigation tools at the bottom of the screen to display the levels that you want to work with.
-
Choose to:
- Add a GPA level.
- Order GPA levels. Levels can only be rearranged within the set they are listed in.
- Copy a GPA level.
- Edit a GPA level.
- Delete a GPA level.

Add a GPA level
- Select Add GPA Level in the header. A popup window is displayed:
-
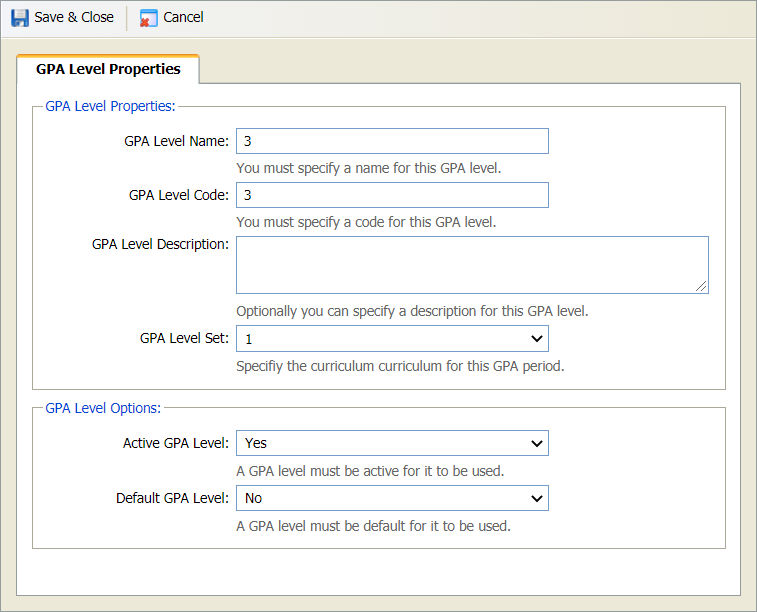
Complete the fields displayed:
Section Explanation GPA Level Properties - Enter a name, code and description for the level.
- GPA Level Set. Select a GPA set for the level.
GPA Level Options Use the drop downs to:
- Set the status of the level. Selecting 'No' marks the level as 'Inactive'.
- Set this level as the default. Only one GPA level can be marked as the 'Default'. This is preselected when working with GPA levels.
- Select Save & Close. The GPA level is listed.
Order GPA levels
Levels can only be rearranged within the set they are listed in.
- Group the listed GPA levels by set. Select the Group By drop-down in the top right of the screen and select 'GPA Set'
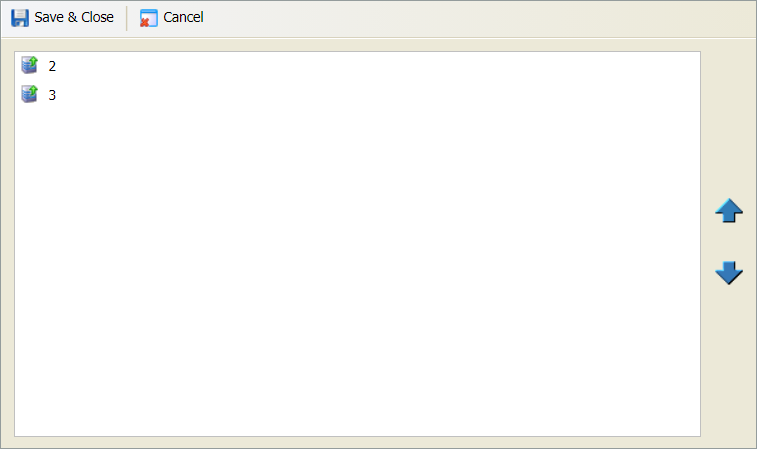
- Select the order GPA levels icon for any GPA level within the set that you want to rearrange. A popup window is displayed:
- Select a level in the list shown and use the blue arrows on the right to move it as required.
- Select Save & Close once you have made all the changes required.
Copy a GPA level
- Select the copy GPA level icon in the GPA level that you want to copy. A popup window is displayed:
-
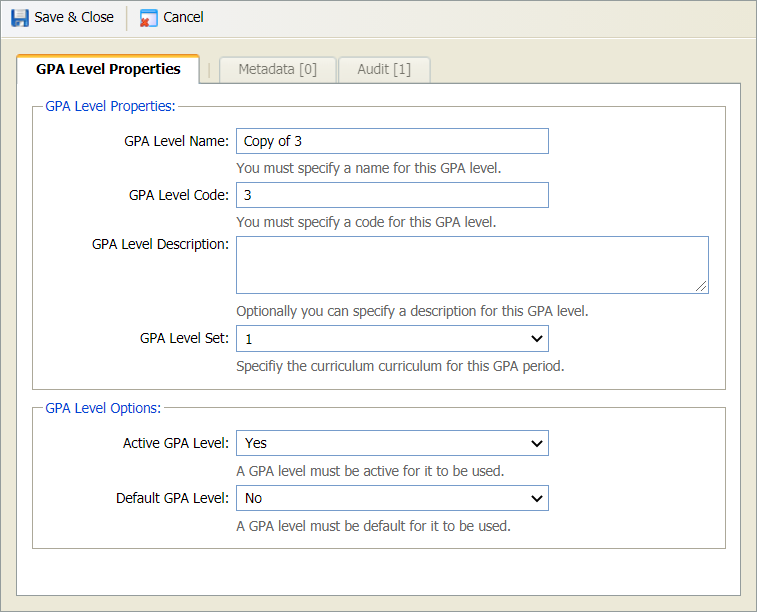
Complete the fields displayed in the GPA Level Properties tab:
Section Explanation GPA Level Properties - Enter a clear and concise name, code and description for the level.
- GPA Level Set. Use the drop-down list to select the GPA set for the new GPA level. The options listed are preconfigured for you.
GPA Level Options Use the drop downs to:
- Set the status of the level. Selecting 'No' marks the level as 'Inactive'.
- Set this level as the default. Only one GPA level can be marked as the 'Default'. This is preselected when working with GPA levels.
- Select Save & Close.

Edit a GPA level
- Select the edit icon in the GPA level that you want to work with. A popup window is displayed:
Complete the fields displayed in the GPA Level Properties tab:
Section Explanation GPA Level Properties - Enter a clear and concise name, code and description for the level.
- GPA Level Set. Use the drop-down list to select the GPA set for the new GPA level. The options listed are preconfigured for you.
GPA Level Options Use the drop downs to:
- Set the status of the level. Selecting 'No' marks the level as 'Inactive'.
- Set this level as the default. Only one GPA level can be marked as the 'Default'. This is preselected when working with GPA levels.
- Two other tabs are available, these are explained as follows:
- Metadata. Any metadata fields set up for GPA levels are listed here. Add values for the metadata fields as required.
- Audit. Any changes made to the GPA level are listed here.
- Select Save & Close.
Delete a GPA level
- Select the delete icon in the GPA level that you want to delete. You are prompted Are you sure you want to delete this GPA level?
- Select Yes. The level is deleted.