Adding Skylight Fields to Word
Skylight fields can only be added in Word.
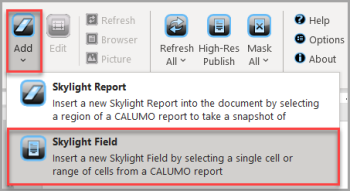
- From Word, position the cursor where you want to insert the field. Select the CALUMO Skylights ribbon, click the Add icon, then select Skylight Field from the drop-down menu. For more information
on the icons/functions available from the ribbon, refer to Word/PowerPoint Ribbon Icons.
- From PowerPoint, select the CALUMO Skylights ribbon, then click the Add icon on the ribbon.

- A Processing message appears, then the Skylight Designer is displayed.

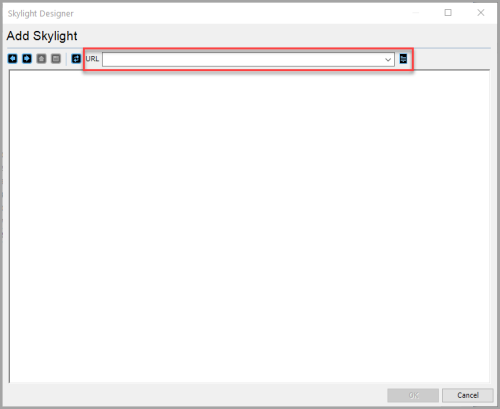
- Click the Select Report icon to display the Pick a Report dialog. The available reports will be listed in a navigation tree. Highlight the required report then click the OK button. Alternatively,
enter the URL of the required report in the URL field of the Skylight Designer then press the Enter key. For more information on the Skylight Designer toolbar icons, refer to Skylight Designer Toolbar Icons.

- Click the cell you want to add then click the OK button. You can also drag the cursor over a selection of cells if required.
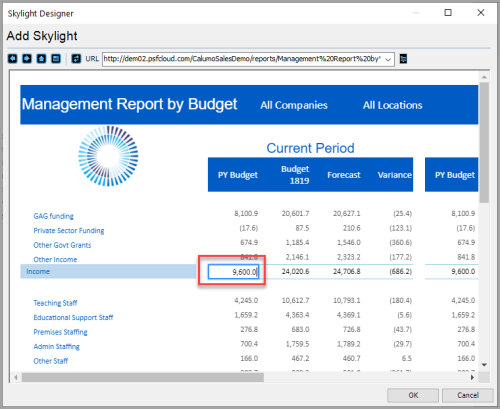
You may need to maximise or resize the Skylight Designer to be able to see the full report.
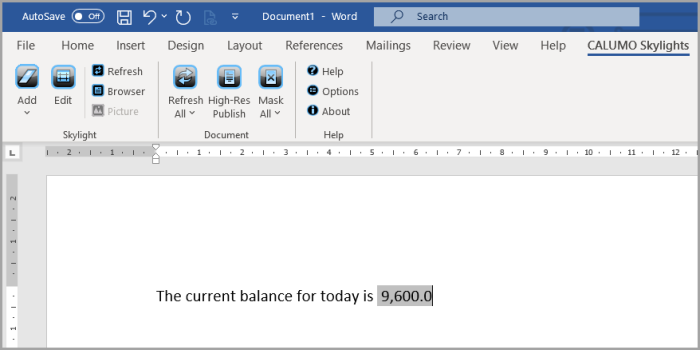
- The chosen field is then displayed in Word.