Teams
Teams can be created in Senta by IRIS to allow certain Tasks to be assigned to a particular team of practice users with the option of adding team leaders. Practice users can be part of zero, one or multiple teams.
Only Administrators can create or delete teams, and add or remove team members. They can also view all of the current teams and team members. Non-admin users can only see who is in their own team.
To switch on the Teams feature, go to Settings > General Settings > Extras > Toggle Teams to On.
Create a team
Go to Settings > Teams > Add team.
From here you can name the team, add team leaders and team members, and change the team picture colour.
You can remove team members by selecting the cross next to the user's name.
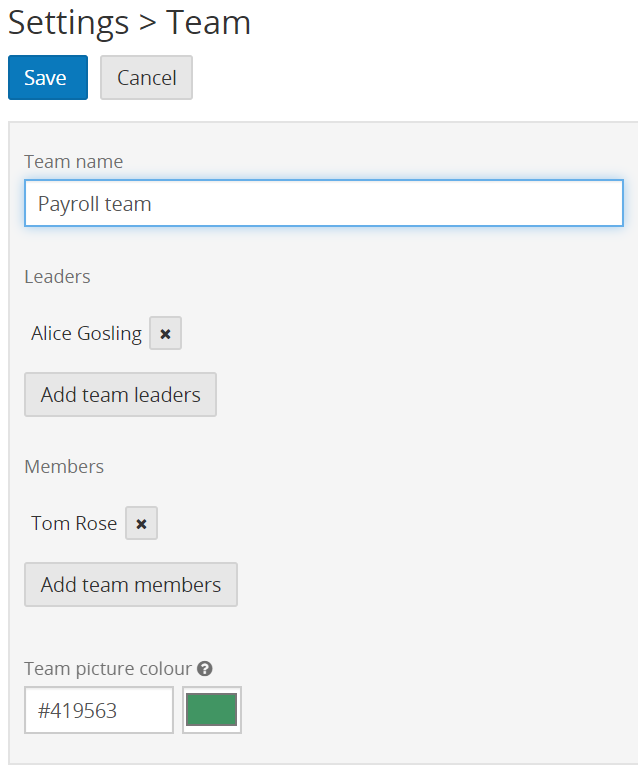
To finish creating the team, select Save and you will be returned to the teams page with your newly created team.
A team needs to have at least a team name in order to be created.
Delete a team
You can remove a team by selecting the team name in Settings > Teams. This will take you through to that particular team, where you can select Delete to remove the team.
View existing teams
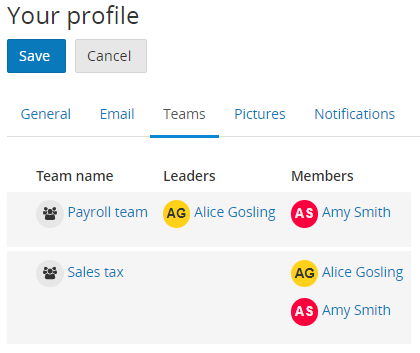
If you would like to view which team(s) you are part of, you can do this by going to Your profile > Teams. Any teams you are a part of will display here.
Assign a team to a client
You can assign a team to a client, in the same way you would an Account Manager or other user role .
To do this, first you need to add a field to the Client Details form in Settings > Forms > Client details and select Team as the field type.
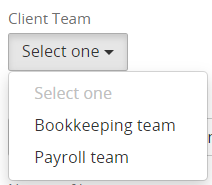
On the client record, you will be able to choose a Team to assign to the client:
Teams in Jobs
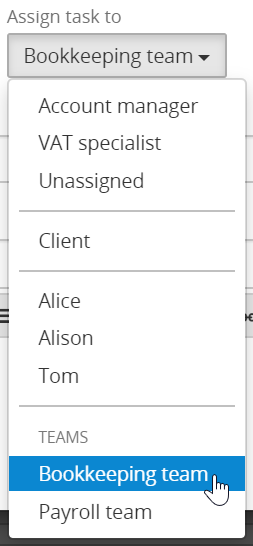
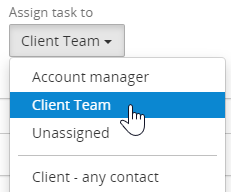
A team can be assigned to particular tasks within job templates. Any activated teams will be displayed under TEAMS in the Assign task to menu found in each task:
If you have set up a Teams field as detailed in the section above, any Teams fields will show up at the top of the Assign task to menu:
Assign Send email, Electronic signing and Generate a word document tasks to Teams
If you would like to assign a Send email task, Electronic signing or Generate a word document task to a Team, and set the Sender as the Assignee, the task in the live job will show as Uncompletable until a team member has grabbed the task.
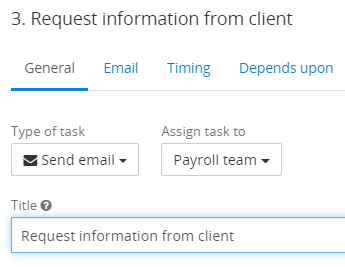
For example, this Send email task is assigned to the Payroll team:
Within the Email tab, the Sender is set up as the Assignee:
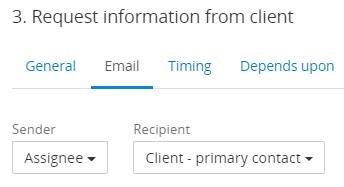
The Assignee refers to the user assigned to the task. As the Payroll team includes multiple users, the live task will first have the status of Uncompletable:

Once the task has been grabbed, the error will remove and the status will change:

View tasks assigned to teams
When you are part of a team, a new task list will be added to the Work menu named You and your teams' tasks:
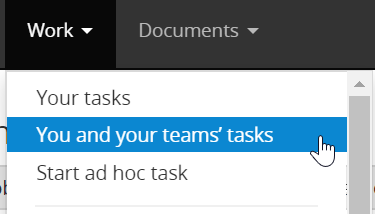
This will show all of the tasks assigned to yourself and the teams you are a part of.
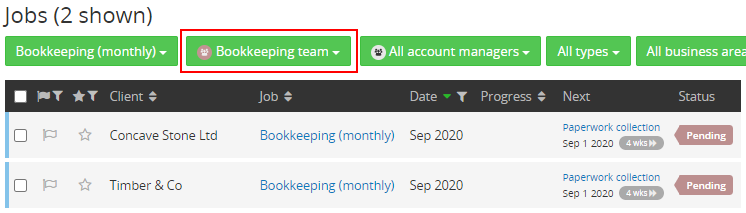
You can also select teams as part of filters in your task list or jobs list :
It is worth noting that Senta will not pull through tasks assigned to individual users who are part of a team in this view. Senta will only pull through tasks that are assigned to a Team or have been grabbed by a team member.
Grab tasks
As a team member, you can assign the task to yourself by selecting Grab on the task within the job:
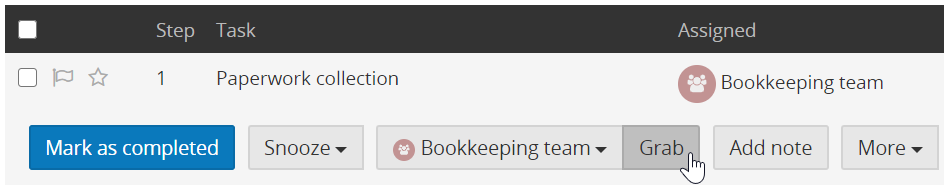
The task will show as being assigned to you and the team, allowing your team members to see that you are working on that task:

If you would like to reassign this back to the team, you can select Ungrab.
Remove a team from a task
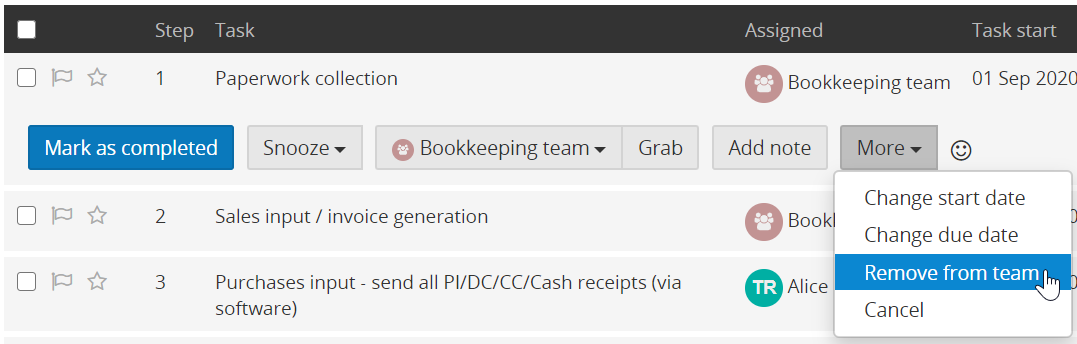
If a task is assigned to a team, an option to Remove from team will be available under More on the task:
If the task has not been grabbed by a team member and you remove it from a team, the task will be unassigned.
If the task has been grabbed by a team member, the task will remain assigned to that user.
Notifications
Each member of a team will receive a notification via the notifications globe when tasks are assigned to that team.
Only team leaders and account managers will receive notifications of overdue tasks.
To find out more about notification preferences see our guide.