Create a client group
Grouping clients allow you to better organise your clients and filter them on the clients page.
-
Go to Clients, then select Client Groups.
-
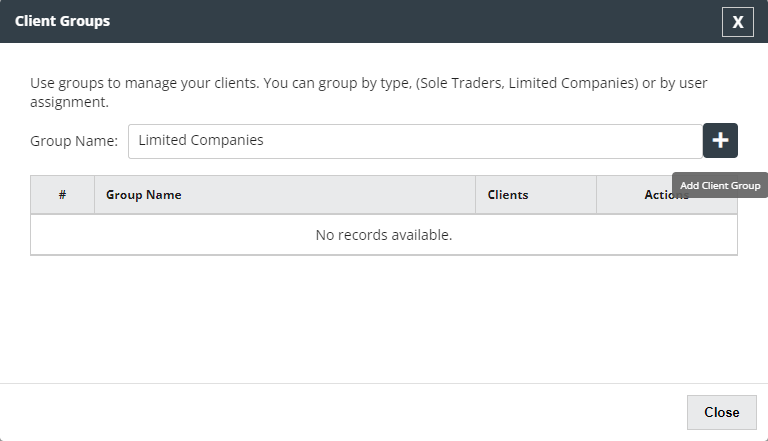
Enter a group name and select the + icon.
-
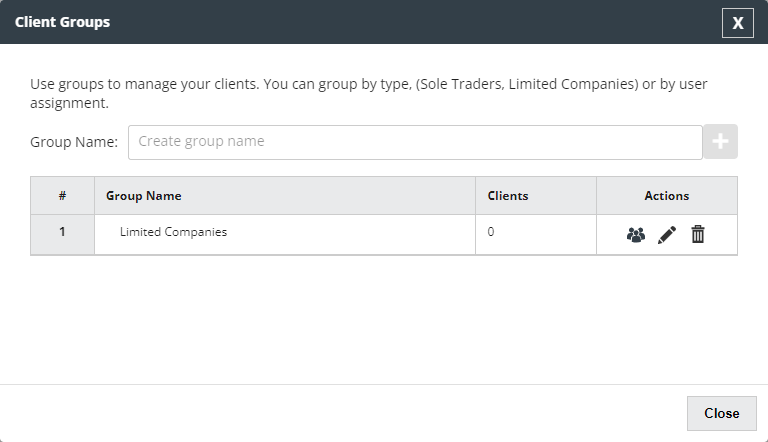
The group is created and added to the list.
Assign clients to a group
-
Go to Clients, then select Client Groups.
-
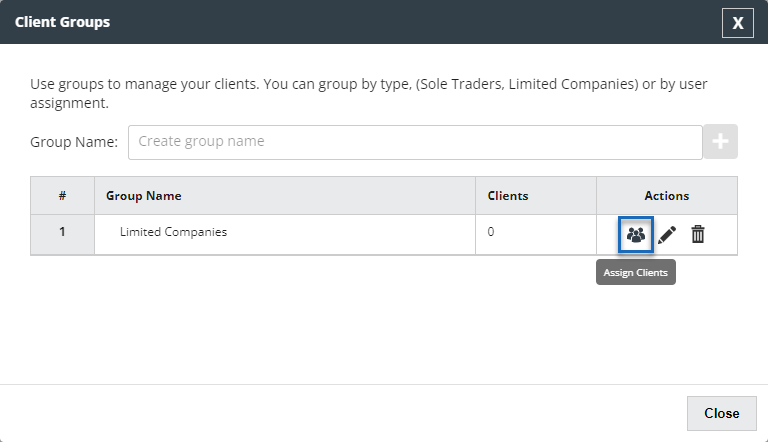
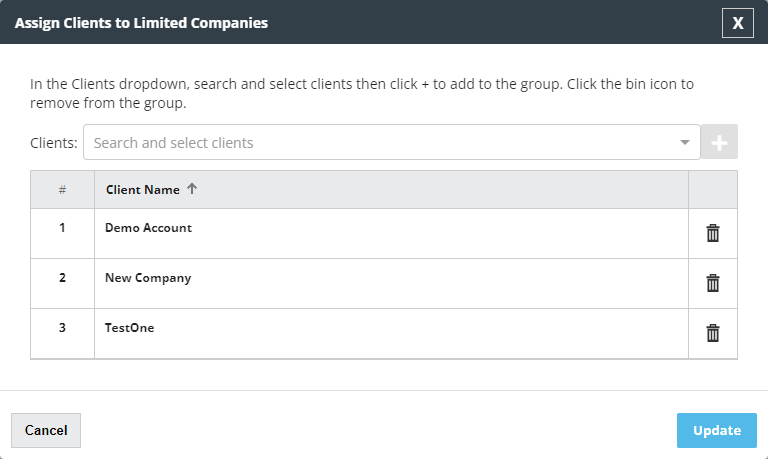
From the Actions column of the group, select Assign clients.
-
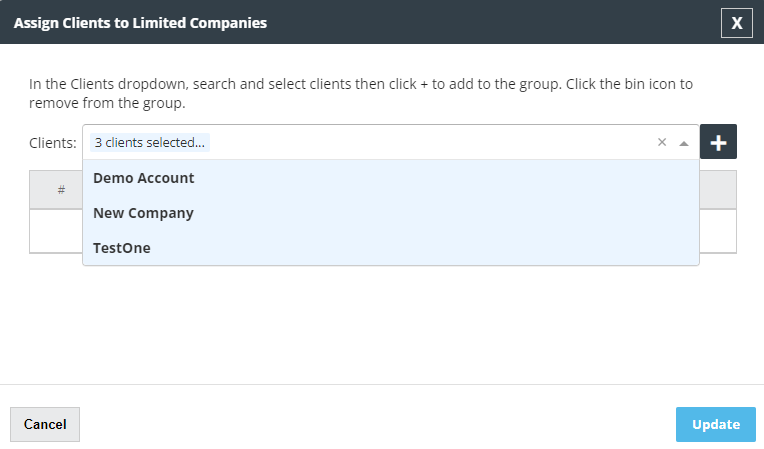
Select Clients and type to search for clients. Select the name(s) from the list when shown. You can select multiple clients at once.
-
Select the + icon to add the selections to the group.
-
Finally select Update to save or Cancel to discard the changes to the group.
You can also assign clients to groups from the General Settings tab of their profile.
Edit a group name
-
Go to Clients, then select Client Groups.
-
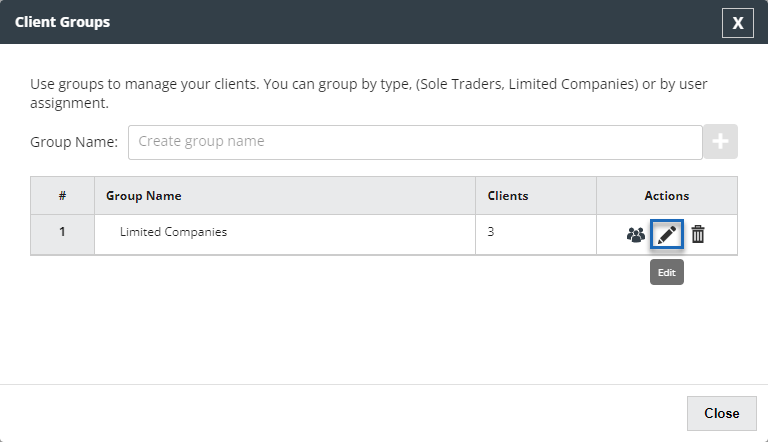
From the Actions column of the group, select Edit.
-
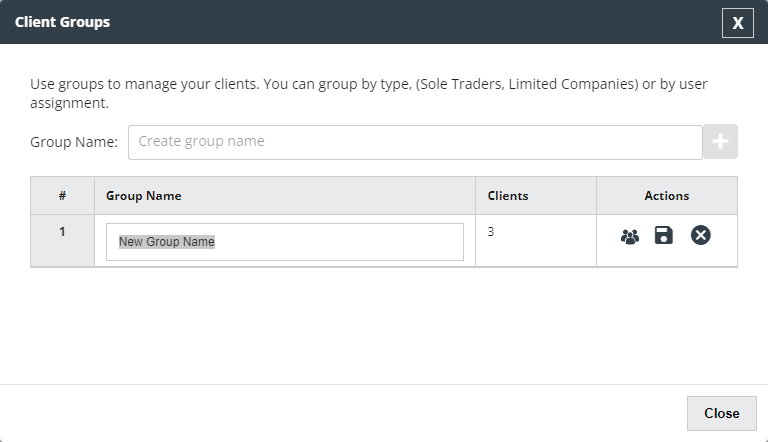
Enter the new group name in the text field.
-
Select Save or Cancel from the Actions column.
Delete a group
-
Go to Clients, then select Client Groups.
-
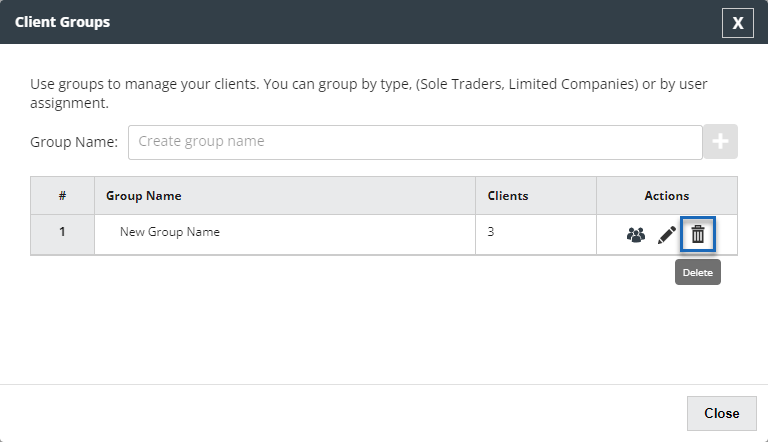
From the Actions column of the group, select Delete.
-
Select Yes to confirm you want to delete the group on the pop up.
-
The group is removed.
Deleting a group will not also delete any assigned to it.
