Import data using CSV files
CSV (comma separated value) files are a light weight spreadsheet format commonly used by various bookkeeping, accounting and banking systems to transfer data from one system to another.
While CSV files can be incredibly useful, working with them can be awkward. Our CSV Import Tool is designed to streamline the process, making it more robust, repeatable and drastically reducing the time you spend inserting nominals, customers, etc.
Before you start the import process, make sure that your CSV is correct. We've provided a wide range of import templates to help you set up your CSV import file.
-
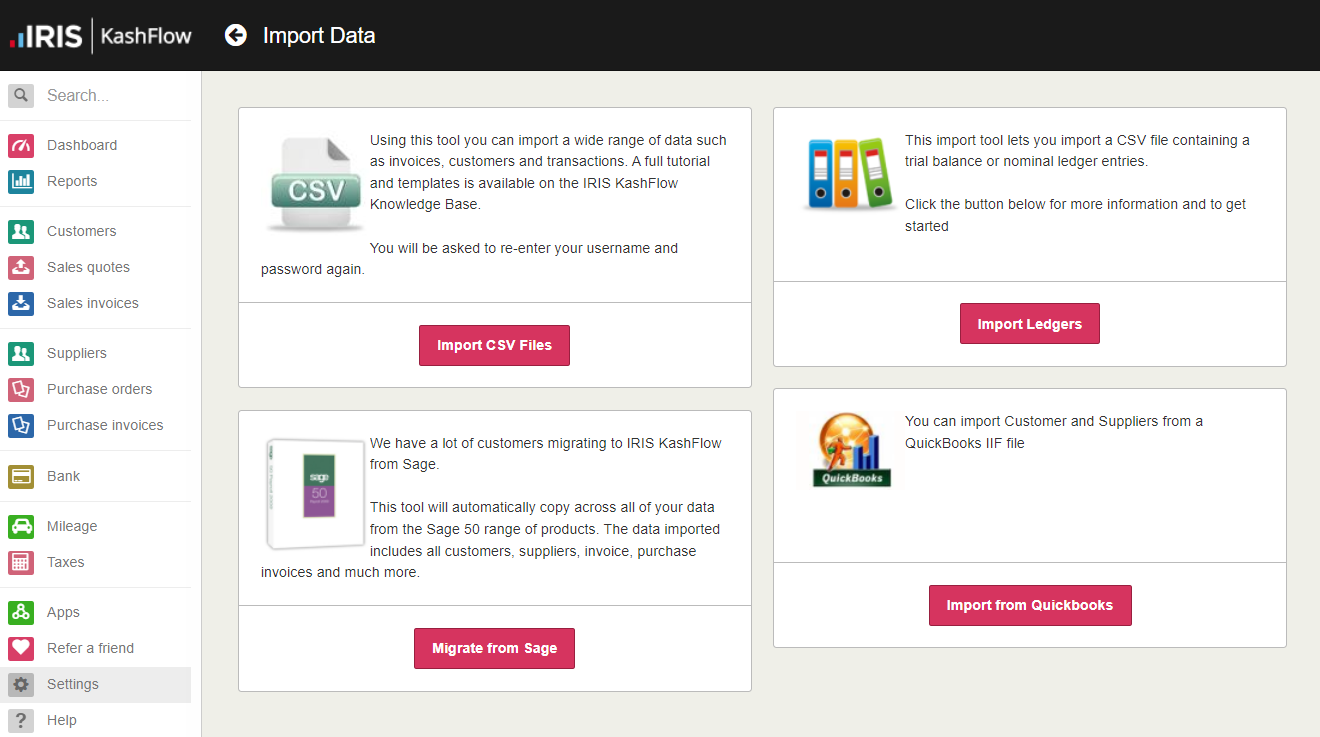
Go to Settings.
If you have turned on the new design, select your initials from the menu bar and select Account Settings.
-
From Your Account, select Import Data, then Import CSV File.

-
From the CSV Importer page, enter your IRIS Elements Cashbook login details.
If you are an accountant attempting to import data on behalf of a client, you will need to use their login details. IRIS KashFlow Connect credentials will not work.
If you do not have access to, or do not wish to use your client’s account password, then you should use the API settings to allow your access.
-
Select CSV then Next.
-
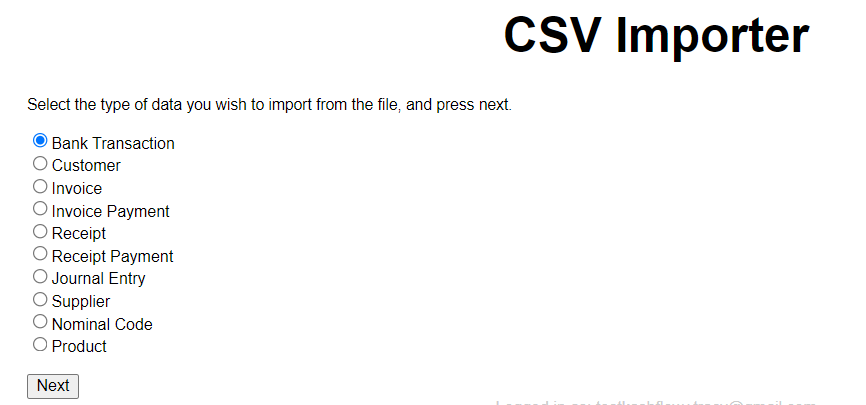
Select the type of data you are importing from the list and select Next.

Make sure that you select the import type to match your CSV file type.
-
Select Choose file, browse to and select the CSV file to import. Select Open and then Upload.
-
The CSV Import tool will read and display the contents of the selected CSV file ready for mapping.
Import mapping is the process of telling IRIS Elements Cashbook what type of information you're importing and where the information needs to be stored in the software.
-
If the first row of your CSV file contains column headers select My first row contains column headers. This will prevent IRIS Elements Cashbook from importing the first row.
Most CSV files contain column headers. If your column headers match the existing column mappings options, the correct column types are automatically selected.

-
If the CSV import tool has failed to match a column header (or if you haven't included headers) select the appropriate option from each column menu.

-
To save the current mapping (so that you don't have to do this next time), enter a map name and select Save Mapping File.

-
To use an existing file, select it from the list. The column mappings are automatically filled.

-
When you have mapped the columns to the data fields, select Import.
You can import bank transactions using the CSV Import tool, However, if your bank is compatible, we recommend Connect an Open Banking feed.