 |
 |
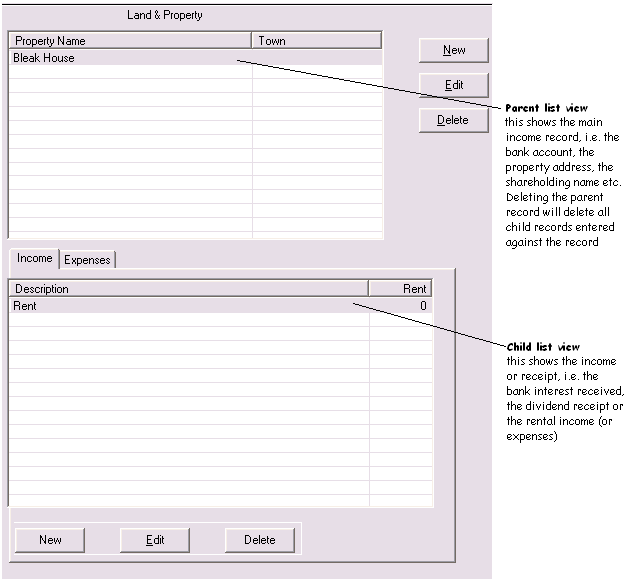
Most of the data entry sections will contain one or more items of income or deduction. Each item will be shown as a row on a list view menu. In most cases, the income will be split into two parts: parent and child records. In these cases two list views are shown. The parent records will be listed at the top and the child entries for the selected parent record will be shown underneath.
Where there are no entries, a single row labelled "<add new entries>" is shown.

Using the mouse click once on a parent record row to see the associated child record(s). Double-click on the row to edit that record. (Double-click on the <add new entries> row, where it is shown, will insert a new record.) Alternatively click on the [New], [Edit] or [Delete] buttons to add, edit or delete a row. It is also possible to sort the data in the list view. Click on the column heading button at the top of one of the columns and the list will be sorted into order. Click again on the same heading button and the list will be resorted into reverse order. The data is naturally presented in the order it was entered.
Using the keyboard use the cursor keys to move up and down the list (the child list view will change to show the parent's associated child records, where applicable. Hit <Return> or <Enter> to edit the record. Hit the <Tab> key to move focus from the parent to the child list view or to move focus back to the tree view. (<Tab> will cycle around the screen between the tree view and the list view(s).) Alternatively press the <Insert> key for a new record or the <Delete> key to delete a record.