 |
 |
e-Checklists provide a quick and easy way to gather the necessary information, allowing you to complete your clients’ Self-Assessment tax returns.
An e-Checklist has a series of questions which are based upon the income, expenses and the reliefs and allowances from the client’s previous year’s tax data.
Your clients will also log in to IRIS OpenSpace to complete and return their checklists to you.
Create new checklists from within IRIS Personal Tax.
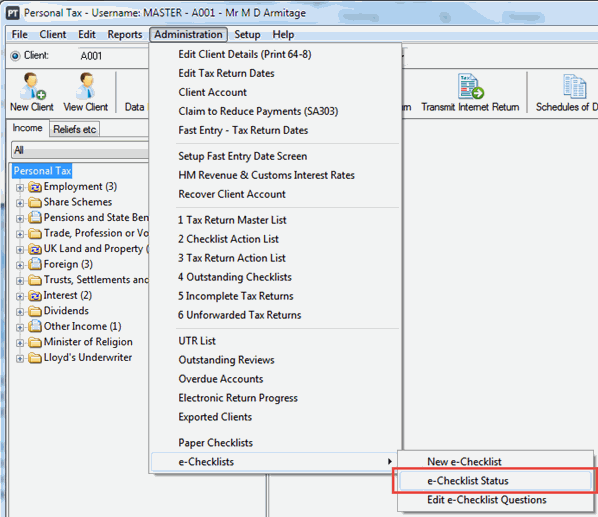
Go to Personal Tax | Administration | e-Checklists | New e-Checklist
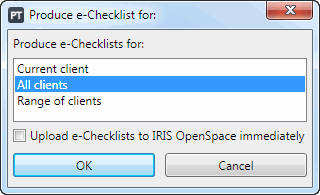
Create checklists for all of your clients in one go by selecting the
All clients option.

To view the e-Checklists, or perhaps edit them, prior to sending them to your clients, leave the Upload to OpenSpace immediately option deselected. For this guide, we will assume that you leave this deselected.
Once the checklists have been created, the e-Checklist status screen will open. From here you can review the e-Checklists which have been created. You can view and/or edit them by clicking View/Edit.
Upload the checklists to IRIS OpenSpace by clicking Upload.
A notification email will be sent to your client automatically, letting them know that their e-Checklist is ready to be completed.
Use the e-Checklist Status
screen to monitor the progress of the checklists. Go to Personal
Tax | Administration |
e-Checklists | e-Checklist
Status

You will be notified automatically, by email, when a client has completed
and finalised the e-Checklist back to you.
Once the client has finalised their e-Checklist, the information can be imported directly into IRIS Personal Tax by clicking Import. If preferred, the e-Checklist can be viewed and printed and the details entered manually; click View/Edit or Print.