|
 |
|
|
This topic explains how to create a set of accounts for an Academy.
Step 1 - Create an Academy
Step 2 - Adding Client Involvements
Step 3 - Adding a new Fund Type
Step 4 - Creating a new Post File
Step 5 - Generating a set of Accounts
 and select Standard. Alternatively, from the menu, select Client | New
The following screen displays.
The following screen displays.
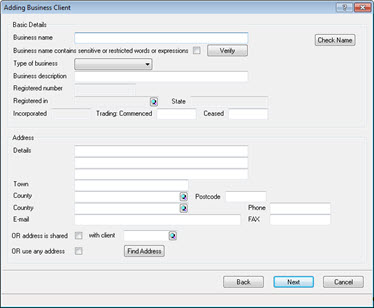
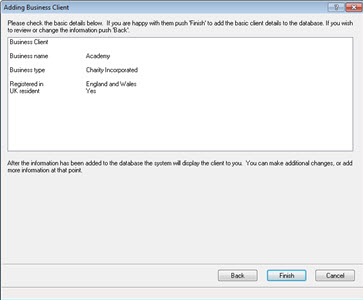
Complete the relevant fields in the Basic Detail section.
In the Type of business field click the drop-down arrow and select Charity Incorporated.
Select the relevant option beside Charity Incorporated, for example, Ltd by guarantee or Ltd by guarantee,s60 exempt.
In the Sub type field select Academy:

Complete the relevant fields in the Address section and click Next.
The following screen displays.
Click Next.
The following screen displays.
The following screen displays.
The following screen displays.
Click OK.
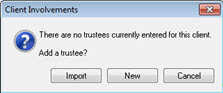
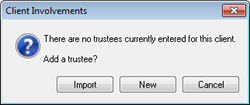
The following screen displays.
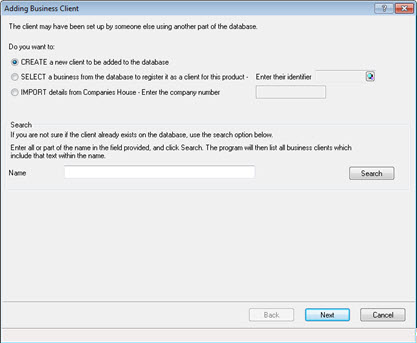
Select one of the following options:
Import if you would like to import the Trustees details form Companies House
New to add a new Trustee or select a person from the existing database
Cancel to exit the screen
 . Alternatively from the toolbar click, Edit | Trustees/Secretary
The following screen displays.
Import if you would like to import the Trustees details form Companies House
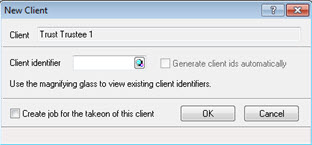
New to add a new Trustee or click a person from the existing database. If New is selected follow step 3.
Cancel to exit the screen
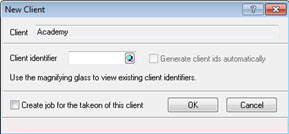
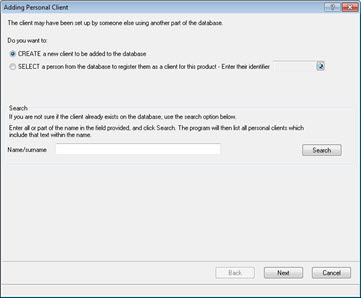
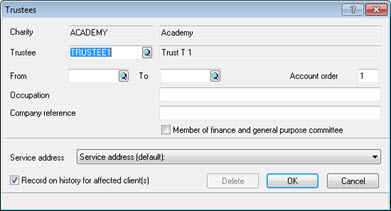
If New is selected the following screen displays.
The following screen displays listing existing people within the database
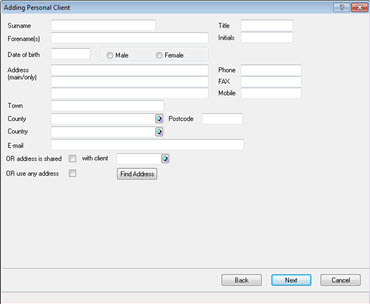
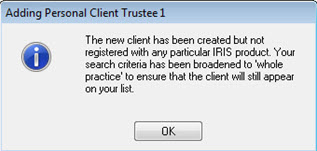
The following screen displays.
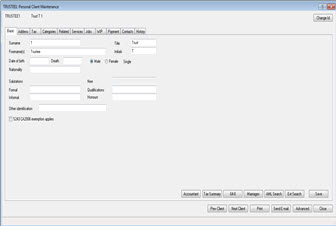
The following screen displays.
The following screen displays.

The following screen displays.

The following screen displays.
The following screen displays.
Click OK.
The following screen displays.
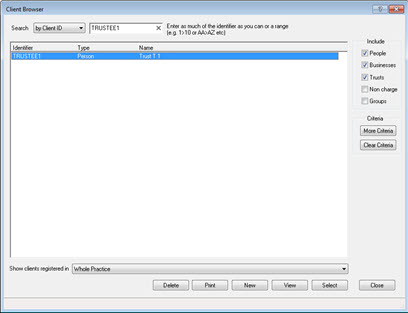
The following screen displays.
From the Client Browser highlight the relevant trustee and click Select.
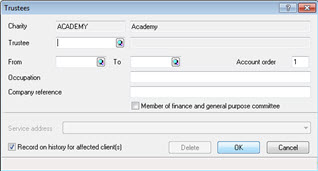
The following screen displays.
The Record on history for affected client(s) option will be selected by default. If no date is entered within the From and To field deselect this option.
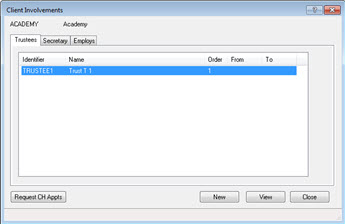
The following screen displays.
New if additional trustees are required; follow process from step 6
View if you would like to view the Trustee information
Close to exit the Client Involvements screen
If this screen does not display, click Edit | Funds
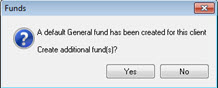
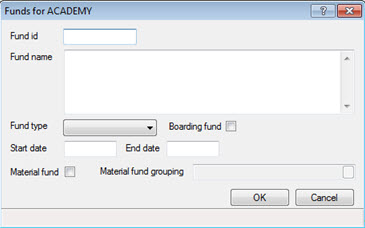
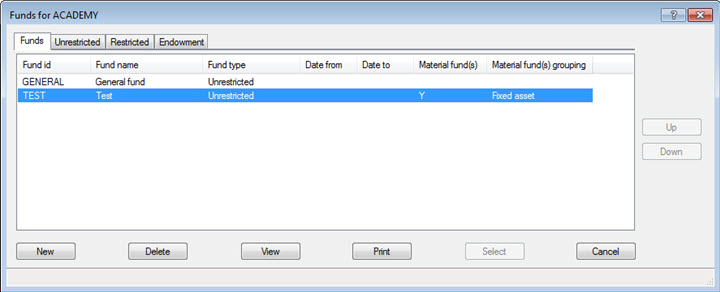
The following screen displays.
In the Fund id field enter an ID.
In the Fund name field, enter the name of the fund.
From the Fund type drop-down list select the appropriate option.
Select Boarding fund if required.
In the Start date field enter the starting date of the fund. (This field is optional).
In the End date field enter a date if required.
If the Material fund option is selected, the default Material fund grouping name will be N/A – Fund name. However, this can be changed; go to step 10. If the Material fund option is NOT selected, go to step 13.
The following screen displays.
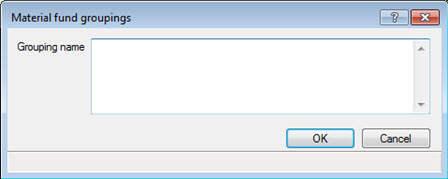
The following screen displays.
New to enter a new material fund group
Highlight the relevant material group fund and click Delete if a material group fund is to be deleted
Highlight the relevant material group fund and click View to view the grouping name of the material group fund
Highlight the relevant material group fund and click Select to use the grouping name
Click Cancel to exit screen
Click OK.

The following screen displays.
New to enter a fund
Highlight the relevant fund and click Delete if a fund is to be deleted
Highlight the relevant fund and click View to review the fund
Click Print to generate a list of funds
Click Cancel to exit screen
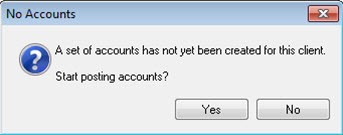
Having clicked Close to the Business Client Maintenance screen the following screen displays.
If the No Accounts dialog doesn't display, from the Accounts Production toolbar, click the  option. Alternatively, click Posting | New
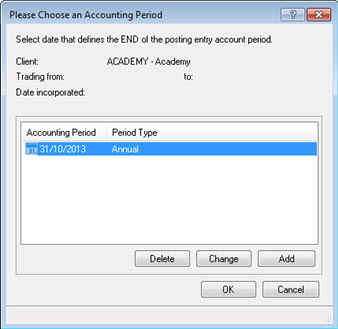
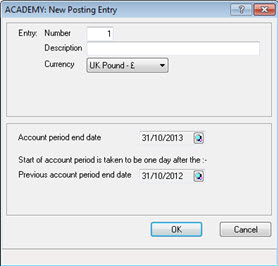
The following screen displays.
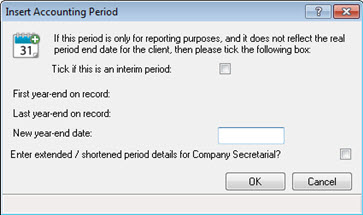
The following screen displays.
Highlight the Accounting Period End date if is not already highlighted and click OK.
In the Description field enter a description for the post file.
Enter a Previous account end date or alternatively select OR use date incorporated. If entering a previous account period end date please go to step 6. If a tick has been placed in OR use date incorporated, go to step 11.
Click the magnifying glass next to Previous account period end date.
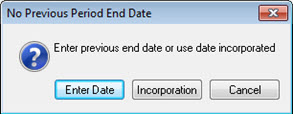
The following screen displays.
Enter Date to enter a previous account end date, go to step 8.
Incorporation to use the date of incorporation, got to step 11.
Cancel to exit the screen.
The following screen displays.
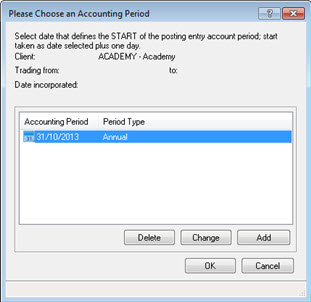
The following screen displays.
The following screen displays.

The following screen displays.
The following screen displays.
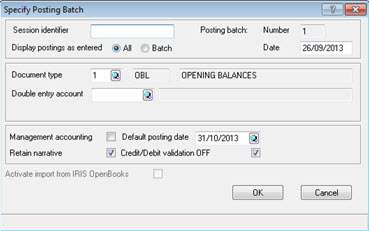
The following screen displays.
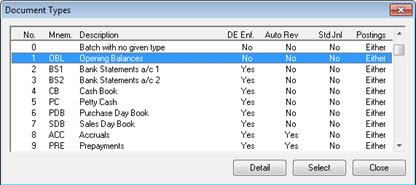
Highlight the relevant document type.
Click Select and OK.
The following screen displays.
In the Amount field enter the amount.
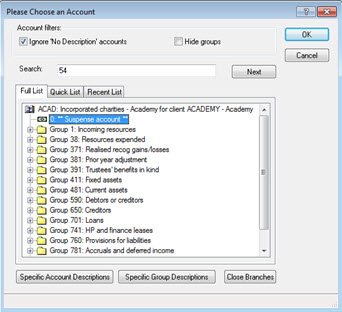
Click the magnifying glass next to the Account field. Alternatively, manually enter the account code and then go to step 18.
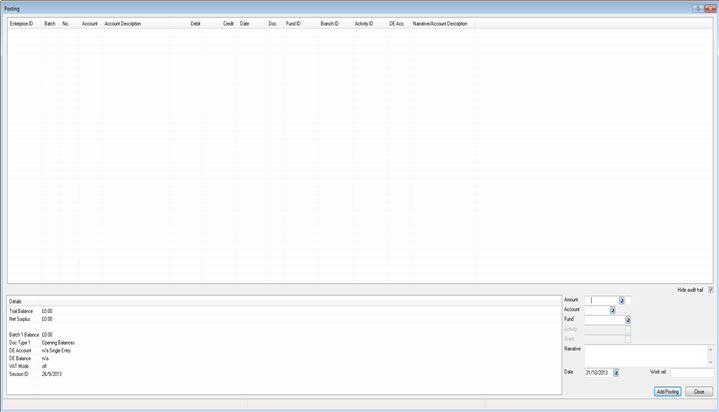
The following screen displays:
The Posting screen displays.
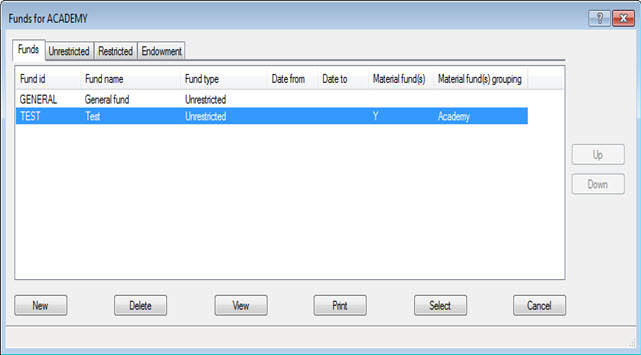
The following screen displays.
New to enter a fund
Highlight the relevant fund and click Delete if a fund is to be deleted
Highlight the relevant fund an click View to review the fund
Print to generate a list of funds
Highlight the relevant fund and click Select to attach the required fund to a posting
Cancel to exit screen
A new fund can also be entered by clicking Edit | Funds from the Accounts Production toolbar if the Posting screen is not open. Refer to Step 3 – Adding a new fund type.
The Posting screen displays.
Clicking the magnifying glass next to the Activity field, displays the following screen.
New to enter an activity
Highlight the relevant activity and click Delete if an activity is to be deleted
Highlight the relevant activity and click View to review the activity
Print to generate a list of activity
Highlight the relevant activity and click Select to attach the relevant activity to a posting
Cancel to exit screen
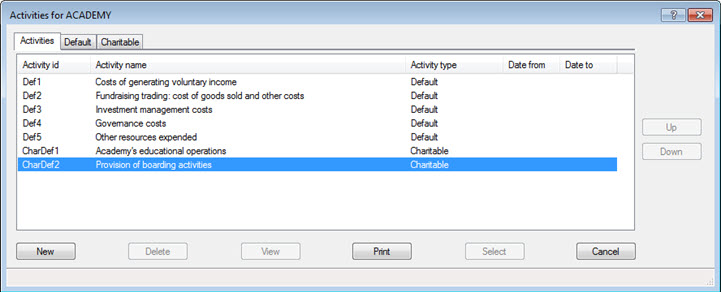
The Activities screen can also be accessed from the menu by selecting Edit | Activities
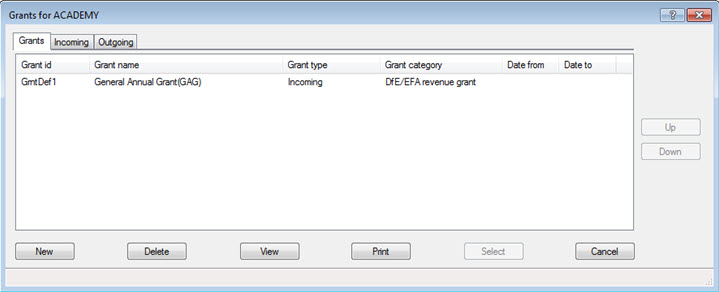
Click the magnifying glass next to the Grant field, displays the following screen.
New to enter a grant
Highlight the relevant grant and click Delete if a grant is to be deleted
Highlight the relevant grant and click View to review the grant
Print to generate a list of grant
Highlight the relevant grant and click Select to attach the clicked grant to a posting
Cancel to exit screen
Alternatively the Grant screen can be accessed from the menu, select Edit | Grants
In the Narrative field enter a narrative if required.
Click Add Posting.
If further postings are required follow steps 15-24. If no further postings are required, click Close to exit the posting screen.
 option.
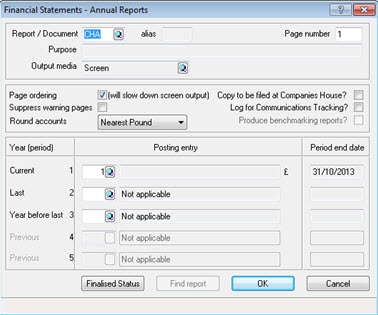
The following screen displays.
Ensure the relevant Report/Document type is entered.
Ensure the correct post entry number has been entered in the Current field and click OK.