Add a client photo
| Applicable to: |
- Search for, then select the required client.
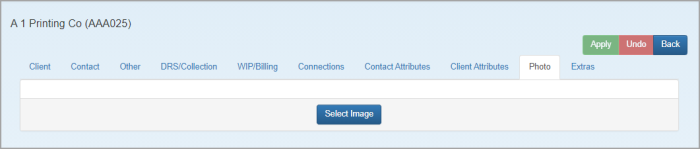
- Select Client > Details from the menu, then select the Photo tab.
- Click Select Image.
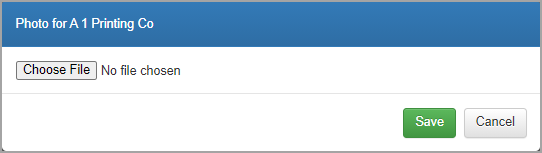
- From the Photo for window, click Choose File.
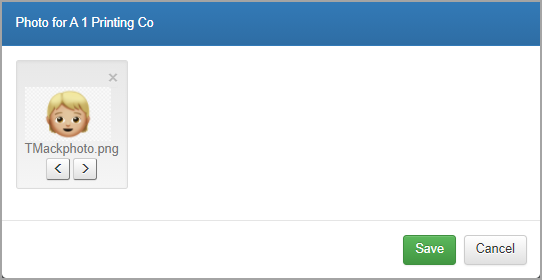
- Find the required photo, then click Open. A preview of the photo is displayed which can be rotated by clicking the arrows. Click Save.
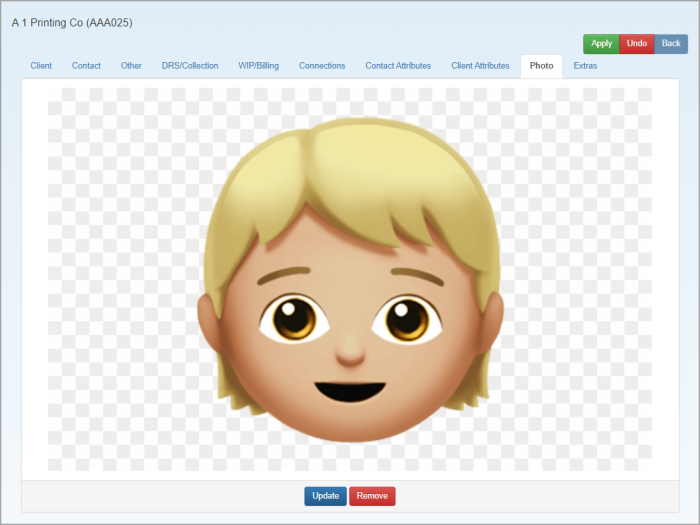
- The photo is displayed and can be updated or removed by clicking the applicable button.