Produce management reports
-
Click on the Payrun icon.
-
Go to the Payrun menu and select Reports followed by Management Reports.
-
At the printer selection screen, select your preferred printer or output format.

-
If you select XLS, each reports will be printed on a separate tab of the spreadsheet.
-
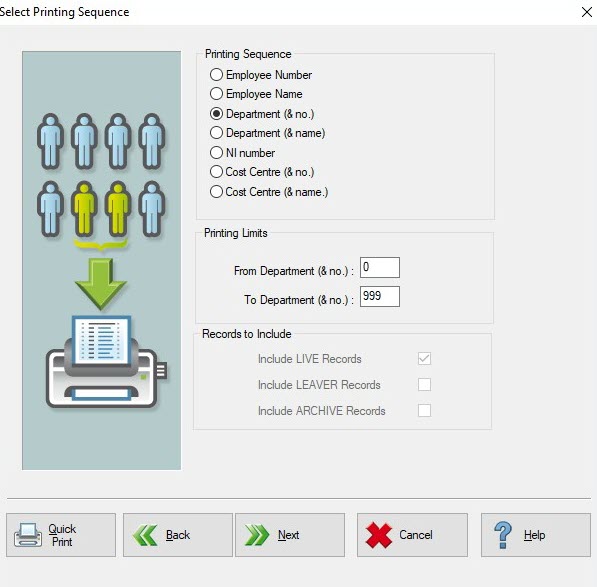
Click Next at the following prompt, then choose a print sequence from the following screen.
-
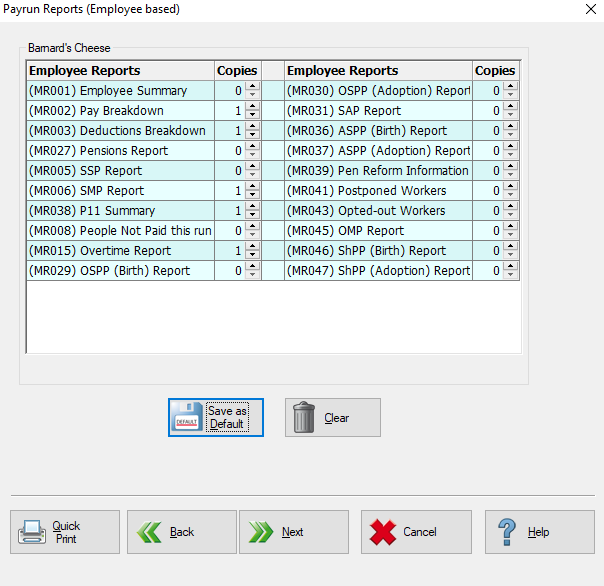
The screen displays the default set of reports, as set up in System Setup. There are 3 pages of Management Reports for you to choose from, the number of copies of each can be set from 0 to.
-
Any number entered here will be active for this report run and will revert to the default setting next time.
-
If you do not wish for a report to be printed, you should set the number of copies to zero.
-
If you do not wish to print any of the reports on this page, click Clear. To save the selected reports to the default template, click Save as Default.
-
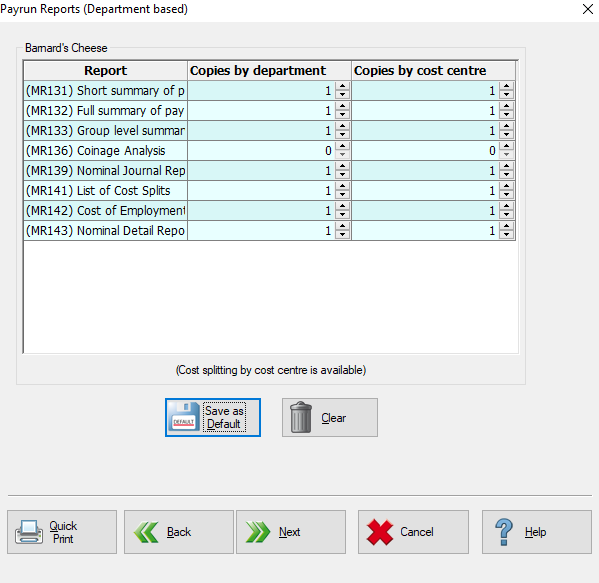
Click Next. The second page of reports will be displayed.
-
Set the copies as necessary, and Save if you wish to save this to the default template.
-
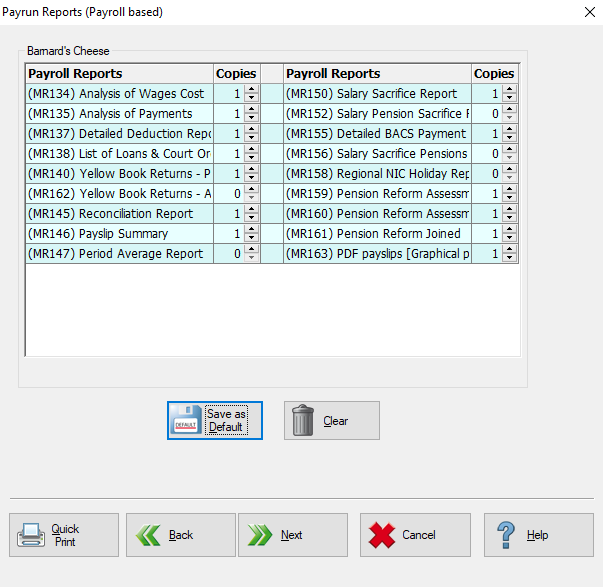
Click Next. The third page of reports will be displayed.
-
Set the copies as necessary, and Save if you wish to save this to the default template.
-
Click Next.
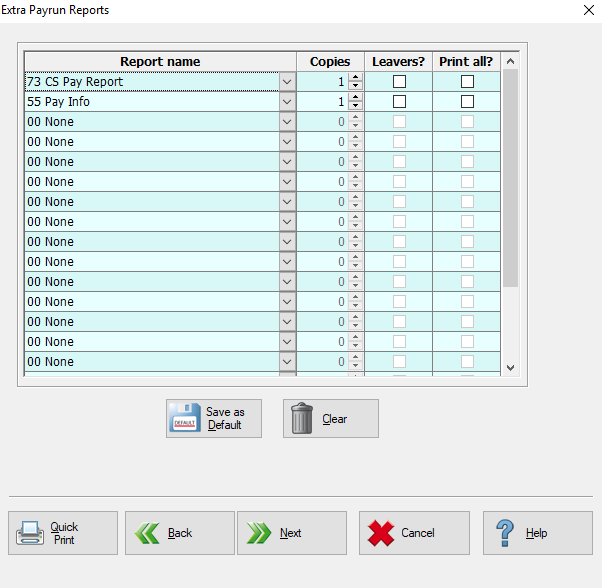
- This next screen allows you to run any extra, user defined reports with the standard payrun management reports. You can only add reports that are based on the employee or pension database files.
-
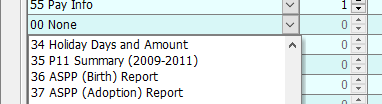
To add a report, select a free slot (indicated by the label 00 None) and select the required report from the drop down.
-
Increase the amount of copies as necessary.

-
If you want to include leavers in this report, check the box as required.
-
The Print All check box allows you to print the report for everyone on the payroll in the event of multiple pay frequencies. Leave this flag blank to print for employees on the current payrun only.
-
If you wish to save the reports specified here to the default template, click Save as Default
-
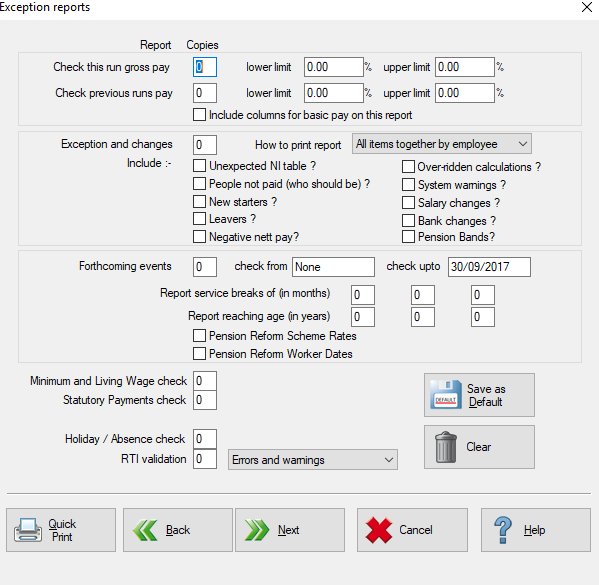
Click Next to continue. The final screen shows the exception reports.
-
For details on these reports, please see the Exception Reports section. To opt for a report, increase the number of copies accordingly. To clear the page so no exception reports are produced, click Clear. To save the options here to the default template, click Save as Default.
-
Click Next to go to the final screen, where you can review all reports to be printed.
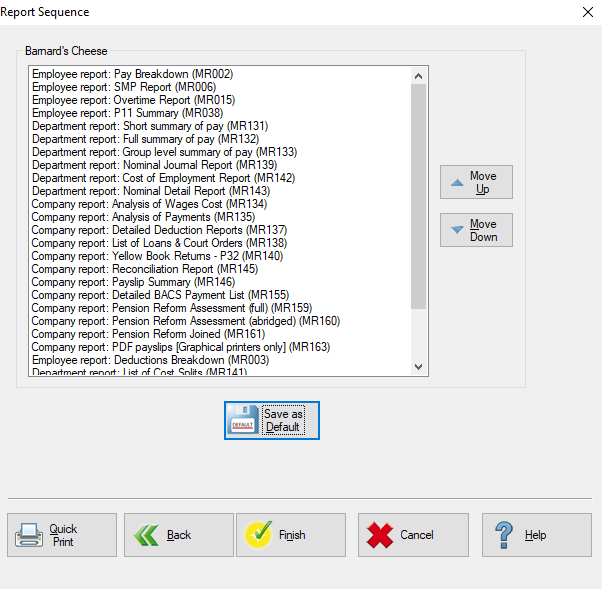
-
The reports will print in the order shown, To move a report up or down the list, highlight the reports and click the Move Up or Move Down button accordingly. To save the sequence to the default template, click Save as Default.
-
Click Finish to print the reports.
-
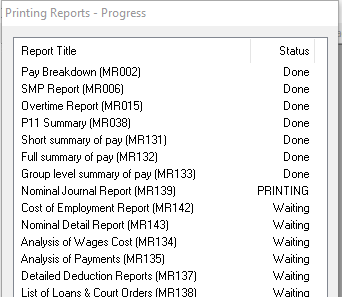
The progress of the printing will be displayed on-screen, this screen will exit once the print has finished. If you have chosen to save the reports to an Excel file, this will open automatically once the reports have finished running.