Live imports
Once you are happy that the checking report is clear of errors, you can run the import in ‘live’ mode, this will import the data into the live records. There are two options for running the import, both accessible from different buttons.
-
Execute – allows you to select the import file.
-
Quick Execute – runs the import using the import file specified in the layout. You should take care when using this option, as an incorrect import file could give damaging results.
Payrun imports
A payrun import is one where you have checked the Payrun entry file option in the template. It is slightly different from other imports as it allows the option of bringing employees into the payrun if they are not in the run already.
A payrun import requires the user to open a run beforehand.
-
Click on the Import / Export icon.
-
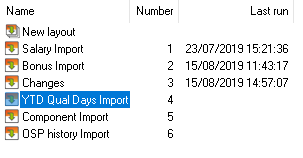
Highlight the import template you require.
-
Click the right arrow icon to proceed.
-
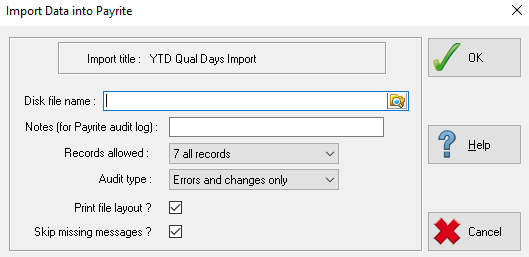
Enter the file path and filename of the import file to check in the Disk file name field. You can use the browse button to the right of this field to navigate to the required file.

-
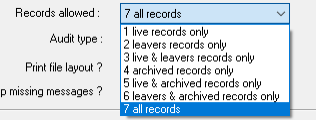
You can restrict the records that IRIS Payrite will use for the import using the Records Allowed box, which contains combinations of record sets to import into. The default is All Records.
-
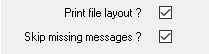
There are two more check boxes at the bottom of the screen.
-
Print file layout will display the template details at the start of the check report when ticked. Skip missing messages skips error messages relating to missing information such as invalid employee codes.
-
Click OK, then select the output option for the import results report.
-
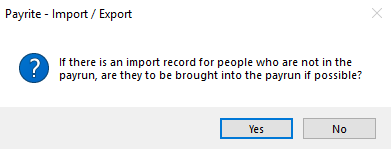
IRIS Payrite will display a dialog, asking if employees not yet in the run should be brought in.
-
Click Yes if you want to bring in employees on the file but not in the run, or No to ignore those records for employees not in the run.
-
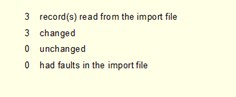
The import will run, and the results displayed on the results report.
-
Check that the import has not had errors, then exit.
-
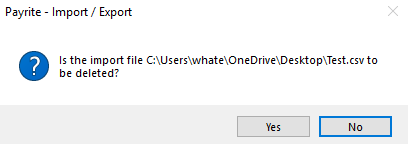
IRIS Payrite will ask whether you wish to delete the original import file – you might wish to do this to prevent repeated imports.
-
Click Yes or No as required.
Other Imports
If you are not importing payrun data, the dialogue box about bringing people into the run will not be displayed.
-
Click on the Import / Export icon.
-
Highlight the import template you require.
-
Click the right arrow icon to proceed.
-
Enter the file path and filename of the import file to check in the Disk file name field. You can use the browse button to the right of this field to navigate to the required file.
-
You can restrict the records that IRIS Payrite will use for the import using the Records Allowed box, which contains combinations of record sets to import into. The default is All Records.
-
There are two more check boxes at the bottom of the screen.
-
Print file layout will display the template details at the start of the check report when ticked. Skip missing messages skips error messages relating to missing information such as invalid employee codes.
-
Click OK, then select the output option for the import results report.
-
The import will run, and the results displayed on the results report.
-
Check that the import has not had errors, then exit.
-
IRIS Payrite will ask whether you wish to delete the original import file – you might wish to do this to prevent repeated imports.
-
Click Yes or No as required.