Importing using component codes
When you are importing components using the component code option, when setting up the template you should specify which component number corresponds to the component codes used in the import file. You can even use this function to import different codes into different fields – for example, you may wish to use code A to import into the component base rate, but code B into the component base units.
You can only specify a maximum of 12 codes per import, if you wish to create an import with more then you should create two templates each with their own set of codes, when running the imports, IRIS Payrite will reject any rows where the code is not specified in the template.
-
Click on the Import / Export icon.
-
Click the + button or double-click on New Layout.
-
Name the template to something you can easily recognise.

-
Set the parameters for file type according to the format of the file you are importing.

-
Check the Does CR or LF end record? box and set the Inverted Commas to Around Text Fields.

-
Set the Date Format and Time fields as fields to match the formats in your import file.
These will be date format 4 for DD/MM/YYYY format dates and Dec hrs with decimal point for hours fields expressed as decimal.
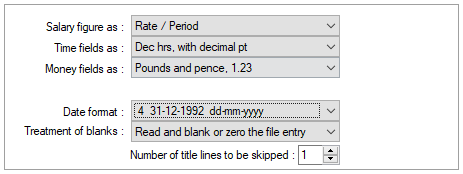
Set the Treatment of Blanks option to Read and blank or zero the file entry, then set the Number of title lines to be skipped to reflect the amount of header lines in your import file.
The Salary Fields As setting can left as the default setting as you would not import any salary details on this sort of import.
-
If you are importing payrun values in the import, you should check the Payrun Entry File box, and also the Pay people after leaving box if your import contains values for employees that have left in a previous period.
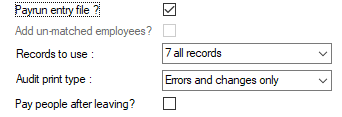
- If you are only importing component base rates, these boxes should be left unticked.
-
Go to the Variables Layout tab.
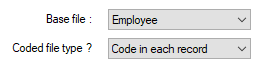
- Set the Base file to Employee and Coded file type to Code in Each Record.
-
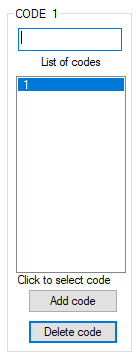
A new section will now be available in the middle of the screen. You should enter each code here, along with details of what should be mapped for that code.
-
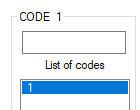
First, enter the code in the field at the top of the section.
-
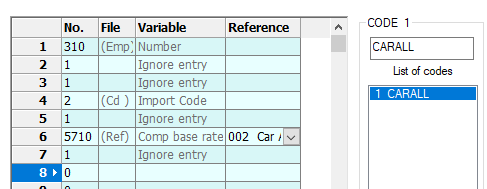
Next, you should define the template for this particular code. This is done in the same way as you would define a template for a non-coded import.
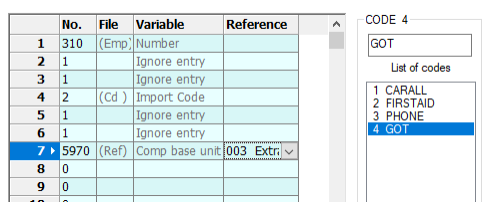
We have four codes here – CARALL, FIRSTAID, PHONE and GOT. We start by adding CARALL as code 1.

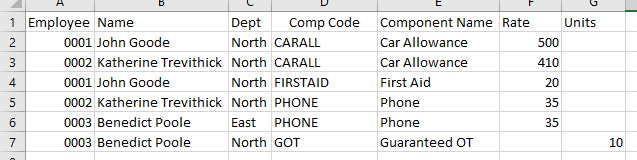
Next, the mapping for the code will be specified. We need the Employee Number from column 1, the code from column 3 and the rate from column 6. We can ignore everything else.
The template for this code would look like this:
- As an example, we will map the following import file:
-
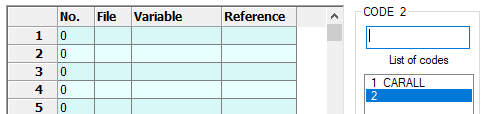
Click Add Code. This will add a second code.
-
As above, enter the Code so it matches the import file then specify the mapping for this code.

- Repeat for all codes that are present in the file (up to the maximum of 12).
-
When defining codes, you can even map different fields for each code, as with the last row in our example, where the import file specifies base units rather than the base rate.
- Click Save.