Import Checking
-
The import checking routine can be accessed by clicking the following button:
-
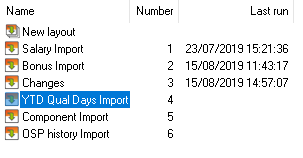
Highlight the import template you require.
-
Click the following button to proceed:

-
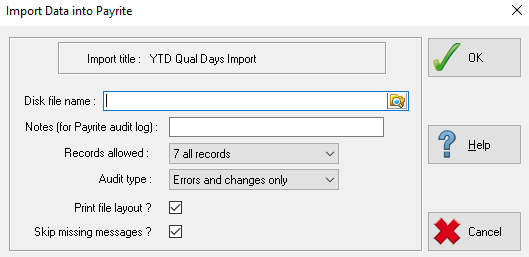
Enter the file path and filename of the import file to check in the Disk file name field. You can use the browse button to the right of this field to navigate to the required file.

-
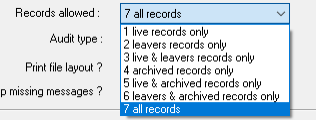
You can restrict the records that IRIS Payrite will use for the import using the Records Allowed box, which contains combinations of record sets to import into. The default is All Records.
-
There are two more check boxes at the bottom of the screen.
-
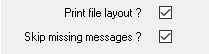
Print file layout will display the template details at the start of the check report when ticked. Skip missing messages skips error messages relating to missing information such as invalid employee codes.
-
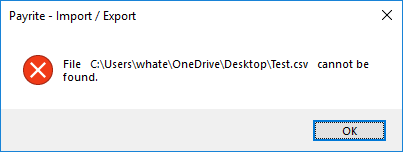
Click OK to run the import check. If you have the import file open or the file path is invalid, you will see an error message appear.
-
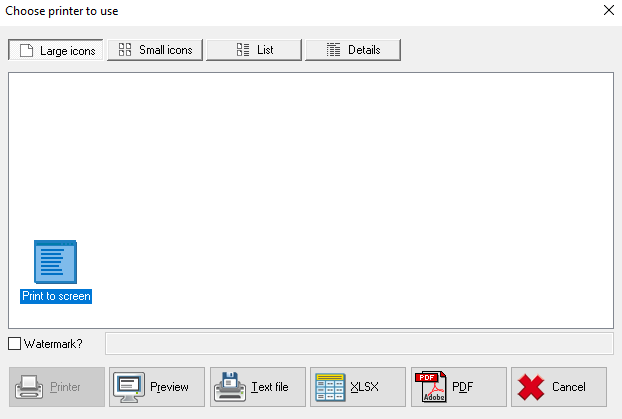
When prompted, select the printer / file output option you would like to produce the check report.
-
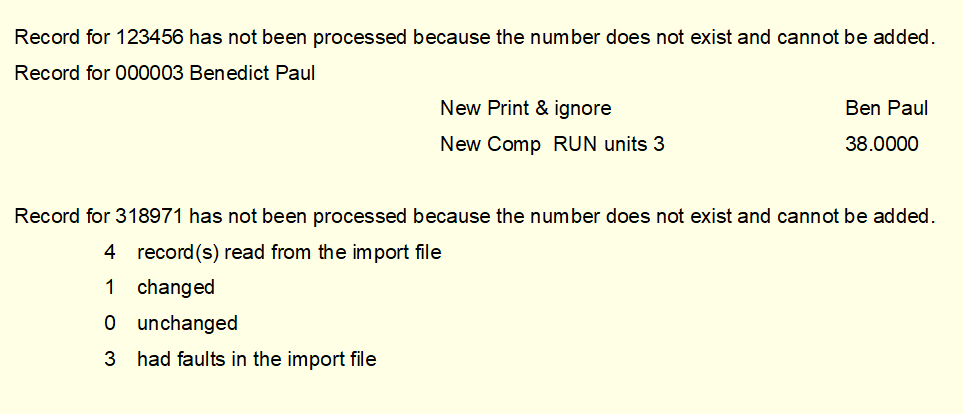
The import check will run – this may take a few minutes depending on the volume of data in the import file. When it has finished, you will see the check report appear.

It will display details of all changes that would be made were the import live, and a summary at the end. The summary details the following:
-
The total number of records in the import file
-
How many records will be changed
-
How many records will not be changed (the imported data will be identical to the data already on file)
-
How many faults are on the import file
You should always check that the number of records reported by IRIS Payrite matches the number of records on the import file. If IRIS Payrite is reporting faults on the import file, you should check through this report to locate them, then correct them on the import file before attempting the check again.
-
-
Please note that if you have Skip missing messages checked, error details may not be shown.
-
Close the check report once you are done.