How to import Pay Details
-
On the ‘Payroll’ menu, select ‘Spreadsheet Import’ then ‘Input Data’.
-
Highlight the required template and then select ‘Enter Data’.
This screen shows the employee and pay details set up in the configuration screen. All current employees will be listed on the template if the Pre-populate with Employees option was selected during configuration. If not, the grid will be empty with just the column headers visible.
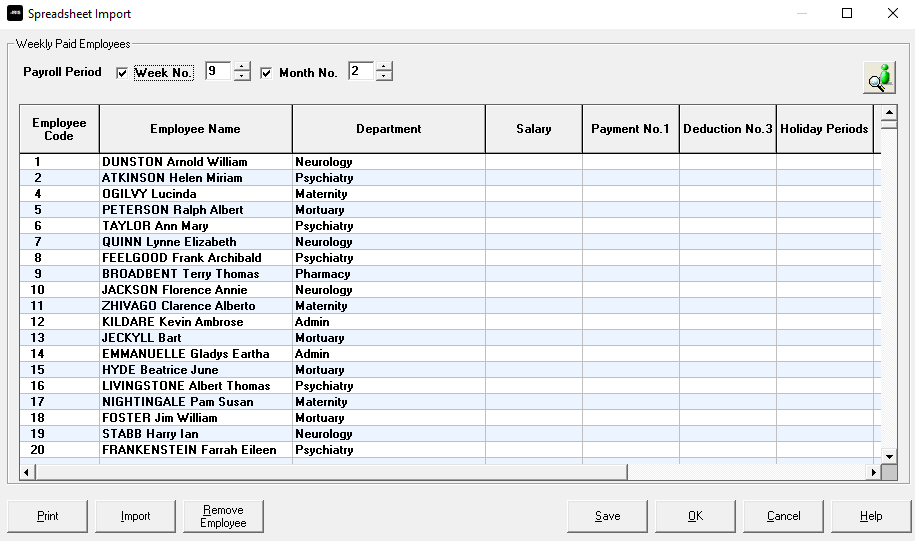
The Payroll Periods shown at the top of the screen match the current payroll date. If you remove the tick from Week No or Month No, those employees who are due to be paid in that week or month will be removed from the template.
You can also move these periods forward to enter amounts for a future period, or move them back to look at entries for historical periods.
There are 2 ways of entering data into this screen. You can simply type it in manually, or you can import directly from a Microsoft Excel spreadsheet.
If the template is not linked to a Microsoft Excel spreadsheet, select each cell as needed and enter your pay details. You can use the cursor keys on your keyboard to navigate within the grid without using your mouse. Use the scroll bar along the bottom of the screen to reach columns to the far right.
-
If the template you created was linked to an existing Microsoft Excel spreadsheet, select Import to bring the data through to this screen:

-
A message will appear, asking you to confirm that details should be imported for the selected pay periods.

-
If the pay periods shown are correct, select ‘Yes’ to proceed with the import.
-
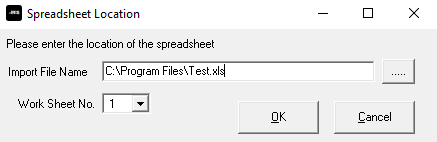
You will then be asked to enter the location of the spreadsheet. If a Default Spreadsheet Location was entered when configuring the template, that location will be displayed. Type into the field or use the Browse button if you need to change the location. You also need to specify a worksheet number:
-
Select ‘OK’ to accept the location and proceed.
-
The system will then import the data into the Spreadsheet Import entry screen. On completion, a message will display detailing how many employee records have been imported.
-
Click ‘OK’ and the data should now be visible on the Spreadsheet Import entry screen. It is possible to edit the data by clicking into each cell and overtyping.
-
Use the Select Employee button to add a particular employee to the spreadsheet. If you need to remove a single employee, highlight their details and select ‘Remove’.
-
Selecting ‘Save’ as you type will save the details on the spreadsheet for payroll processing and leave it open, allowing you to continue inputting data.
-
If you want to keep a printed record of the data you have entered or imported, select ‘Print’ when you have finished inputting data. This is not essential as any data you have saved will be available to view historically.
-
Selecting ‘OK’ will save the details on the spreadsheet for payroll processing and close it.
-
When ready, run payroll as normal and the data from the template should appear in each employee’s payroll details screen.
If you do not need to make any further manual amendments, you can simply run the payroll automatically. Please note, you may receive a warning on those employees with no data entered. If you want to turn this warning off, please do so under Company/Alter Company Options/Payroll and set the If No Clock-in Details to ‘Never Stop’