Creating a CIS Company
-
Select the ‘Company’ menu then ‘Create New Company’.
-
Enter a name into the ‘Company Name’ field and select ‘OK’.
-
Select ‘OK’ on the given Payroll Date.
-
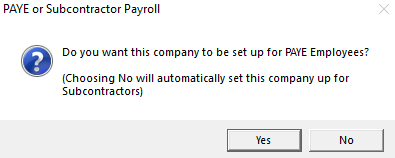
The following message will appear on the screen:
-
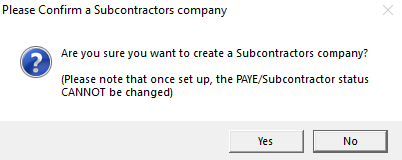
Select ‘No’ and the message will change to:
-
Select ‘Yes’ to create the CIS company.
As a reminder that you are in a CIS rather than a PAYE company, you will see [CIS] beside the Company Name in the Title Bar on the main screen.
-
To enter further Company Details, select the ‘Company’ menu then ‘Alter Company Details’.
-
On the Company tab, enter in the company address. Leave the Directory for Data as it is.
-
Select the ‘Tax’ tab. You must complete this section in order to verify your subcontractors online. Check the Tax Year is correct.
-
If you are paying by BACS, select the ‘Bank’ tab and enter in the Company Bank Account details. Select the right-hand arrow at the bottom of the window to create more bank accounts.
-
Select the ‘Pay Rates’ and ‘Overtime’ tabs if you use these with your subcontractors.
-
Select ‘OK’ to save your company details.
-
There are also some company options to choose from when setting up your CIS Company. To access these settings, select the Company menu then ‘Alter Company Options’.
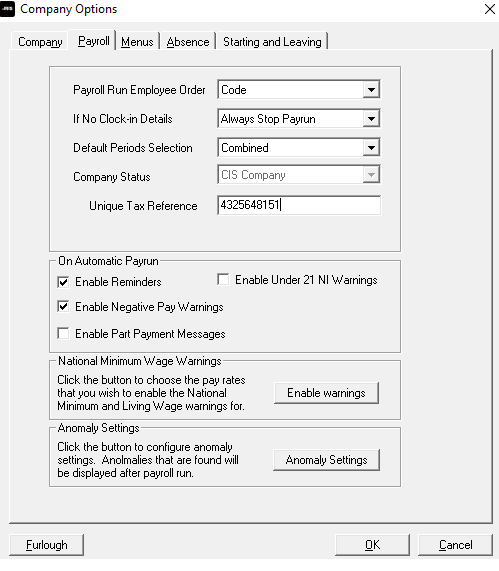
The important settings for CIS purposes are on the Payroll tab card:
-
Company Status - Shows ‘CIS Company’.
-
Unique Tax Reference- Enter your Contractor UTR here.
-
Link to Payroll Company? - This is a drop-down containing a list of all your PAYE companies allowing you to link the CIS Company to a PAYE Company for year-end filing.
You must select the company now so that the correct figures are transferred each month when you do the month-end processing. It is possible to link more than one CIS company to the same PAYE Company.