Communication
In the Communication tab, you can either create an Announcement or update the Message Panel with a message or image.
Create an Announcement
The Announcements feature allows you to add a message to display on the homepage of all or selected employees.
To create an announcement:
-
Sign in to IRIS HR Professional.
-
Go to System Tools > Communication.
-
On the Communication screen, select Create New.
Set the announcement dates (optional)
-
Set Date From and To Dates to control how long the announcement will display.
If you do not add dates, the announcement will display immediately with no end date.
Add an Announcement title
-
Enter an announcement Title.
Add an Announcement message (optional)
-
Enter a Message for your announcement. You can also select the HTML icon (</>) to open the HTML Editor and format the message using HTML tools.
Create a Where Clause (optional)
-
To limit the announcement to specific employees, select the Where Clause Builder (cog icon) to create a clause.
-
Leave this blank to display the announcement to all employees.
Show the Announcement to only Onboarding employees (optional)
-
-
Select the On-Boarding checkbox to restrict the announcement to onboarding employees.
Set the Announcement as a pop-up (optional)
-
Select the Pop-up checkbox to display the announcement as a pop-up.
Set the Announcement as Active
-
When you are ready to launch, select Active. If a date range is specified, the announcement will display starting on the specified date.
Message Panel
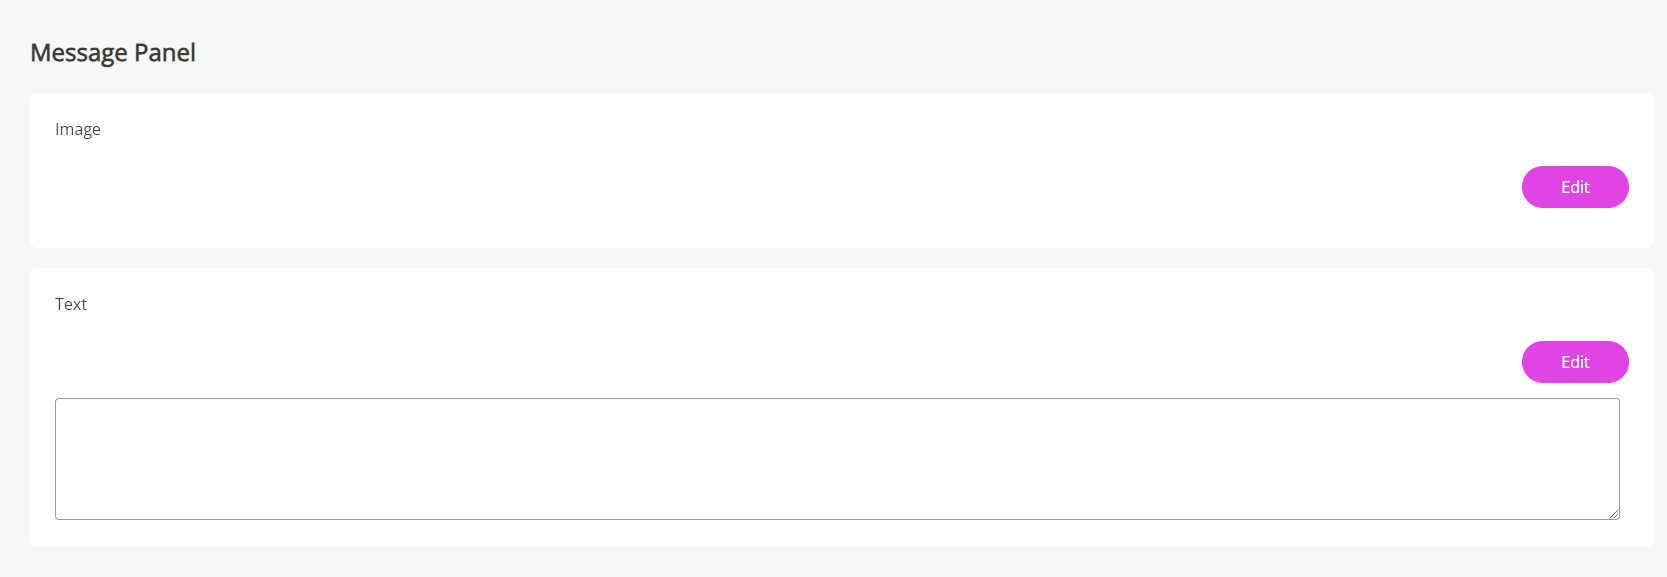
Use the Message Panel section to upload an image to display in a banner on employees' homepages, such as a logo or enter a message to display.
To update the Message Panel:
-
Sign in to IRIS HR Professional.
-
Go to System Tools > Communication.
The Communication screen opens.

-
In the Message Panel > Image or Text sections, select Edit.
-
To upload an image, select Choose file, find the image, and select Open.
-
To add text, enter your message into the box provided.
To format the text, select the HTML Editor (</>) icon, add the text, and select Set.
-
-
Select Save to confirm your changes.
-
After saving, the communication will appear as a banner the next time employees sign in.