Create an Automated Event Notification
-
Sign in to IRIS HR Professional.
-
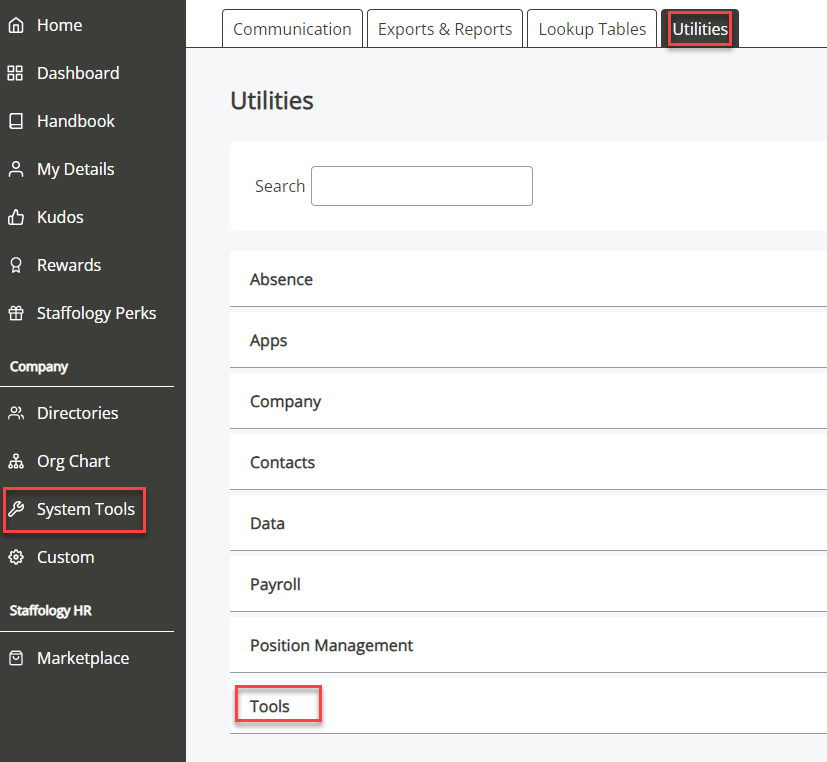
Go to System Tools > Utilities > Tools.
-
Select Automated Event Notification.
A list of any previously created AENs displays.
-
Select Create New.
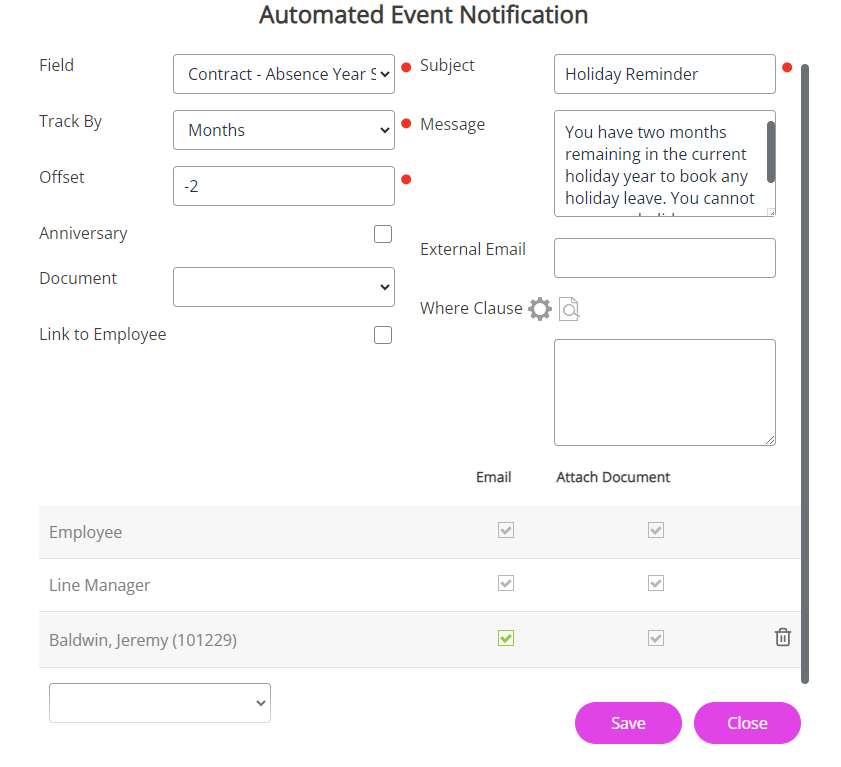
The Automated Event Notifications screen will display.
-
Select an option from the Field list to define the date field you want to base the notification on.
-
Example: For a Holiday Reminder, select Contract - Absence When an employee or worker is absent from work. This can be for a variety of reasons. Year Start.
-
-
Complete the additional fields based on the selected Field type:
Absence
-
Select the Absence Type and Reason (optional).
Accidents
-
Select the accident Type and Category (optional).
Benefits
-
Select the Provider of the critical illness benefit (optional).
Contract
-
No additional fields. Go to step Step 7.
Equipment
-
Select the equipment Item, Asset Reference, and Location (optional).
Personal
-
No additional fields. Go to Step 7.
Professional
-
No additional fields. Go to Step 7.
Training
-
Select the Development Status, Priority/Level, and Category.
-
-
In Track by, choose to trigger the notification before/after the selected date.
-
Select Days, Weeks, Months, or Years.
-
-
In Offset, enter a number to specify how far before or after the chosen date the notification should be sent:
-
A positive number (1) sends the notification after the date chosen from the Field list.
-
A negative number (-1) sends the notification before the date chosen from the Field list.
Example: For a Holiday Reminder, if you enter -2, the notification will send 2 months before the date in Contract > Absence Year Start Date.
-
-
Select the Anniversary checkbox to send the notification annually. For example, holiday reminders, contract reviews, or work anniversaries.
-
This ensures the notification sends every year, regardless of the year in the date field.
-
-
If you have created a Mail Merge template, select it from the Document list to attach it to the notification.
-
You can only attach Mail Merge documents created in the Personal, Contract, or Payroll tabs.
-
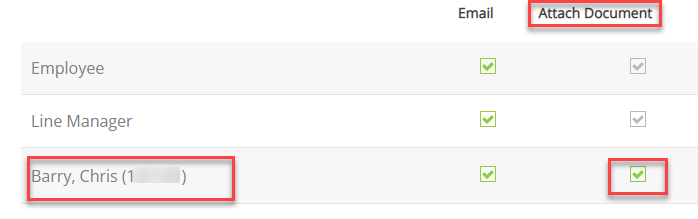
In the table at the bottom of the screen, select the employee and check Attach Document to activate it.
-
-
Select the Link to Employee checkbox to save a copy of the Mail Merge selected from the Document list in the employee's My Details > Documents tab.
-
Enter the Subject(title) of the notification.
-
In Message, enter the body of your notification (optional). The message you add sends to all included recipients.
-
In External Email, enter any shared email addresses to send the notification to external recipients (optional).
-
For example, you may have different email addresses for each department in your company such as HR@company or IT@company who also need to receive this notification.
-
Separate each email address added in External Email with a semi-colon (;).
-
-
In the Where Clause Allows you filter records using a specific criteria., enter a clause or select the Builder (cog icon) to create a clause and restrict who receives this notification.
-
For example, you may create a notification to only send to employees in one department.
Learn more about creating Where Clauses and examples.
-
-
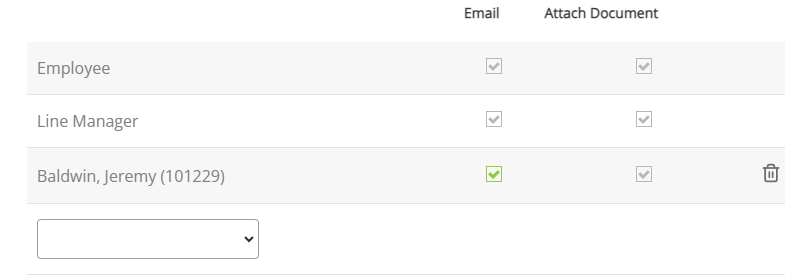
By default, the Employee and Line Manager checkboxes are selected as recipients of the notification. Deselect these checkboxes if necessary.
-
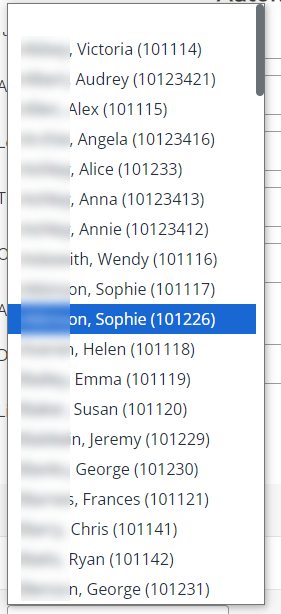
To add additional recipients, select their name from the dropdown.
-
To remove a recipient, select the bin icon.
-
If you do not want either of these recipients to receive the email notification, deselect the tick checkboxes.
-
-
To add more recipients, select their name from the dropdown.
-
Select Save.
-
The Utilities > Automated Event Notification screen will update with the new AEN.
If you create an AEN based on a Review Date, another alert sends on the actual review date.