Adding a New Role
New roles can be added by clicking on the Add New Role option.

The first tab is called Details. Start by entering the Name for the new role in the Name textbox. As this is a role that you are adding into the system the Type will automatically show as User-Defined. You do not need to save at this point you can continue with setting up the remaining information for the role. You may, if you wish, add a description of the Role and Activities within the Role in the Description narrative box.
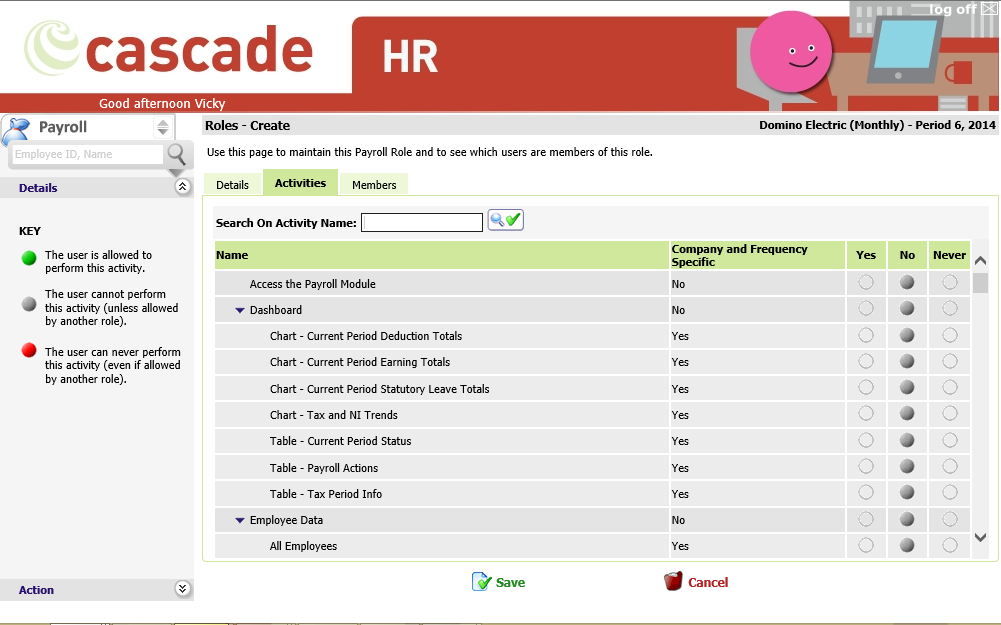
The next tab is the Activities tab this area shows what menu items the role will/will not have access to. The options available depend on the modules that you have on your system.
When setting the access rights to each function the following options are available:
|
Item |
Description |
|
Name |
This is the name of the Activity the user can/cannot perform, to expand this section click on the down arrow at the side of the Name of the Main Area in the system. Clicking on the arrow will collapse the section, re-clicking on the arrow will expand the section fully. You will then be able to set access for all the Activities in the Main System Area |
|
Company and Frequency Specific |
This area shows whether the activity is a Payroll and Frequency specific activity or whether this is something that will relate to all Payrolls and Frequencies. If this is set to No – Then the activity will relate to all Payroll Company information.
If this is set to Yes – Then the activity will relate to only the Payroll Companies the User has access to see. |
|
Yes, No and Never
|
Yes – when this is selected this means the user has access to this activity in the Payroll Web. No – when this is selected this means the user has no access in this role to that activity. Never – when this is selected this means that the user has no access in this, or any other role assigned to that activity.
To select an activity, you will need to give access to the Main System area at the top of the section (these are the fields that have the arrow at the start of the name) |
Select the functions that you want the person who has the role to have access to.
For convenience there is a search area available in the Roles. If you are unsure where an activity sits you can search it by name.
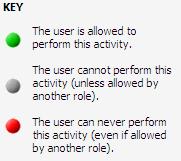
In the example below, we want the user to be able to access the Payroll Web module, dashboards and Employee Data, so we set the option to Yes for these activities, this is indicated by the green circle, giving access to the Payroll Web Module, Dashboards and Employee Data.
Once you have selected the functions that should be made available to the role select Save. Should you wish to exit and not save at any point you can select the Cancel option.
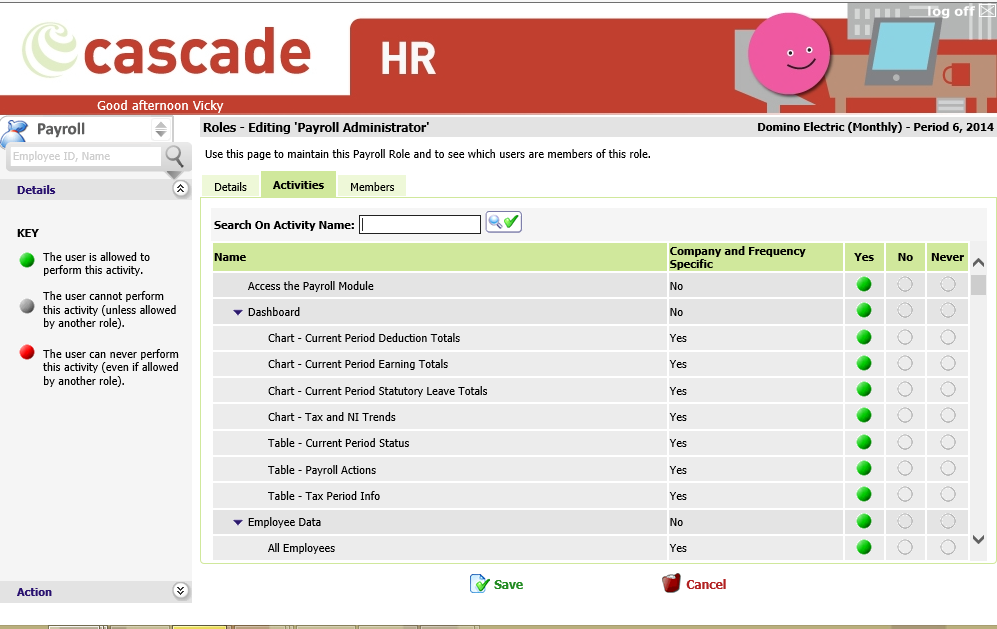
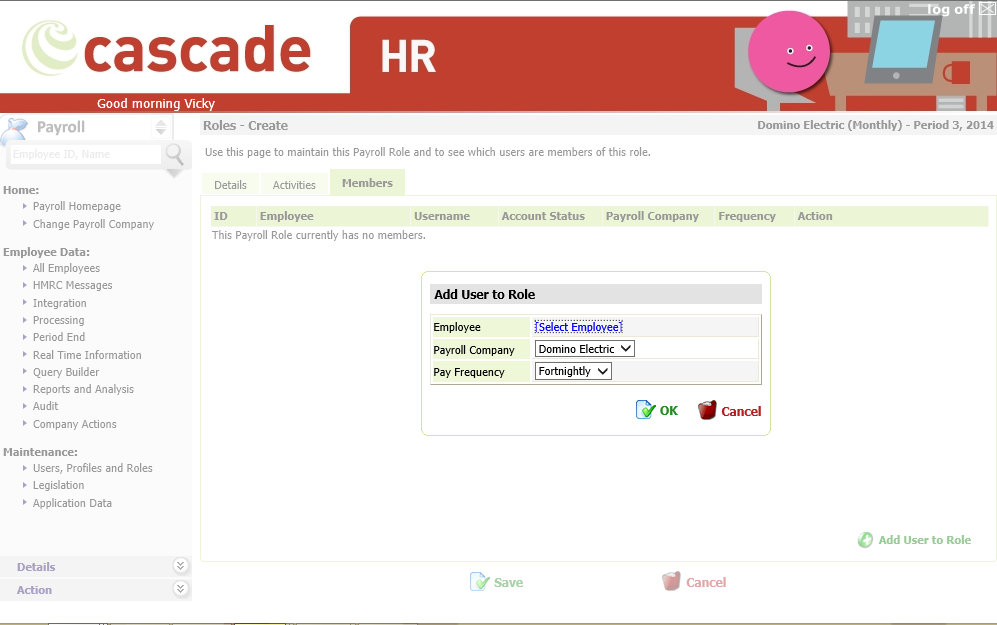
When a Role has been added to user they then become known as Members of that role. You can view, add or remove the members of a role in the Members tab. To add a user, select the Add User to Role option.
|
Item |
Description |
|
Employee |
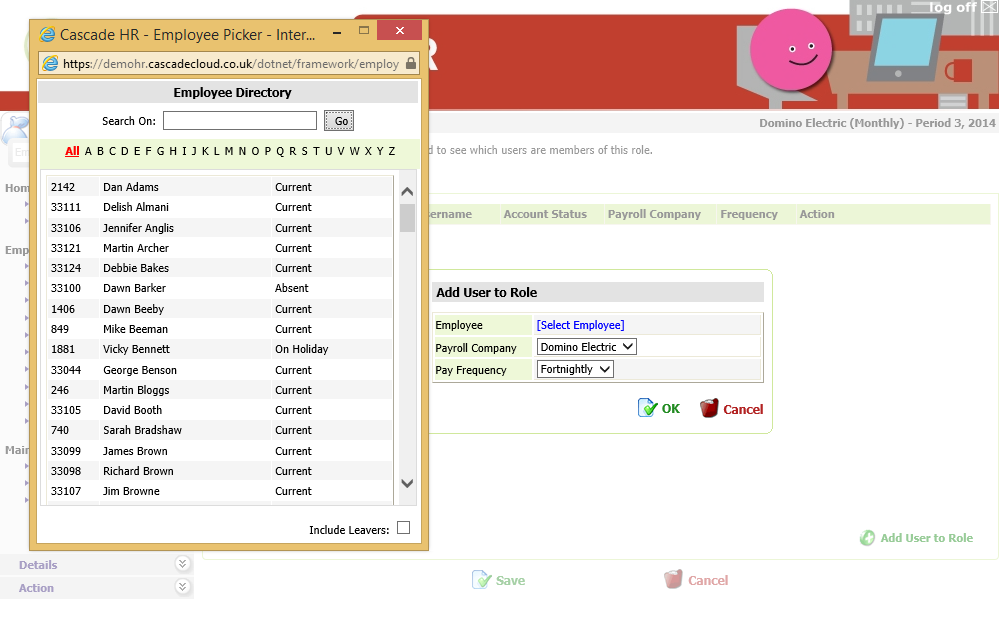
Selecting the Select Employee option will then open a pop-up employee picker box, this by default contains all current employees. If you wish to see leavers there is a tick box option to the bottom left hand side of the employee picker, simply tick this option and the leavers will then be included in the list of employees. The employees are listed in alphabetic order by surname. You can see an employee either by clicking on the letter for the surname or by clicking the All tab. Click on the employee’s name to select them. Their name will then show as selected. (usually in blue text). Alternatively, you can search for an employee using the Search option. |
|
Payroll Company |
Select the correct Payroll Company from the drop-down list available. This should contain all live Payroll Companies containing Employees. This field links to the Company and Frequency Specific information in the Activities Tab. Setting a Payroll Company here will mean that the role activities are applied to that particular company, unless the Activity was marked as non-Payroll Company and Payroll Frequency specific. |
|
Pay Frequency |
Select the correct Payroll Frequency from the drop-down list available. This should contain all live Payroll Frequencies containing Employees. This field links to the Company and Frequency Specific information in the Activities Tab. Setting a Payroll Frequency here will mean that the role activities are applied to that particular company, unless the Activity was marked as non-Payroll Company and Payroll Frequency specific. |
Once you have made your selection you can either select OK to add the change or Cancel.
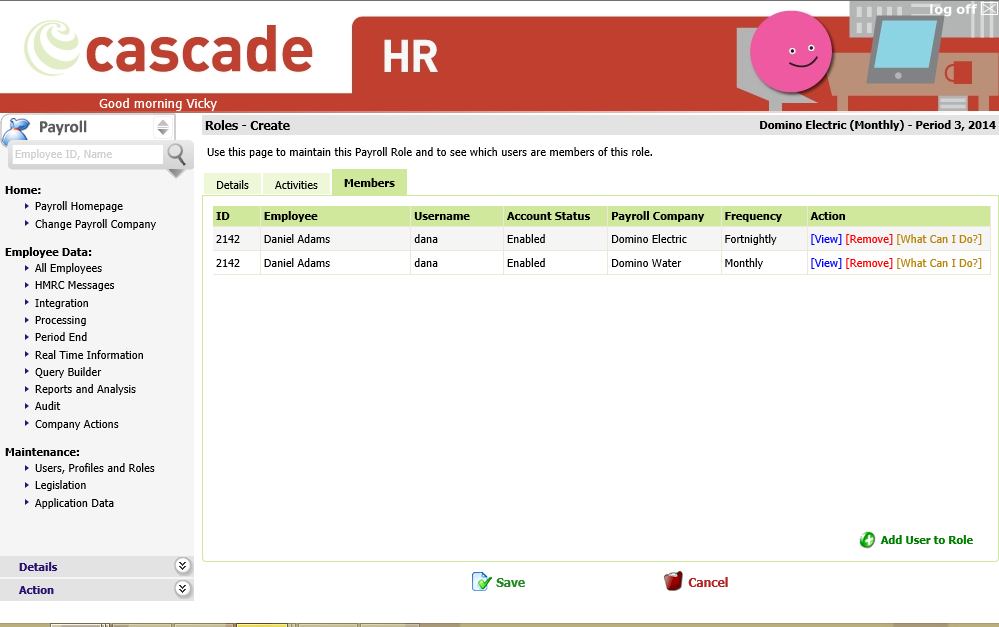
A User can be added into the Role multiple times if required, one addition per Payroll Company and Payroll Frequency. In the example below Daniel Adams needs to have the role activities for Domino Electric (Fortnightly) and also Domino Water (Monthly).
|
Item |
Description |
|
ID |
This is the Employee ID in Payroll Web |
|
Employee |
This is the Employee name in Payroll Web |
|
Username |
This is the ID the user uses to log into the system |
|
Account Status |
This shows the status of the User’s account i.e., enabled, disabled etc., |
|
Payroll Company |
This is the same as described in the previous table |
|
Frequency |
This is the same as described in the previous table |
As mentioned above there are actions you can perform against each member of the role.
|
Item |
Description |
|
View |
Selecting this option will take you to the users User Account, this system area is covered later in this document. Under the Users section. |
|
Remove |
Select this option to remove the User from the Role, this means they will no longer be a member of this role. |
|
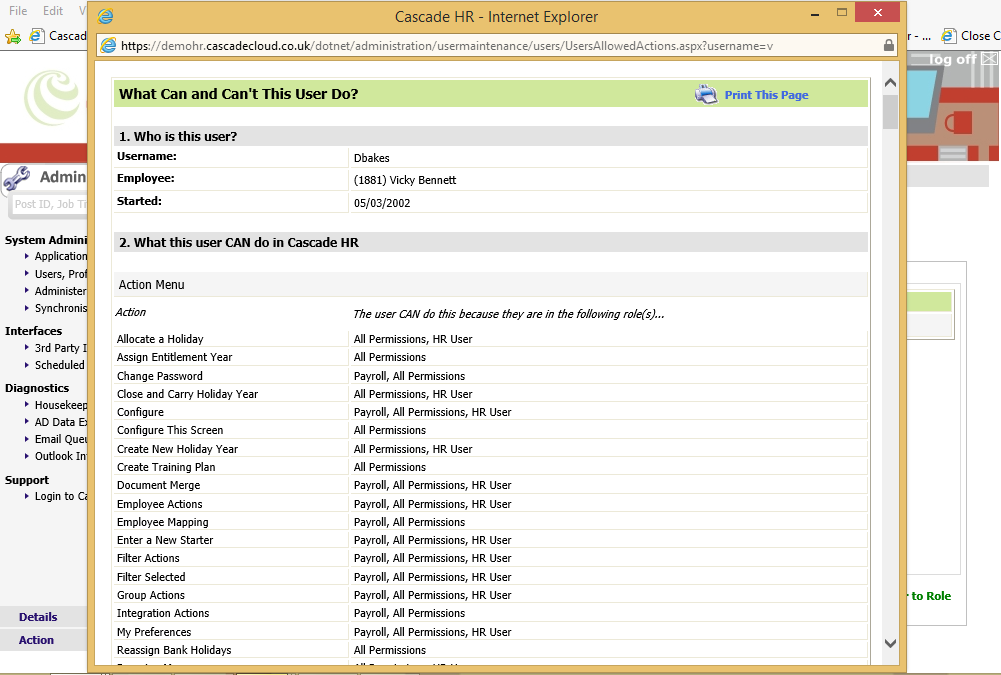
What Can I Do? |
Selecting this option will open a pop-up window which details all the access a user has or does not have. This window includes detailed information of the activities along with which the role name where the activity has/has not been assigned. It is possible to print this page. |
Before leaving the Roles section, remember to select Save to save your changes again if you do not wish to save the changes you can select the Cancel option.