Create a Termination Payment Element
Within Payroll > Settings > Application Data > Pay Elements > Earnings, select Add New Element.
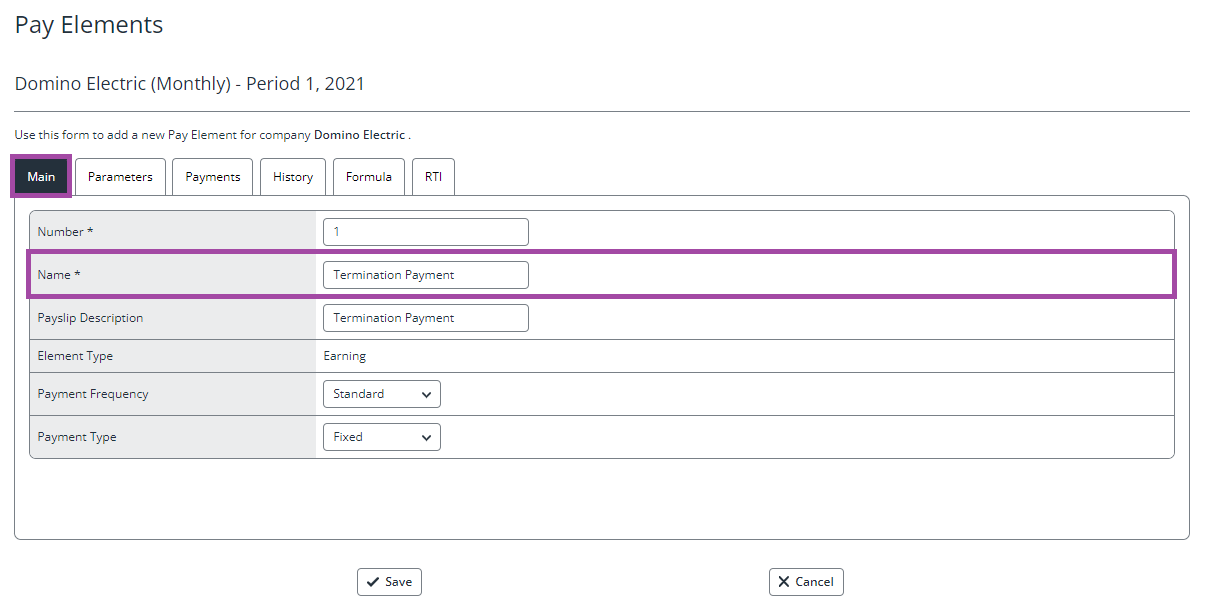
On the Main tab, populate the element Name.
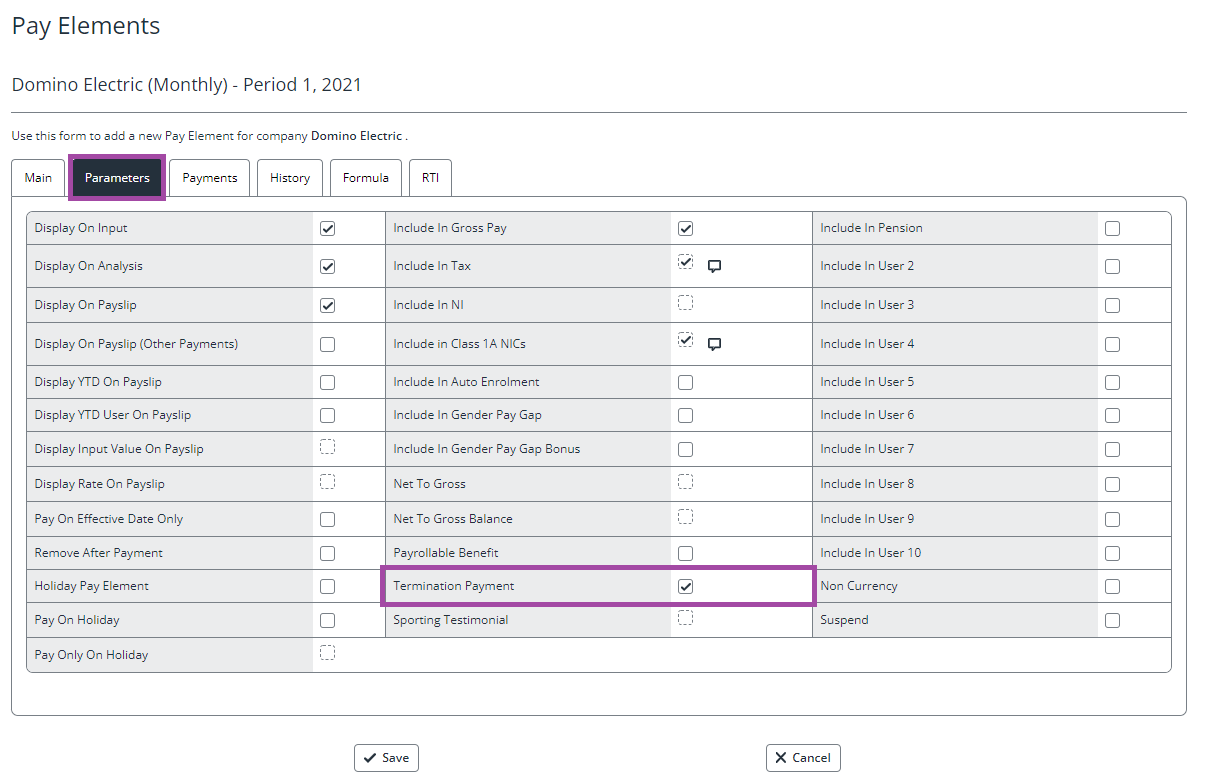
Once you have populated the Main tab, click on the Parameters tab, and select the Termination Payment setting
Once you are happy with the details here click Save.
When Termination Payment is ticked, the Include in Class 1A NICs and Include in Tax options are automatically selected. You will also receive the following warning: ‘Checking this box will change the Week Number To Zero User YTD and Month Number to Zero User YTD history of this pay element to Never. Are you sure you want to continue?’
Termination Payments will not clear down on year end. The to-date figure will be the total value paid to the employee for the duration of their employment.
|
Field |
Description |
|
Display on Input |
This will display the element within the ‘Input Variable Pay’ screen against the employee record |
|
Display on Analysis |
This will display the element on the Gross Pay Analysis report and the General Ledger file |
|
Display on Payslip |
This will show the element on the employees’ payslip |
|
Include in Gross Pay |
Payments will be included in Gross Pay |
|
Include in Tax |
Payments will be subject to Tax when the amount exceeds the relevant threshold |
|
Include in Class 1A NICs |
Payments will be subject to Class 1A NIC when the amount exceeds the relevant threshold |
Tax Calculations
Tax is automatically calculated on any value that exceeds the threshold, see examples below:
-
Termination Payment (Threshold £30,000) - Payment of £31,000 made to the employee - Tax is calculated on £1,000
Class 1A NI Calculations
Class 1A NICs are automatically calculated on any values that exceed the thresholds, see examples below:
-
Termination Payment (Threshold £30,000) - Payment of £31,000 made to the employee - Class 1A NI is calculated on £1,000