Adding an Element Import
Go to Payroll > Processing > Element Import to begin an element import.
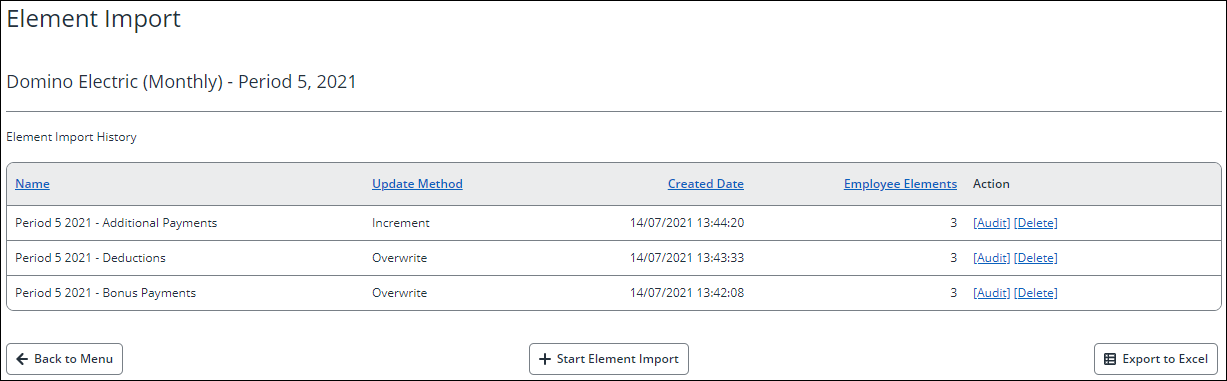
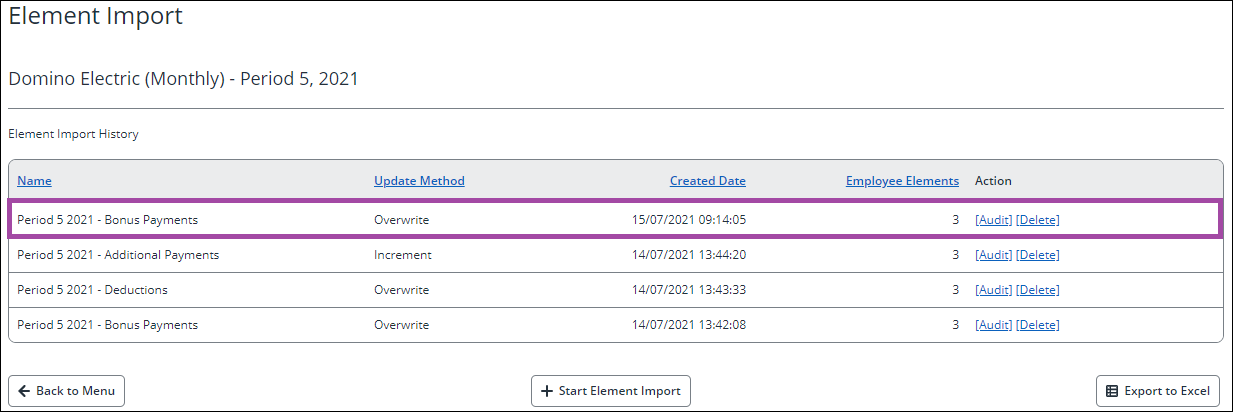
The Element Import screen shows a list of all historical imports and acts as an audit trail.
To begin a new Element Import, complete the following steps:
-
Select Start Element Import.
-
Using the drop-down selector, select Current Period or History as the Type of element import you want to make.
-
Select Choose File to browse for the import file you wish to use (remember this must be in the format described in the File Format section).
-
Select the file you wish to import and select Open.
-
Once the file is uploaded, the name of the file appears next to Choose File. Select Next: Preview the Import to continue.
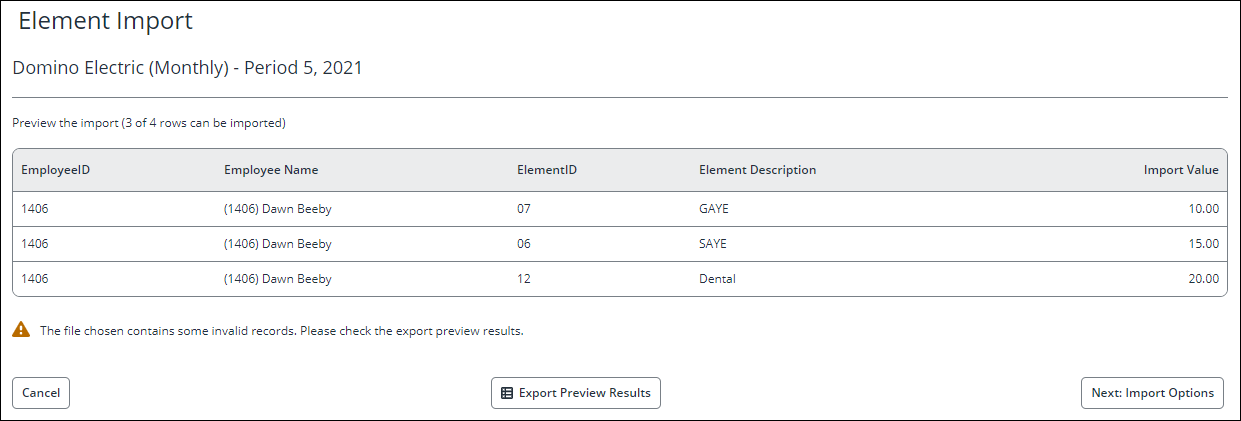
Once processing is complete, the preview import screen details the number of rows that can be imported, the grid on the screen shows the Employee ID, Employee Name, Element ID, Element Description and Import Value of all rows that have been successfully processed. Select Export Preview Results to check the imported data and save for your records, the spreadsheet details both the failed and successful items, the failed items tab highlights the reason for the records failing.
-
Once you are ready to commit the data, select Next: Import Options.
-
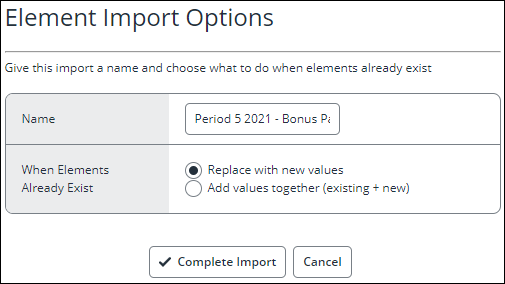
Enter a Name for your element import. This helps you to identify the import when it shows in the element import list screen.
Decide whether you wish to Replace with new values or Add values together (existing + new) when the pay element is already assigned to the employee. If the pay element is not assigned to the employee before the import is performed, the element is assigned as part of the process.
-
Select Complete Import to continue. This applies the imported data to your employee records.
-
The audit report for the element import appears. The Status column displays Inserted where the element has been assigned to an employee or Updated, where the value was updated. This audit can be filtered using items in the grey filter bar and exported to Excel by selecting Excel Export.
-
Select View against any of the audit rows to be taken to the employees PAY ELEMENTS screen in the Details area. This allows you to view the pay element details for the employee.
If you need to access the import audit again, return to the Element Import screen.
To do this select Processing > Element Import.
This only deletes the record from this screen and does not reverse the effects of the import.
Best practice tips
If the same element is put on the import twice the system sums up the values and apply them against the one element.
Where an employee already has multiple instances of an element against their record, the import updates all of them with the results of the import.
To import Pay Element History, follow the same process, with a different file format.