Installing SQL Server Express
If the server, PC or both you are installing IRIS Sync on has no existing instance of SQL or you are unable to access it, you can install a new, separate SQL Server Express instance instead, and then run the Data Extractor installer afterwards (selecting this instance as the one to use).
Downloads
2019 - open the file and select Download Media, then Download. Once this finishes, select Open folder, then double-click SQLEXPR_x64_ENU.exe to start the setup.
Step-by-step guide
-
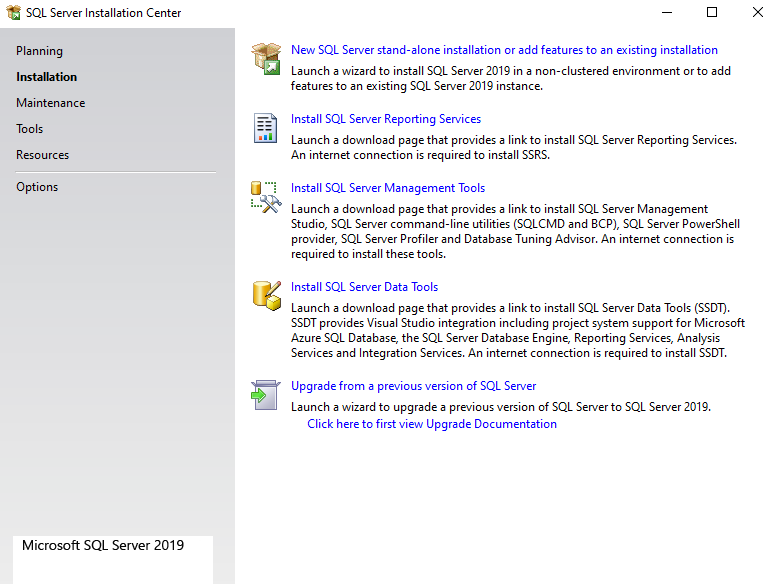
To begin, launch the install program and choose the top option to install a new stand-alone installation.
-
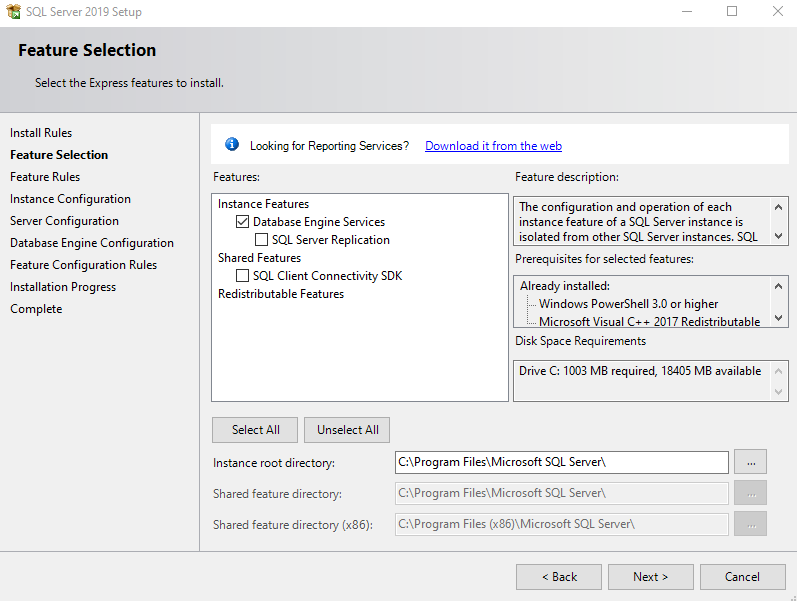
Accept the license agreement and select Next. At this point you can choose the features that you want to install. You only need to select the top option Database Engine Services. Select Next to continue.
-
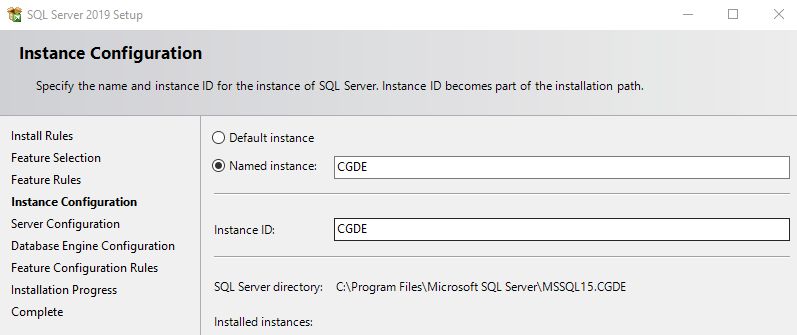
Now you can configure the SQL instance. Select Named Instance and give it a name of CGDE. Select Next to continue.
-
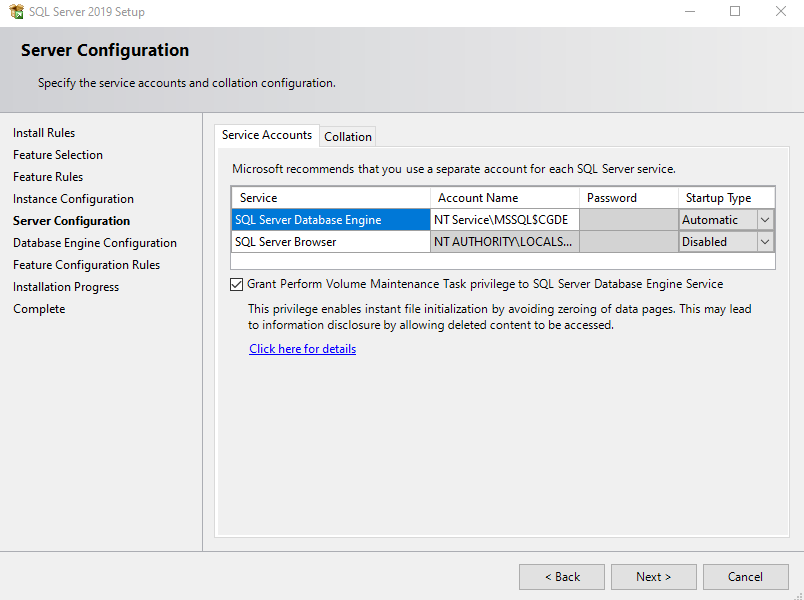
Leave everything as default on the Server Configuration page and select Next to continue.
When installing 2019 it displays a Grant Perform Volume... tick box. Make sure this is selected before selecting Next.
-
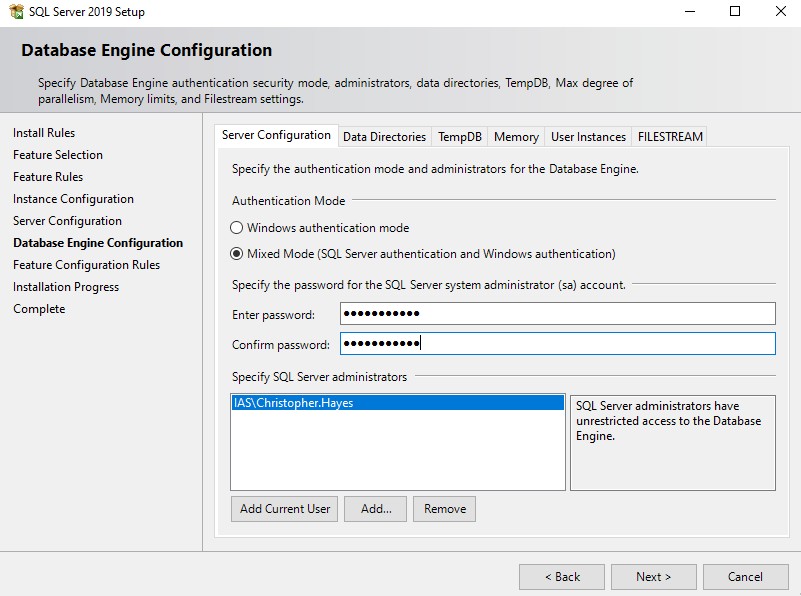
On the Database Engine Configuration tab you can select whether SQL Server only authenticates using Windows accounts or you can choose Mixed Mode which allows Windows accounts and SQL accounts. Always set this to Mixed Mode and set the password for the sa account. You can also add or remove accounts that are SQL administrators, add the current user. Once done, select Next.
-
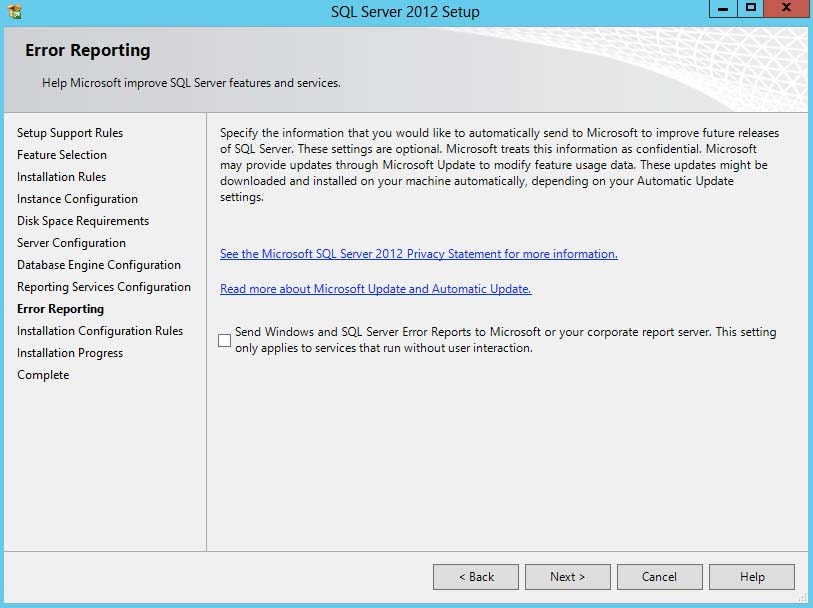
On the Error Reporting step, you can choose whether or not you would like to send error reports to Microsoft to help them improve future releases of SQL server. Ignore this and select Next to continue.
-
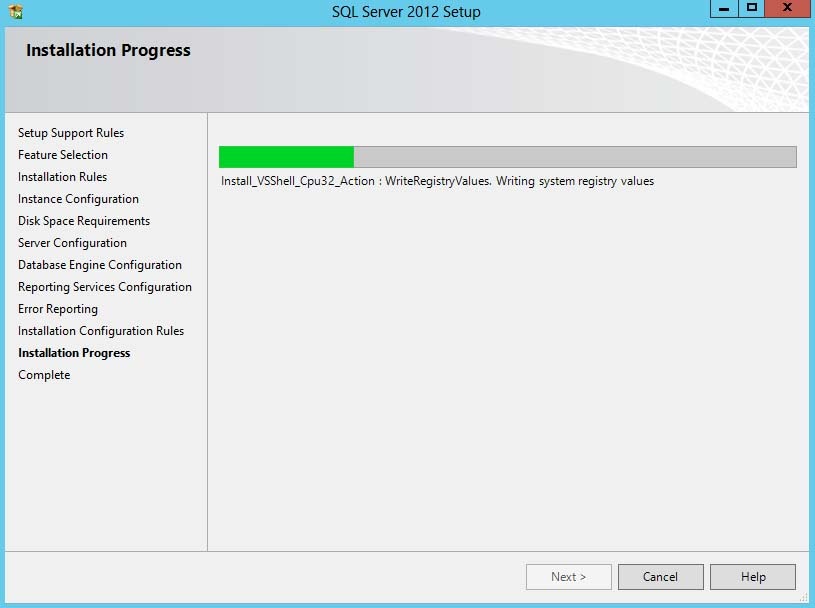
At this point, SQL server installs on the machine. This could take a while to complete but it depends on the speed of the machine you are on.
-
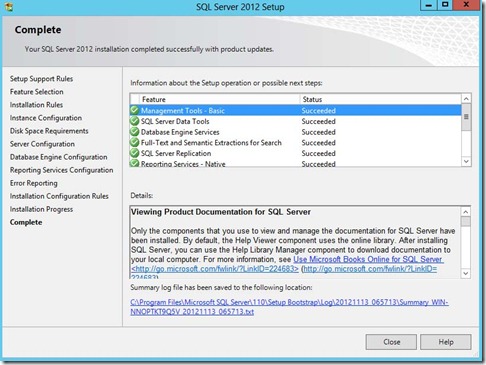
Once the installation has completed, you a screen showing the details of what was installed and if there were any problems is displayed. If everything completed successfully, you can close the window.
It may prompt for a restart of the machine at this point but it can usually be ignored.
-
Run the Setup.exe file using the Normal option and point it to the CGDE instance you just installed. During the install use the SA account details you setup while installing SQL (step 5).