Process Rejected Non-Order Invoices
There may be instances when a non-order invoice is rejected by the approver in IRIS Purchasing. This may be due to the incorrect details being entered on the invoice or if the goods/services on the invoice are no longer required. If a non-order invoice (EPI) is rejected by the approver, you have a few options:
- Request a credit note from the supplier.
- Amend and re-send the EPI document for approval.
- Cancel the EPI if it has been raised in error.
The invoice remains in the Register period until it is manually moved and reversed or re-sent for authorisation.
This topic explains the recommended best practice of dealing with rejected EPI documents for both scenarios.
Request a Credit Note from the Supplier
When the invoice has been rejected in IRIS Financials by the authoriser, it remains in the Register period.
Do not move the invoice into an Accounting period until the credit note has been processed. This ensures the invoice is not paid in error and any VAT is not included in a VAT return.
When an EPI document has been rejected, you receive an email notification from IRIS Purchasing. If the goods or services on the non-order invoice are no longer required, you need to contact the supplier and arrange for a credit note to be issued to cancel off the invoice.
When the credit note arrives:
- Log in to IRIS Financials, then select Documents > Document Input from the menu.

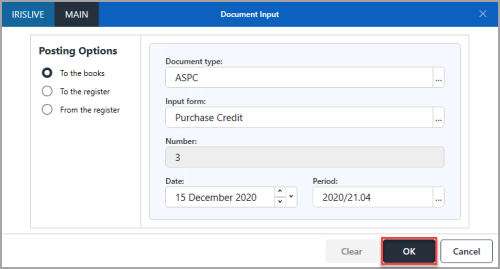
- The Document Input dialog is displayed. Click Drill (...) in Document type, then double-click to select Purchase Credit Note from the Select a document type dialog.
- Select Purchase Credit from the Input form drop-down list.
If your establishment/organisation's financial policy is to approve purchase credit notes, please select Purchase Credit Authorisation from the Input Form drop-down list. - Click the Date drop-down arrow, then select the date shown on the supplier's credit note.
- Click Drill (...) in Period, then select the required period from the Select a period dialog. Where possible, it is recommended you use the same period as the invoice.
- Click OK to confirm your selections.
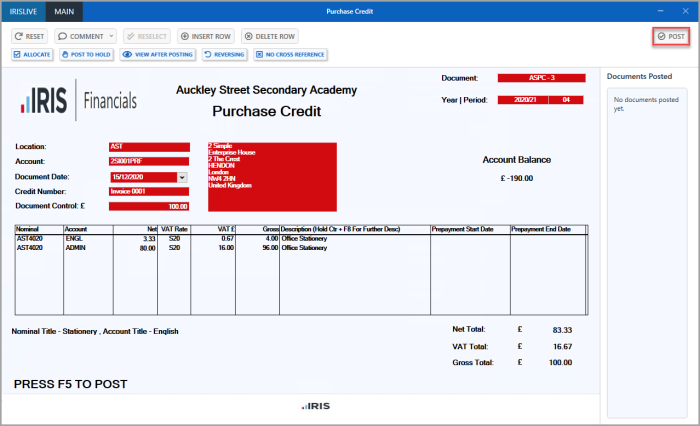
- The Purchase Credit document input form is displayed. Complete the information, then press F5 or click POST to post.
If an approver has been selected, the document posts into the Register period. If no approval is required, it posts straight into the applicable accounting period. - If the purchase credit note requires approval, an email is sent to the approver requesting they authorise the document in IRIS Purchasing. When the purchase credit note has been approved, it is moved out of the Register period into an accounting period.
You can now manually move the EPI document out of the Register period and allocate to the purchase credit note. - Click Documents, then select Register Documents from the IRIS Financials menu.

- The Move documents out of the Register window is displayed. Select the document you want to move from the register, then click MOVE.
Documents moved are posted into the current accounting period. If you need post the document to a different accounting period, click EDIT. A PSFJournal document input form is displayed populated with the document details, where you can enter the required period details before posting the document.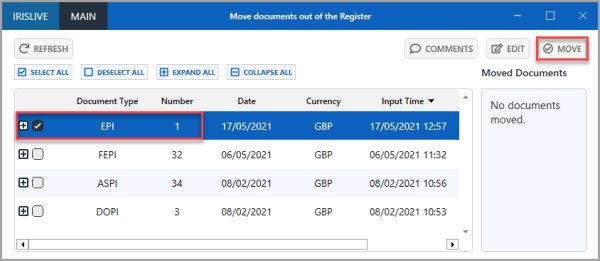
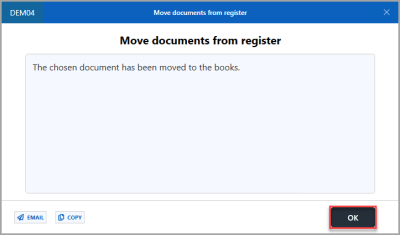
- The Move documents from register success message is displayed. Click OK to return to the Move documents out of the Register window.
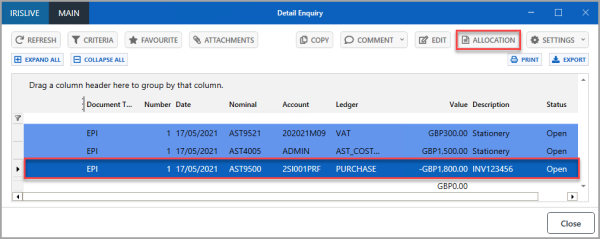
- You can now allocate the EPI document to the Purchase Credit document. Run a Detail Enquiry for the EPI document. For more information, please see Running a Detail Enquiry.
- On the Detail Enquiry window, select the EPI document, then click ALLOCATION.
- The Allocation window is displayed. Select and drag the Purchase Credit document to which the EPI document needs to be allocated from the right-hand panel to the EPI document in the left-hand panel. For more information, please see Allocating and Unallocating Documents.
- When the documents are allocated, click SAVE.

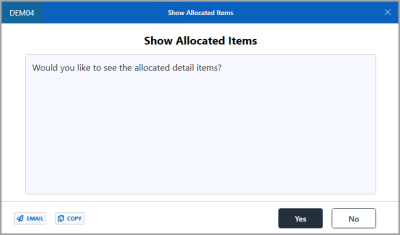
- The Show Allocated Items message is displayed. To view the allocation details, click Yes to display the Detail Enquiry window. To return to the Allocation window, click No.
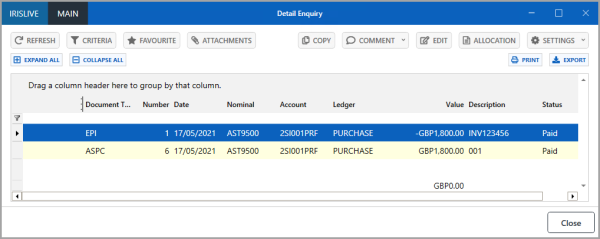
- The allocated documents are displayed in the Detail Enquiry window.
