Dealing with Documents Rejected by an Approver
If a document in the REGISTER period has been rejected it will need to be moved into an accounting period and then cancelled. If it needs to be amended and re-submitted, please cancel the existing document and create a new one.
The document in the following graphic has been rejected. When a document is rejected, it remains in the the REGISTER period. It will need to be moved into an accounting period and reversed using a general journal.
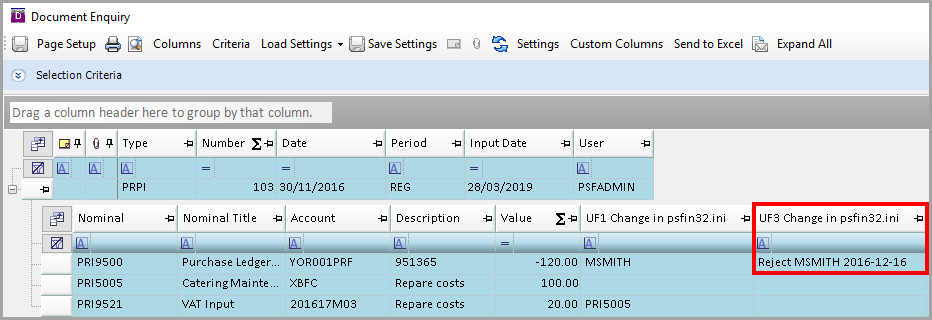
To reverse a rejected document in the REGISTER period:
- Go to Options Document Enquiry and enter the details to search for the applicable document.
- Click OK.
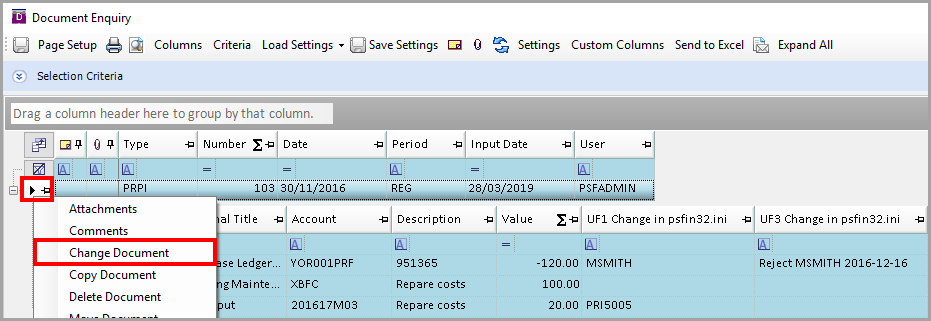
- The Document Enquiry window is displayed. Right-click on the grey box next to the document header and select Change Document.
- The Period fields will be showing REG | REG. Change this to an applicable accounting period as shown in the following graphic.
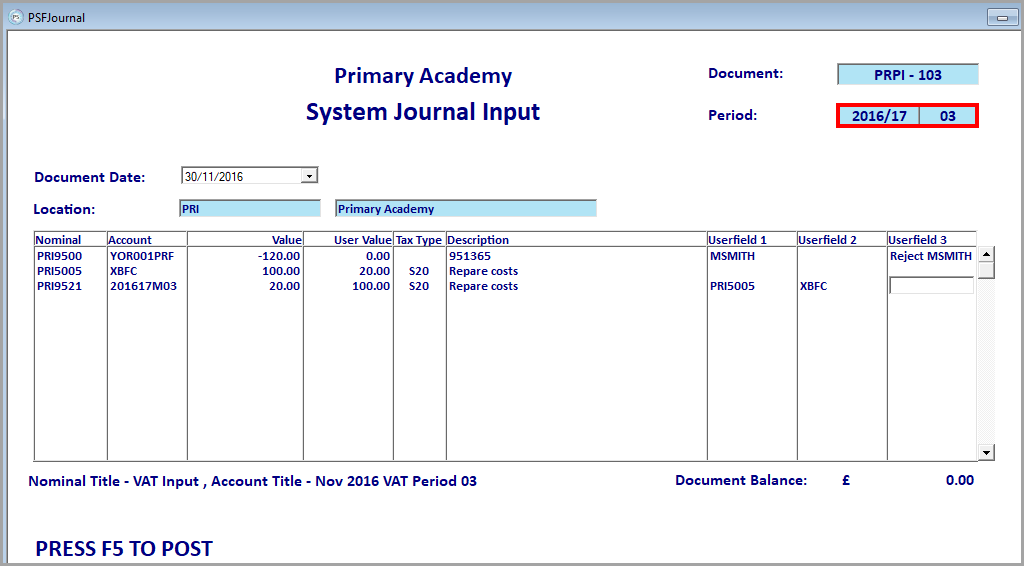
- Press F5 to post.
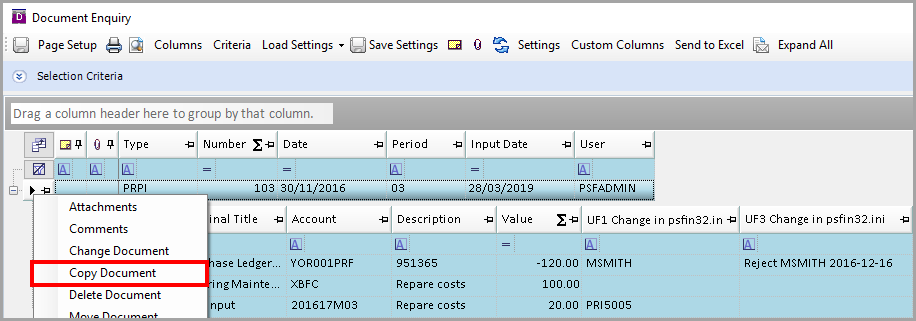
The document will now need to be cancelled by copying and reversing it using a general journal. - On the Document Enquiry screen, right-click in the grey box next to the document header and select Copy Document.
- The Destination document options prompt displays. Tick the Reverse Values box.
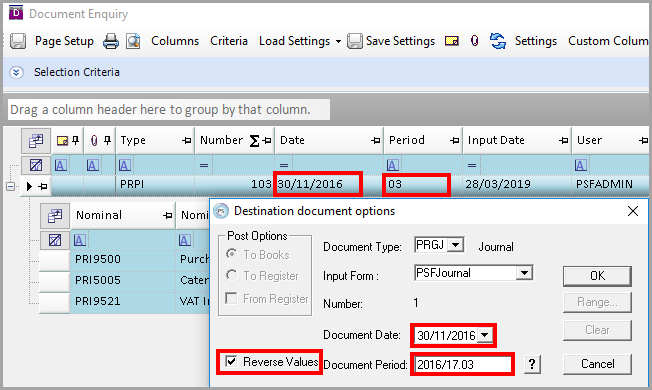
- Select the applicable Journal from the Document Type from the drop-down list. Select the same Document Date and Document Period as the original document and click the OK button.
- The System Journal Input form appears. Press Shift + F5 to post and allocate the document. No changes need to be made to the document itself.
- An Account Enquiry window will display the list of open transactions on the applicable account. The Journal will be highlighted in green. Left-click in the grey box to the left of the original invoice, taking care not to click on the drawing pin. This will highlight the line green.
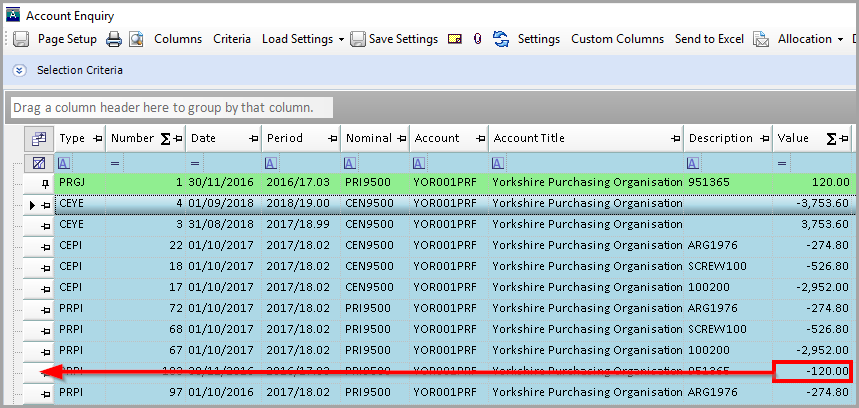
- Providing the Nominal and Account match and the allocated documents amount to zero, the Confirm button will be available. Click the Confirm button to complete the allocation.

- The allocated documents will disappear from the Account Enquiry. The document has now been cancelled off they system.
If required, the document can be re-raised as a new document.