Contact students via View tabs
Use the Curriculum Manager module to contact students, or their parents and other contacts, by email or text message. This is useful for sending out information quickly.
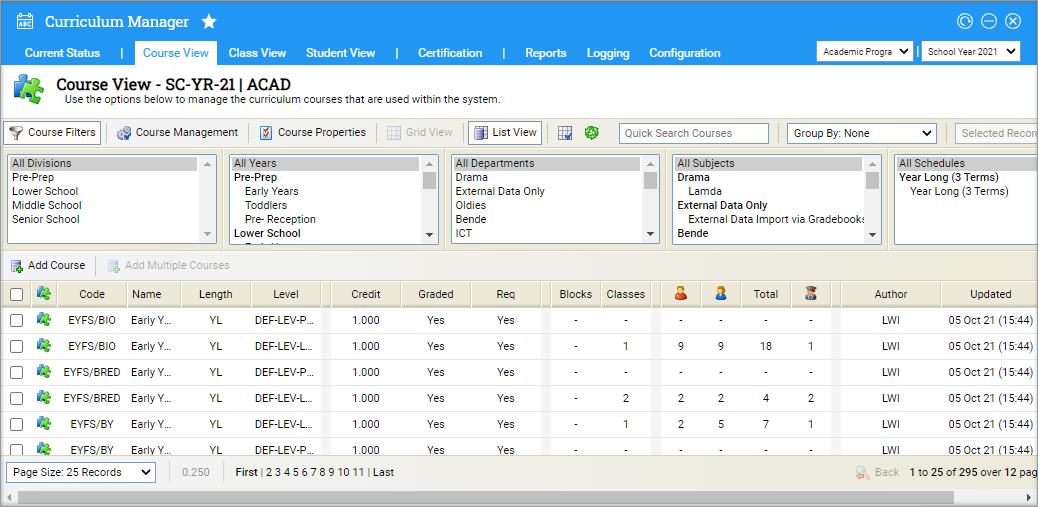
- Open the Curriculum Manager module and select the tab that you want to work with (this feature is available in the Block View/Course View/Class View tabs).
- Use the drop downs in the top right of the screen to select the programme and cycle that you want to work with:
- All blocks/courses/classes for your selected programme and cycle are displayed.
-
Use the tools available to display the blocks/courses/classes that you want
to work with:
- Select Filters/Management/Properties and use the filters available. Hold Ctrl to select more than one option in a filter.
- Use the Group By drop-down in the right of the header to group the blocks/courses/classes displayed by a selected property.
- Navigation tools are available at the bottom of the screen.
- Use the checkboxes on the left to select the blocks/courses/classes that you want to work with and open the Selected Records drop-down on the right:
- Select and option:
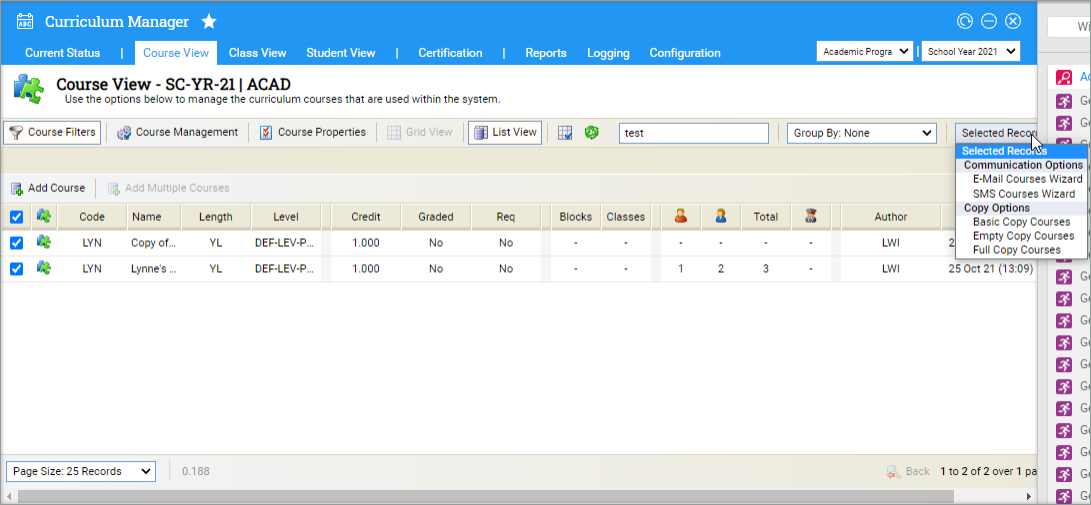
Send an email
-
Choose:
- Selected students to send the e-mail to your selected students. For our examples here we will leave this blank. If this is selected, you are taken straight to the compose message window.
- Contacts for the selected students to send the e-mail to contacts of your selected students, such as parents or guardians. For our examples we will check this box.
- Step 1 of the Email Wizard is displayed:
- Select Next to display Step 2:
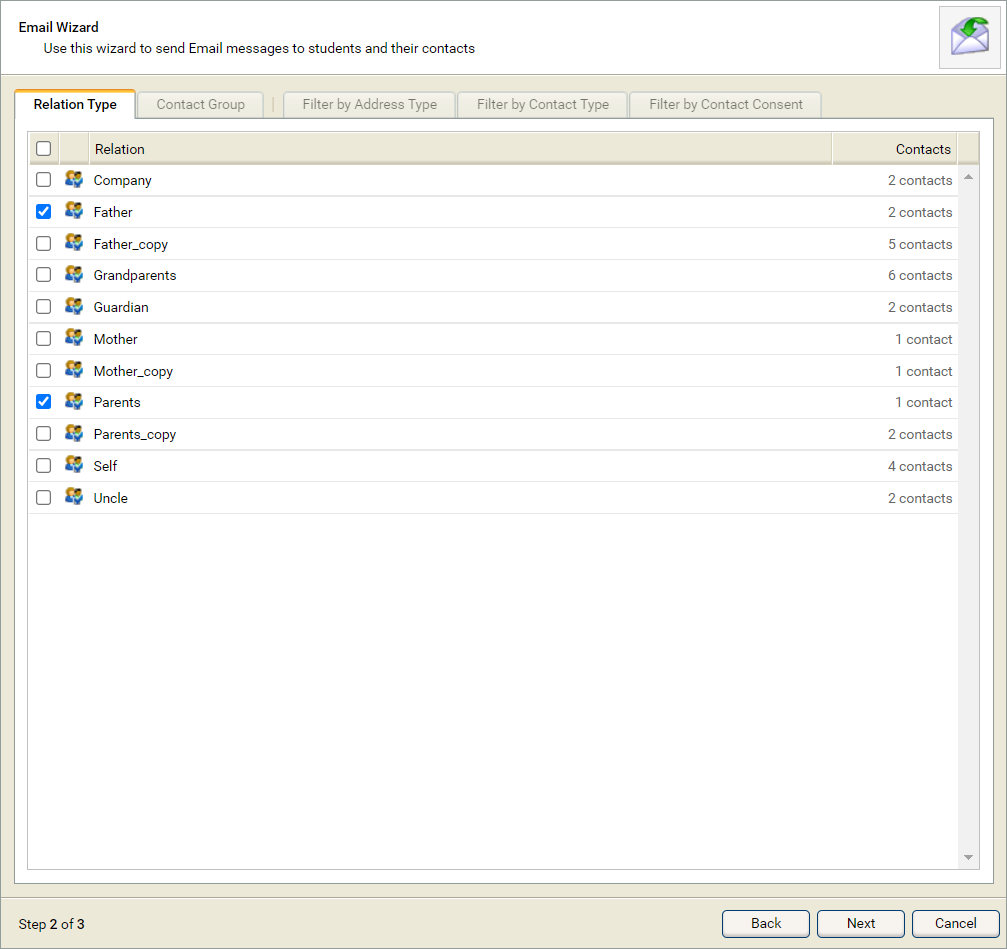
- The tabs in Step 2 of the Email Wizard are grouped together. The first tabs are used to select e-mail recipients. The second group of tabs are used to filter the selected e-mail recipients, this is optional.
- First, use the checkboxes in the recipient tabs. You can make selections in both of these tabs, they operate independently. All of your selections are included in the e-mail recipient list. For example, if you select 'Guardians' in Relation Type and 'Dance Contact Group' in Contact Group, your e-mail will be sent to all guardians and all contacts linked to 'Dance Contact Group' for the selected students.
-
Use the second group of tabs in Step 2 of the Email Wizard
to filter the recipients you selected in the Relation Type
and Contact Group tabs. This is optional but advised.
Three tabs are available:
 Filter by Address Type
The Address Type here refers to the Contact Location checked for contacts in student records:
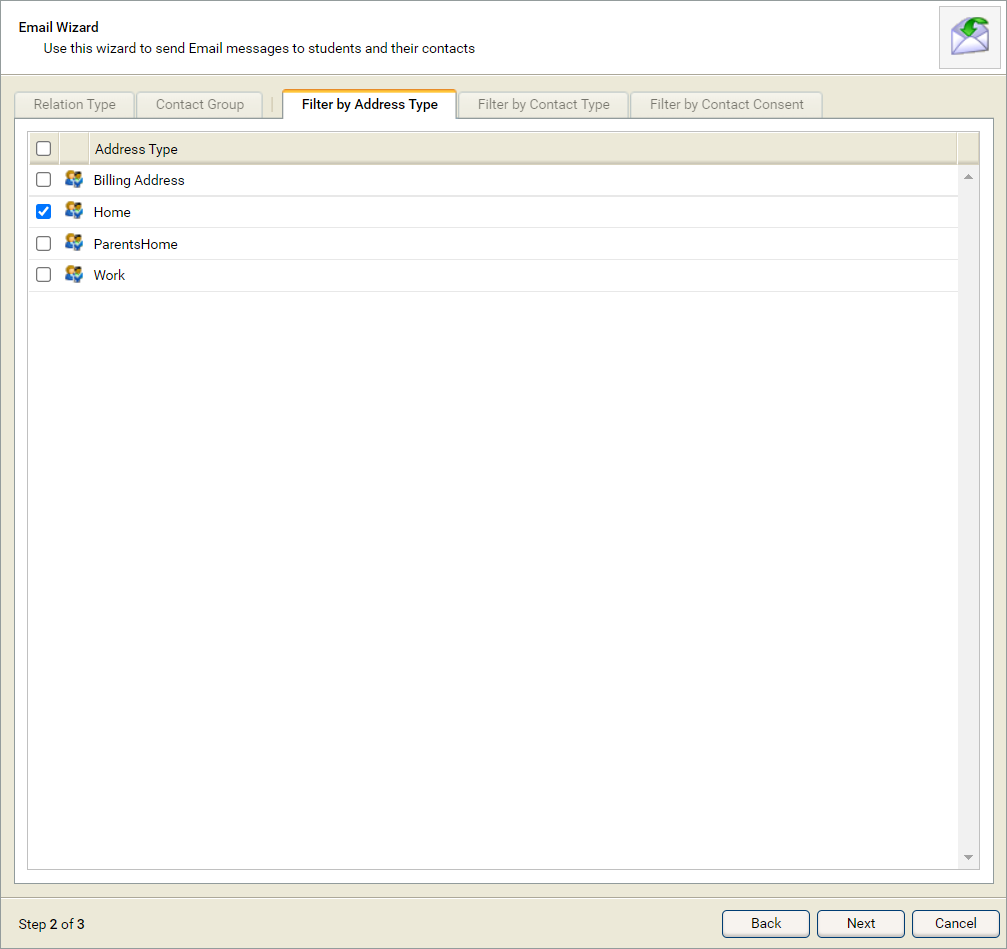
If you select 'Home' here, only your selected recipients with a Contact Location address marked as 'Home' are sent the e-mail. If you do not make a selection here all recipients are sent the e-mail regardless of Contact Location.
Filter by Contact Type
The Contact Type here refers to the Mail Option checked for contacts in student records:
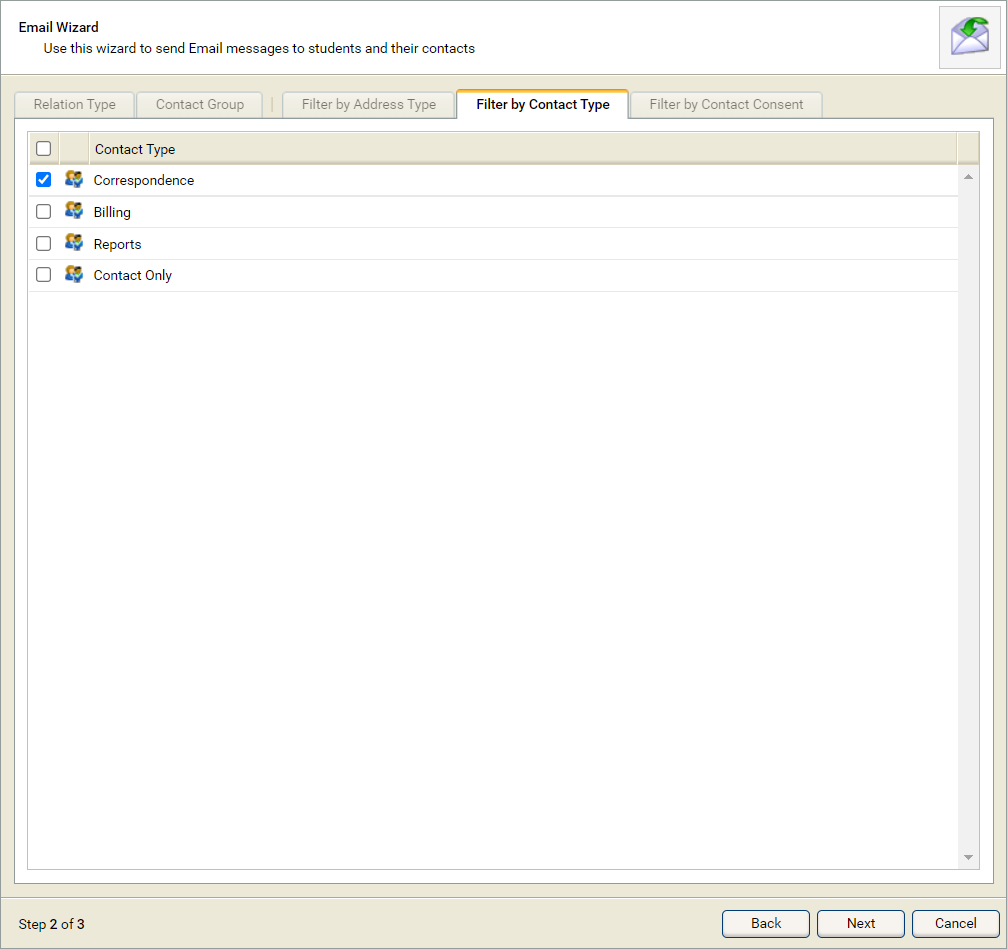
If you do not make a selection here all recipients are sent the e-mail regardless of the Mail Option they have checked in student records.
Filter by Contact Consent
The Contact Consent here refers to any opted in/out consents selected by students in the Student Portal (over 16s only) or student contacts in the Parent Portal (under 16s).
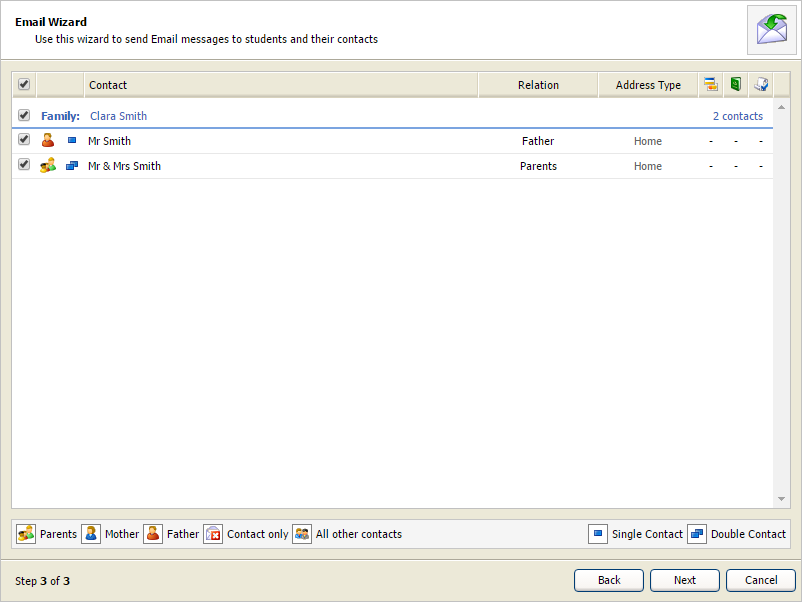
- Select Next when you are ready. Step 3 of the Email Wizard displays the filtered contacts:
- Use the checkboxes available to select the recipients of your e-mail.
- Select Next. A popup window is displayed. You are prompted The wizard is complete based on your selections. Do you want to continue with these choices?
- Select OK. The Send E-Mail window is displayed:
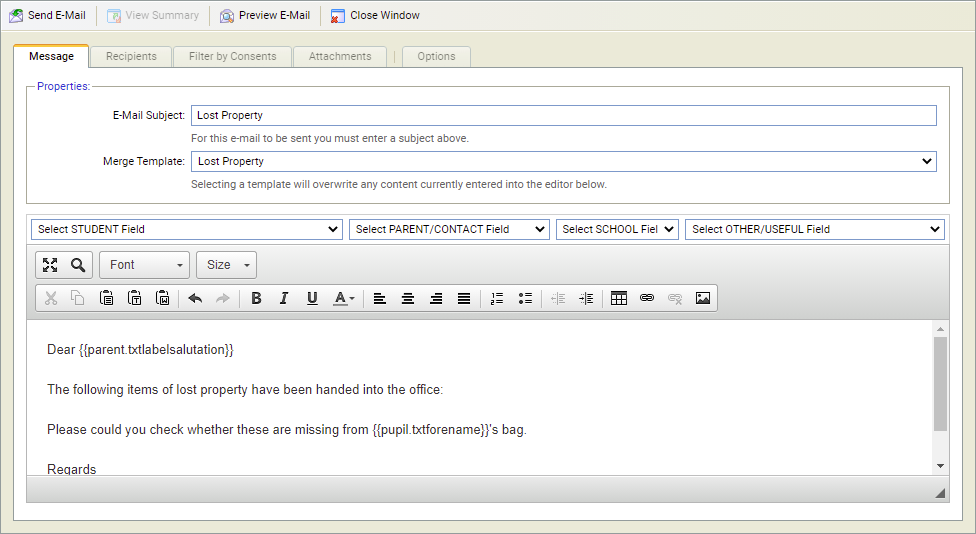
- Select the Message tab. Enter the E-mail Subject and use the Merge Template drop-down list to select an e-mail template, as required. Compile your e-mail in the text box displayed.
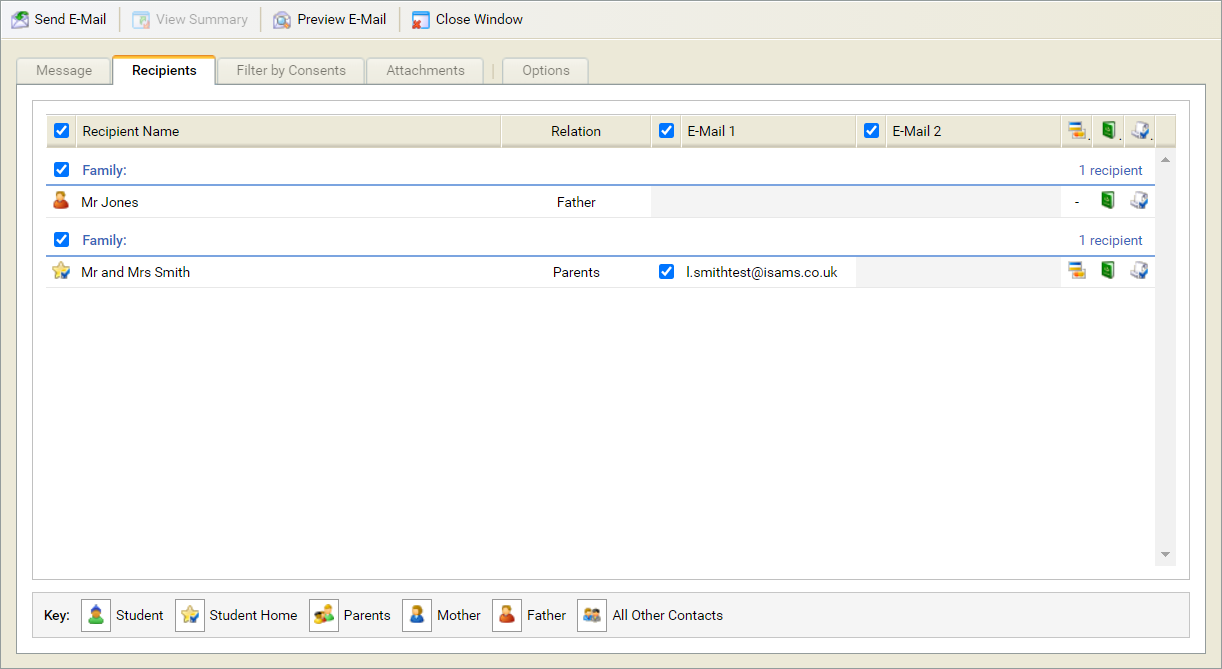
- Select the Recipients tab. Use the checkboxes available to select the recipients of your e-mail. A key is displayed in this tab to help you. An example of the Recipients tab is shown below:
- Select the Filter by Consents tab. Use the checkboxes to filter any opted in/out consents selected by students in the Student Portal (over 16s only) or student contacts in the Parent Portal (under 16s).
- Use the Attachments tab to upload attachments to your e-mail, if required.
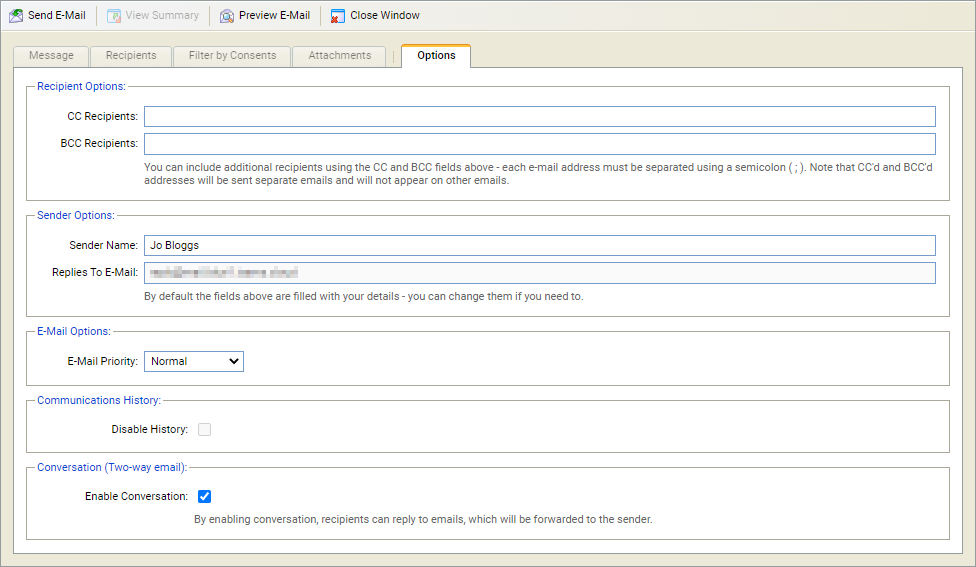
- Select the Options tab:
- Enter additional recipients for your e-mail.
- Edit the reply address and the priority of your e-mail, as required.
-
Set the Enable Conversation checkbox to allow replies
to e-mail, if required.
This can also be controlled by the Enable Conversation option within Control Panel.
The recipient of the e-mail can then reply, this will then go directly to the inbox of the user who sent the e-mail, it will also be recorded in Ed:gen. The conversation can then continue for as long as required, and will continue to be tracked and displayed in Ed:gen alongside appearing in both the recipient's inbox and the originating Ed:gen user's inbox. Additional recipients can be added via either the originator or recipient inbox using standard e-mail processes; all their input will also be recorded in Ed:gen. See Configuring email conversations for more help with setting up this feature. - Select Preview E-Mail to preview and print your email, if required. This is useful for checking that the correct merge fields have been selected.
- Use the drop-down in the top right of the window to jump between students in the selection and preview the e-mail. Select Close Window once you have checked the e-mail.
- Select Send E-Mail.
- Select Cancel to return to the student records list.

The selections available are the Contact Types listed for your selected students.
The selections available reflect the Custom Groups linked to student contacts for your selected students.
Ensure that you have checked that the recipients, attachments and message contents are correct before sending the e-mail.
A Communication Summary is displayed for you to check that your e-mail has been sent.
If you are e-mailing siblings, iSAMS will automatically send one e-mail per contact unless the e-mail contains student specific fields.
Send an SMS message
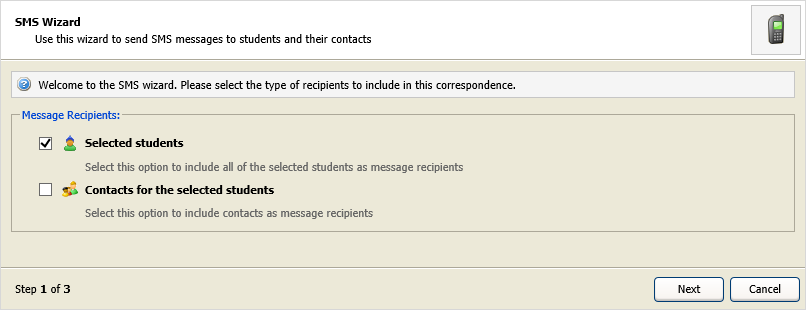
- Use the checkboxes in Step 1 of the SMS Wizard to select your message recipients:
-
- Choose:
- Selected students to send the text message to your selected students. For our examples here we will leave this blank. If this is selected, you are taken straight to the compose message window.
- Contacts for the selected students to send the text message to contacts of your selected students, such as parents or guardians. For our examples we will check this box.
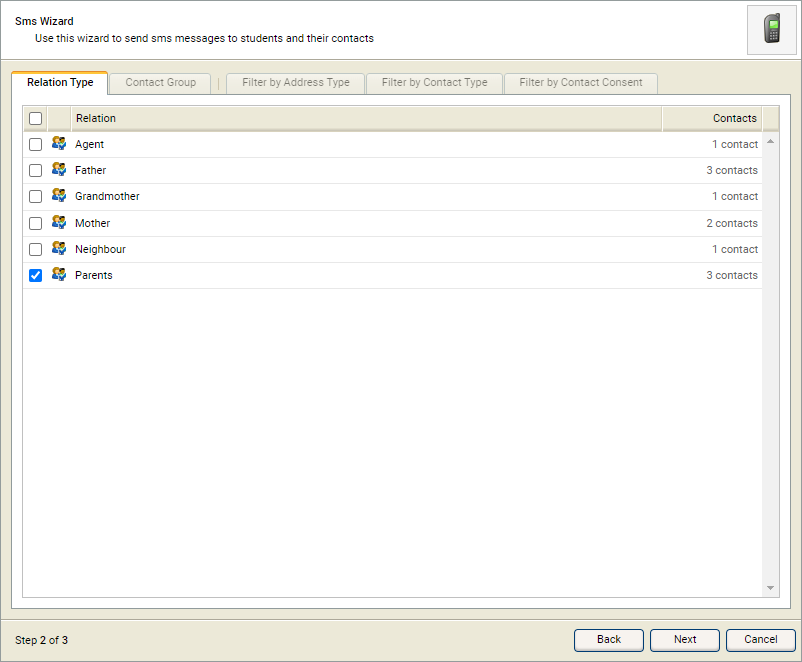
- Select Next to display Step 2.
- Use the tabs to select the contacts you wish to send the message to. The tabs in Step 2 of the SMS Wizard are grouped together. The first tabs are used to select message recipients. The second group of tabs are used to filter the selected message recipients, this is optional.
- First, use the checkboxes in the recipient tabs. You can make selections in both of these tabs, they operate independently. All of your selections are included in the message recipient list. For example, if you select 'Guardians' in Relation Type and 'Dance Contact Group' in Contact Group, your message will be sent to all guardians and all contacts linked to 'Dance Contact Group' for the selected students.
-
Relation Type
The selections available are the Contact Types listed for your selected students.
Contact Group
The selections available reflect the Custom Groups linked to student contacts for your selected students.
-
Use the second group of tabs in Step 2 of the SMS Wizard
to filter the recipients you selected in the Relation Type
and Contact Group tabs. This is optional but advised.
Three tabs are available:
Filter by Address Type
The Address Type here refers to the Contact Location checked for contacts in student records:
If you select 'Home' here, only your selected recipients with a Contact Location address marked as 'Home' are sent the e-mail. If you do not make a selection here all recipients are sent the e-mail regardless of Contact Location.
Filter by Contact Type
The Contact Type here refers to the Mail Option checked for contacts in student records:
If you do not make a selection here all recipients are sent the e-mail regardless of the Mail Option they have checked in student records.
Filter by Contact Consent
The Contact Consent here refers to any opted in/out consents selected by students in the Student Portal (over 16s only) or student contacts in the Parent Portal (under 16s).
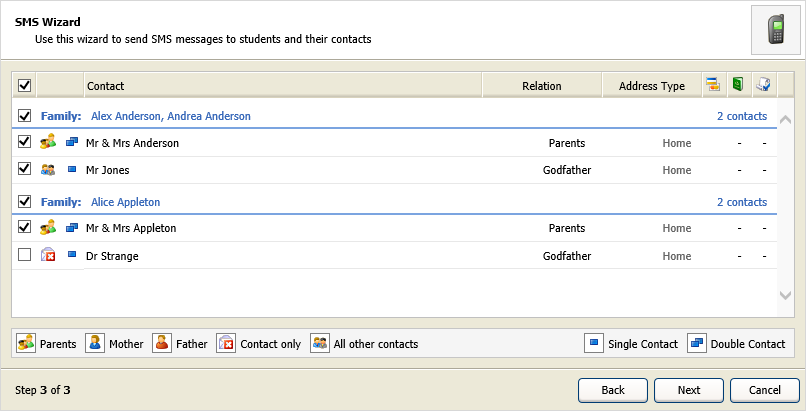
- Select Next. Step 3 of the SMS Wizard is displayed:
- Use the checkboxes available to select the recipients of your text message.
- Select Next. A popup window is displayed. You are prompted The wizard is complete based on your selections. Do you want to continue with these choices?
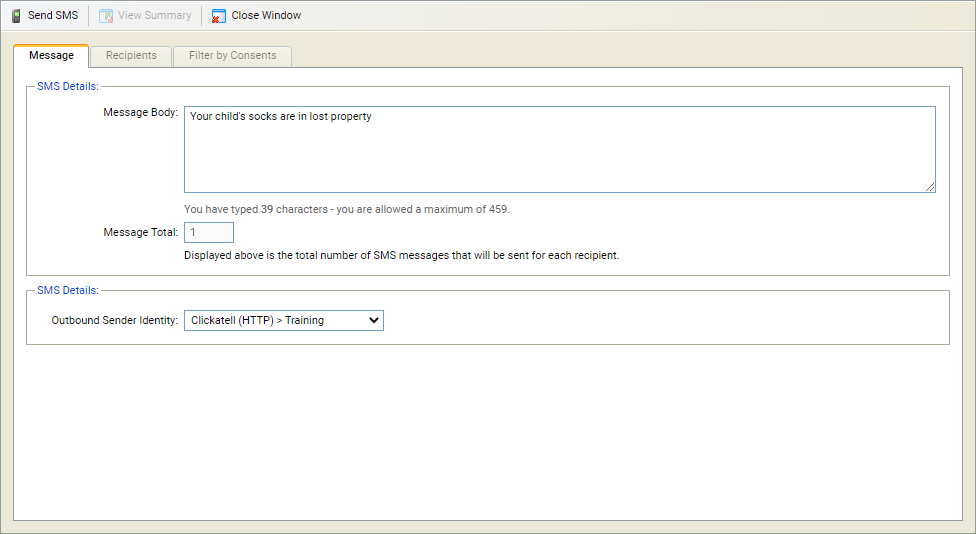
- Select Yes. The Send SMS window is displayed:
-
Select the Message tab:
- Message Body. Enter the body of your text message. You are limited to 160 characters per text message. If your text message exceeds the character limit it spans across a number of separately sent messages.
- The Message Total box shows the total number of separate text messages sent.
- Outbound Sender Identity. SMS message recipients see the selected Sender Identity as the caller ID. If a virtual number is selected here, the recipient only sees the number in caller ID (the message may need to be clear that it is from your school). Use virtual numbers if you want the recipient of the message to reply.
- Select the Recipients tab. Use the checkboxes available to select the recipients of your message. A key is displayed in this tab to help you.
- Select the Filter by Consents tab. Use the checkboxes to filter any opted in/out consents selected by students in the Student Portal (over 16s only) or student contacts in the Parent Portal (under 16s).
- Select Send SMS. A Communication Summary is displayed for you to check that your message has been sent.
- Select Close Window.