Set Up a Grab Bag Till
The Grab Bag section of FasTrak Admin is used to set and clear products and categories on grab bag till displays.

Only an Administration user type can make changes to the grab bag till display.
Before being able to set products on your grab bag till, you first need to add the products that you want to use to FasTrak Admin.
Create a Grab Bag

Description — Add a description for the grab bag you're adding.
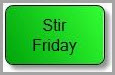
Line 1 / Line 2 — When you add grab bags to the grab bag till, these two lines are displayed as shown in the following image:
PLU — Enter the price look-up code, if needed.
Student Cost Option — Choose whether the grab bag is free or paid, and if it has VAT applied. This option only applies to students.
-
Price — Enter the price you want to charge for the grab bag.
-
VAT — The VAT is automatically calculated depending on the value set in Maintenance - Financial Setup - VAT.
Other Cost Option — Set the price of the grab bag for non-students, e.g. staff members. You can use the same price as set for students, or set a different price as needed.
Select OK to save the product, or Cancel to discard your changes and return to the administration window.
Add Products to Grab Bags

To add a product to the grab bag till, follow these steps:
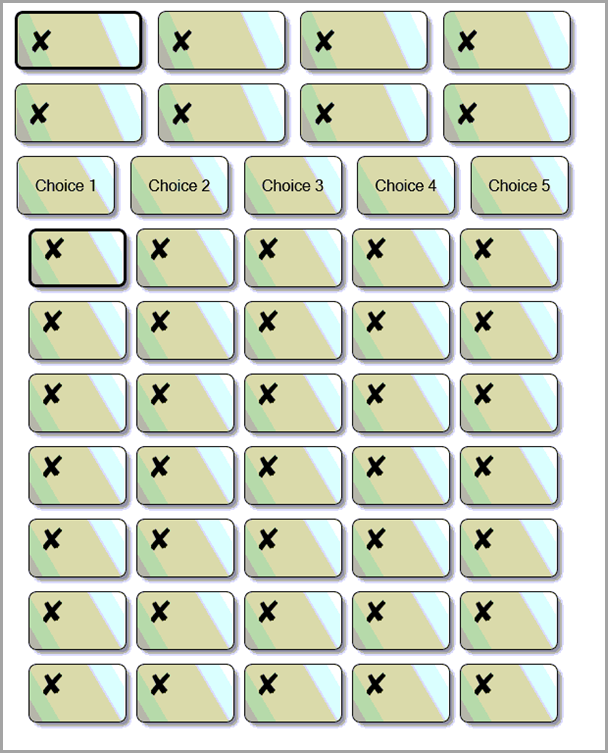
- Select the grab bag category button that you want the product to appear under.
- Select one of the product buttons on the grab bag till where you want the product to appear.
- From the list of products, select which one you want to set on the selected button.
- (Optional) From the list of colours, select which colour you want the selected product button to be. You can change the colour at any time.
- Select Product Set from the toolbar.
If you want to make any changes to buttons that you have already set, simply repeat the above steps. Select Save Changes from the toolbar to save the till display.
Clear a Product
![]()
If you want to clear a product from one of the grab bag till buttons, select the button and then select Product Clear from the toolbar. Select Save Changes to save the till display. If you just want to make changes to a product button that has already been set, you do not need to clear it first.
You can change the number of product rows on the grab bag till here: Maintenance - Admin Setup - Grab Bag.
Setting up Grab Bag Logins
A login should be setup for the till which is to be used for the Grab Bag function. To do this go to the Login tab in FasTrak Admin:
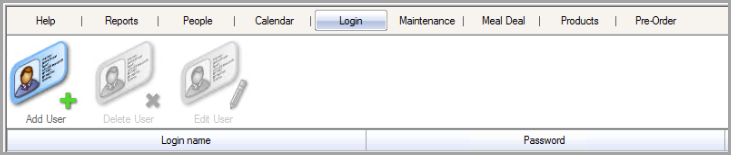
To setup a login, go to Add User enter a login name, password and comment. Set the user type to be Client User.
Enter the pin number that will be used to login to the till and select Grab-Bag Till and Exit Application as the login options:

Hit the green tick to complete the login account creation. You can now set the till into the grab bag mode using this login.
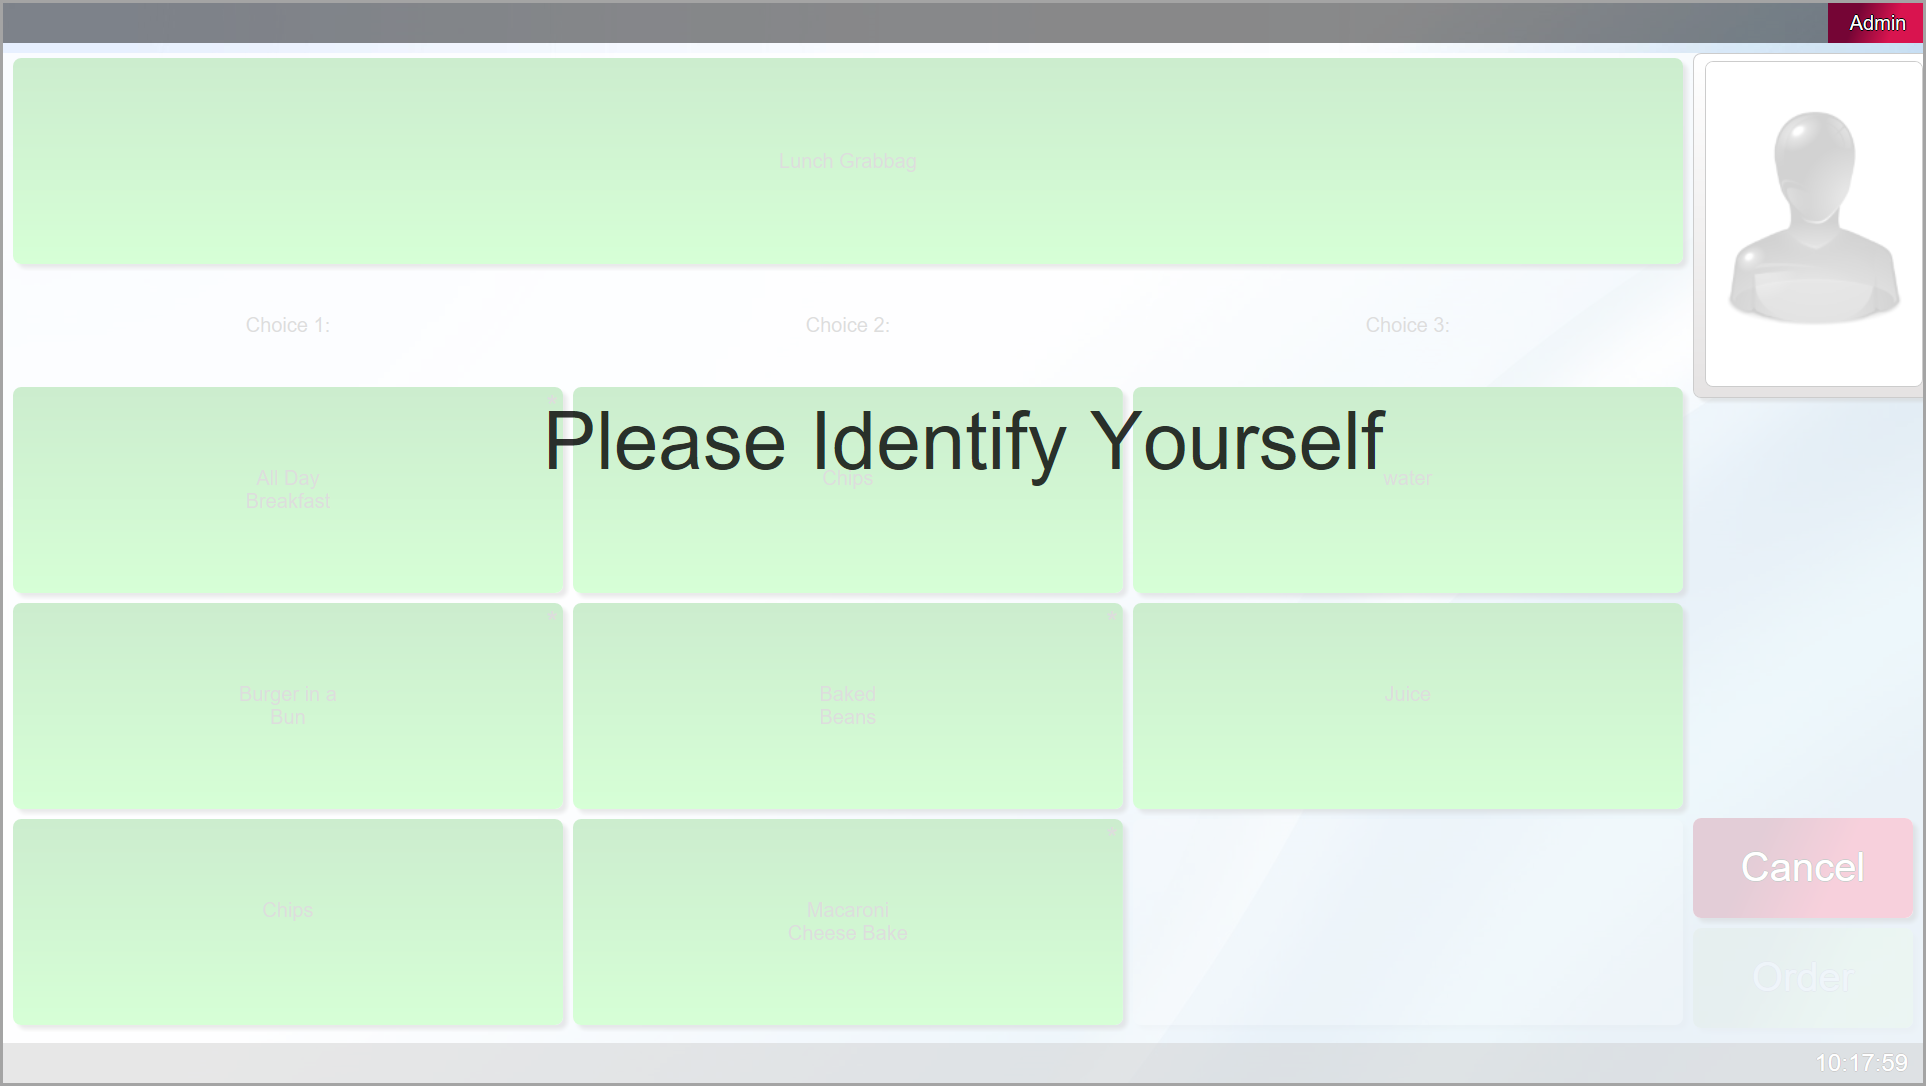
To log out of this mode press Admin to enter the pin code and you will be logged out.