GoCardless
The images and steps in this topic are based on our new design (which you can currently switch on and off). If you haven't switched the new design on, the images may look different.
Receive automated, recurring, or one-off payments when invoices are due. Reduce admin time for you and your customers.
Visit GoCardless for more information or to sign up for an account.
Get help and support from GoCardless.
Set up GoCardless
- Select your user account initials, then Account Settings.
-
From Configuration Settings, select Receiving Payments.
-
From the list of payment processors, select GoCardless.

-
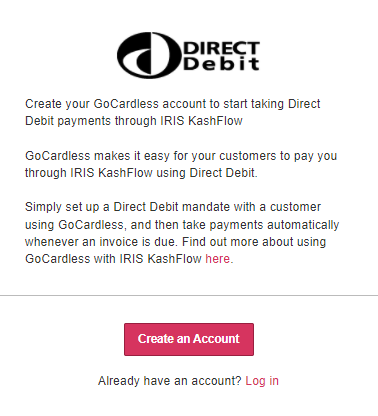
Select Create an Account. If you already have an account, select Log in.

-
Connect your GoCardless account and you will be returned to IRIS Kashflow
-
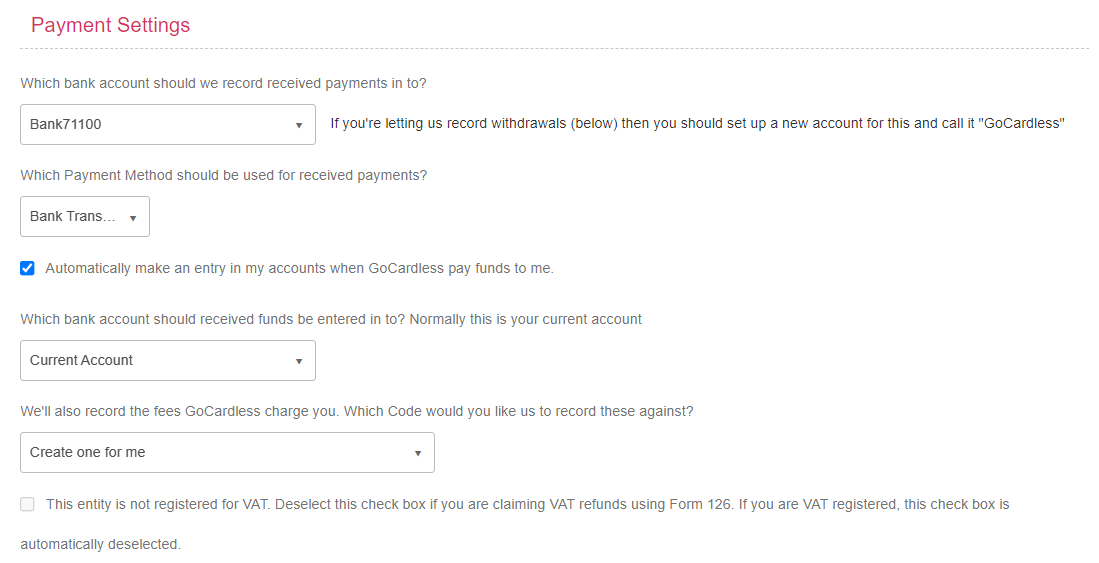
Select the bank account to record received payments to, and the method used for received payments.
Create a specific bank account for GoCardless transactions and associated fees to help with reconciliation.

- Select Automatically make an entry in my accounts.... if you want an entry to be added when you receive funds from GoCardless. If selected, you will need choose which account will receive the funds (less fees) and which nominal code the fees should be recorded against. If you select Create one for me, GoCardlessFees is created by default.
-
You can choose to send the customer a thank you message once they have set up their Direct Debit.

-
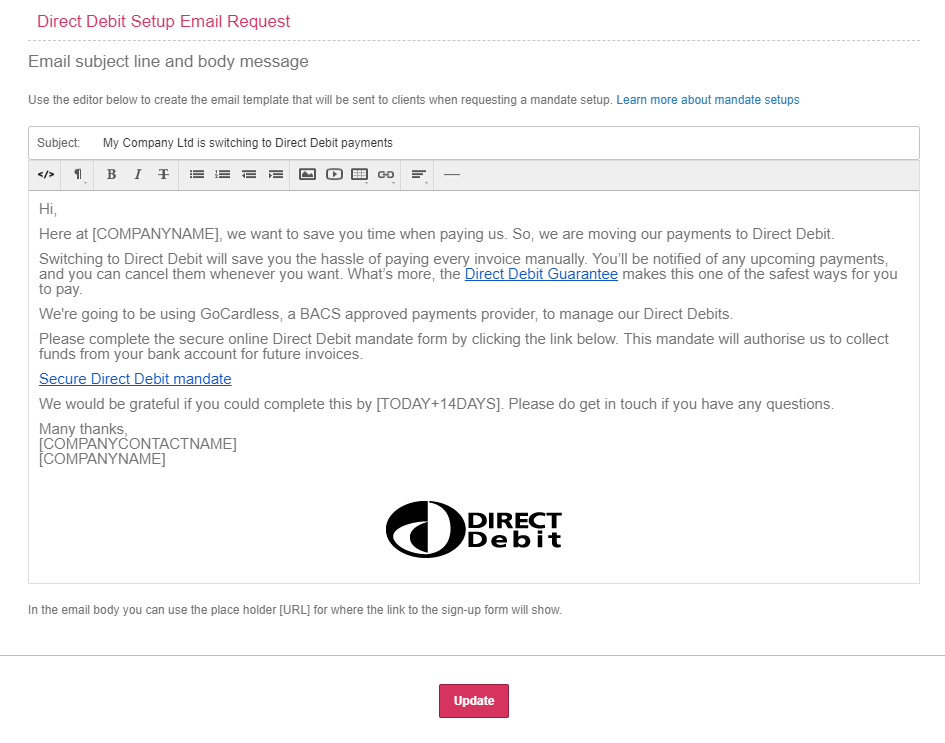
You can also edit the email content requesting a Direct Debit mandate to be set up then select Update.
