How to install SQL Server Express 2012
Introduction
This topic guides you through the Installation of Microsoft SQL Server
Express 2012 with Tools.
- Download the SQL Server 2012 Express with Tools installation file.
This can be obtained from the Microsoft website. Click here
to download and run.
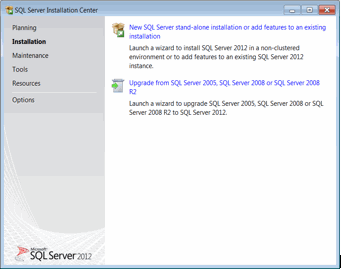
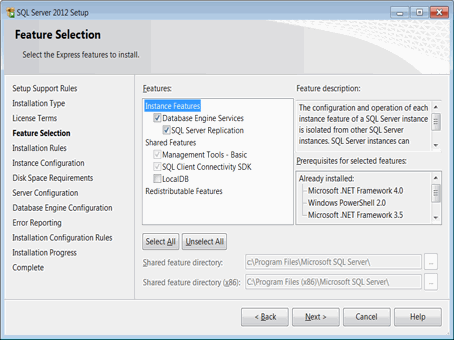
- Select the New Installation
option. Accept all the defaults and click Next.
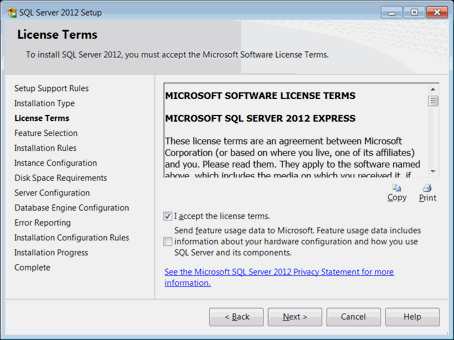
- Accept the license terms and click Next.
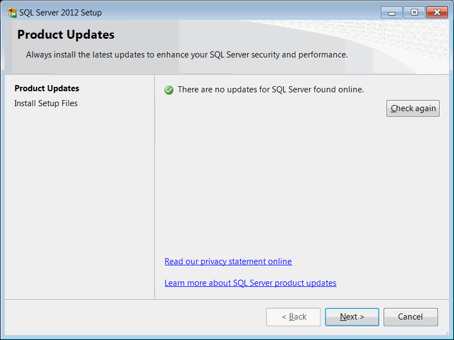
- Click Next to continue.
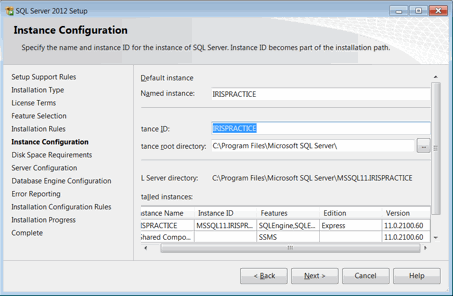
- On the Instance Configuration page, change the Named
instance from SQLEXPRESS
to PTPACCOUNTS and click Next.
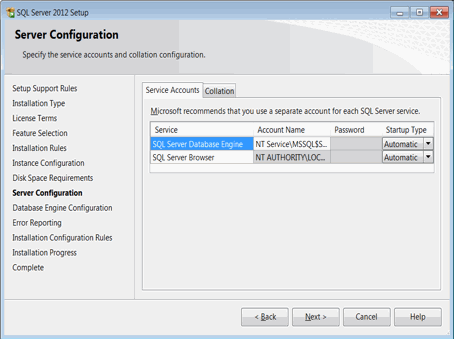
- On the Server Configuration screen, change the Account
Name of Database Engine Service to NT
AUTHORITY\NETWORK SERVICE. The installation will successfully
install all components without any error.
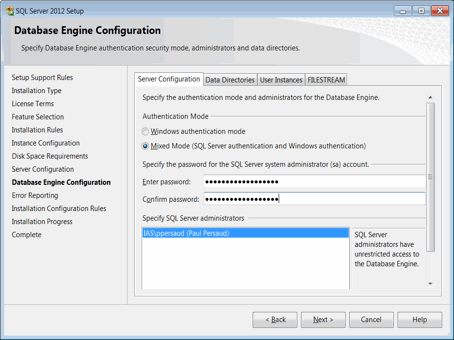
On the Database Engine Configuration
screen select the Mixed Mode
option.
Enter a strong password for the system
administrator and confirm the password.
Click Next.
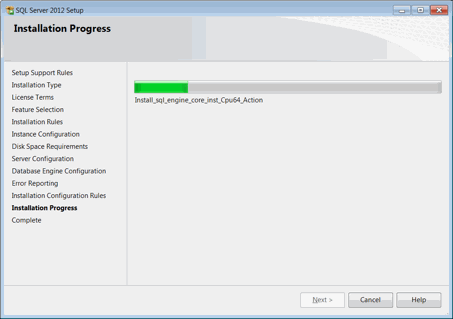
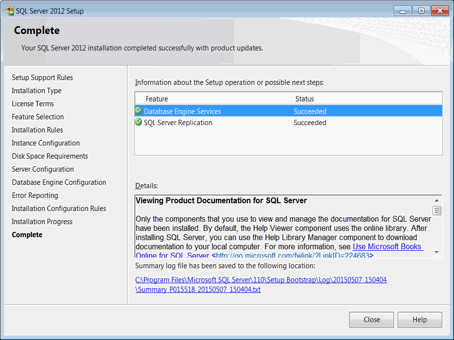
- Click Next and accept all
other defaults. The install of SQL should now complete successfully.
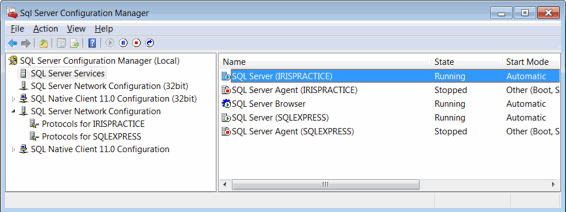
- Once installed, check that your SQL
Server Client Protocols have been configured correctly.
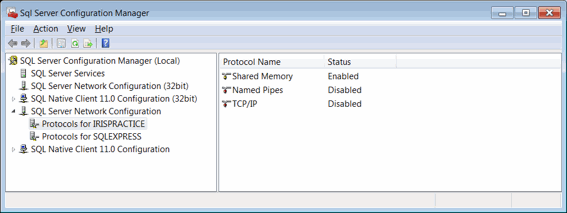
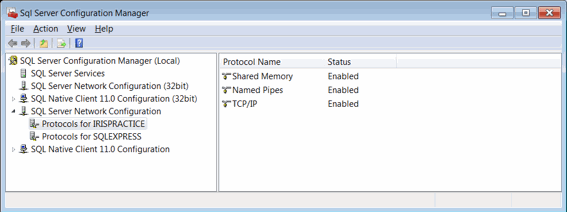
The PTP ACCOUNTS installation requires Shared
Memory, Named Pipes and
TCP/IP are Enabled.
For Standalone Machines only, TCP/IP
can also be Disabled.
To enable or disable a client protocol:
Click Start
| All Programs | Microsoft SQL Server 2012
Select Configuration
Tools.
Select SQL
Server Configuration Manager and expand SQL
Server Network Configuration.
Right-click Client
Protocols and click Properties.
Click a protocol in the Disabled
Protocols box, and then click Enable,
to enable a protocol.
Click a protocol in the Enabled
Protocols box, and then click Disable,
to disable a protocol.
- Once completed restart the PTPACCOUNTS
Service. This can be done by selecting SQL Server Services, then right-clicking
on your SQL instance (PTPACCOUNTS) and selecting Restart.
