 |
 |
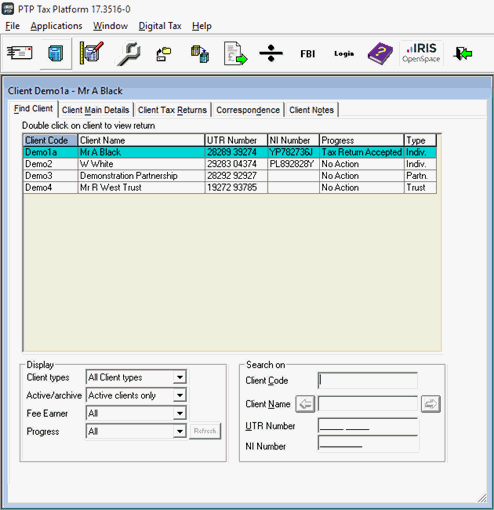
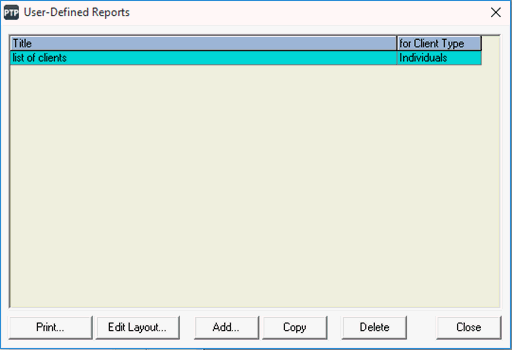
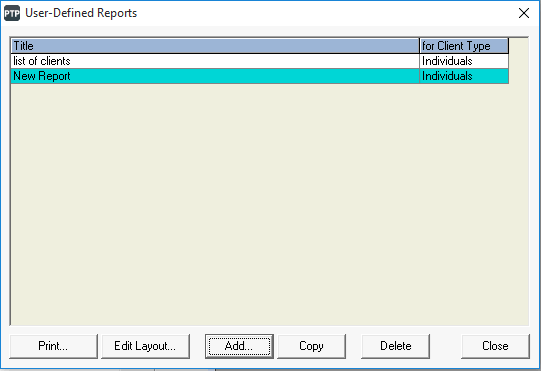
This will display the User-Defined Reports screen showing any previously set up user defined reports and also the facility to add new reports by clicking Add.
This displays the Add New Report screen where the template of the report is built.
This section is split into four – header, detail, totals and footer.
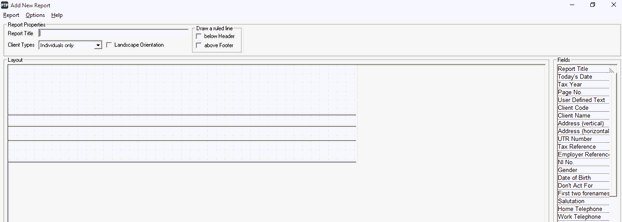
The right-hand column displays all the fields that can be reported on.
Enter a Report Title.
Click the relevant field and drag across to the left-hand side of the screen, ensuring that it is inserted in the second section (details).
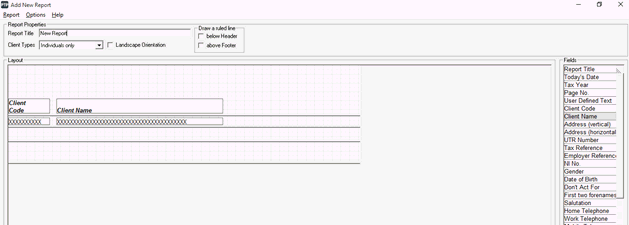
The report is displayed as above, with the title in the header section,
and then the boxes of X’s in the detail section.
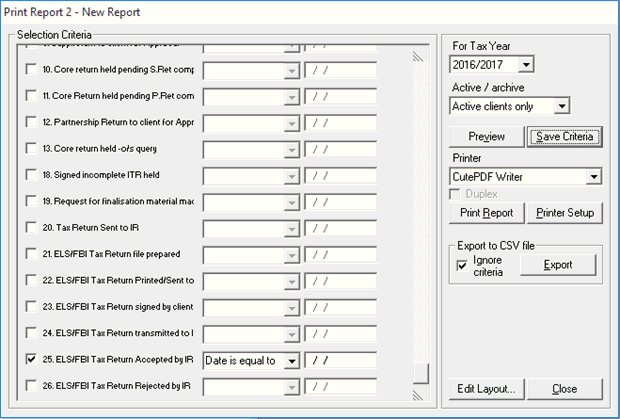
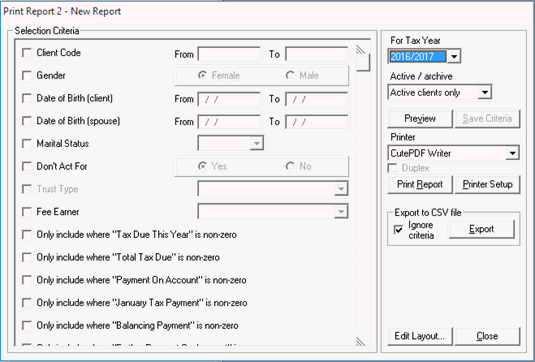
This will display the Print Report window where you can select certain criteria and printing options, and also filter on client type and tax year.
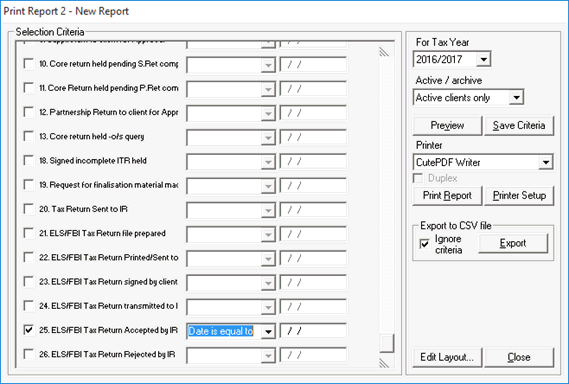
To report on event dates select the appropriate event.
Select the date rule, for example, before, on or after, equal to a specific date, and then enter the date.
To select clients that haven’t got a date against a specific event, for example, tax returns not already accepted by HMRC, select the event, then select Date is equal to and leave the date box blank.

The reports can also be exported into csv file in Excel by clicking Export on the Print Report window:
