 |
 |
|
|
Open CT Platform.
Select the user-defined report icon, which is the third icon along the top.
To create a new report click Add and enter the name of the report in the Report Title box.
The Layout area is split into four sections:
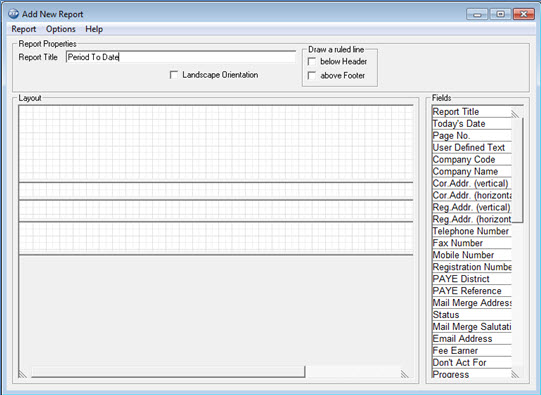
The Fields column on the right consists of the report components. These need to be dragged and dropped into the layout area.
The list is created by clicking on report components in the Fields column, holding down the left mouse button and dragging and dropping to the Layout area.
Start by dragging the Report Title to the Header Section.
Then one at a time drag the required fields to the Detail Section.
As each field is dragged into the Detail Section the column headings appear in the Header Section.
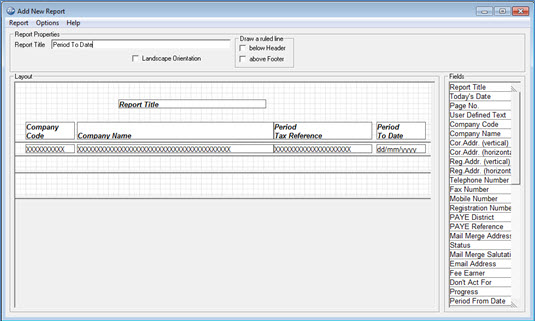
The only restrictions are the amount of detail that can be contained within
a single line and the fields within the Platform database.
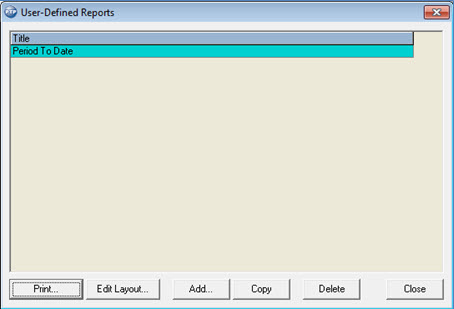
If the report is not already open, highlight the relevant report and click Print in the main User-Defined Reports window:
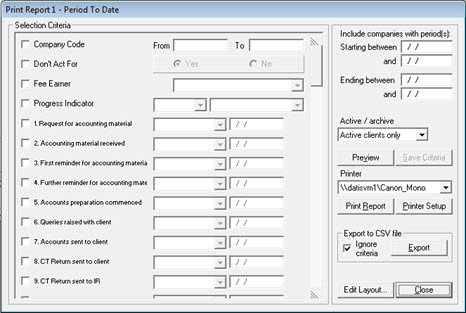
The following screen displays.
Selection criteria may be entered if required, the scroll bar can be used to view more criteria.
Before clicking Print Report or Save Criteria, click Preview to check that the report contains the desired information and that the layout is correct.
The print preview provides you with a list of companies satisfying the
criteria:
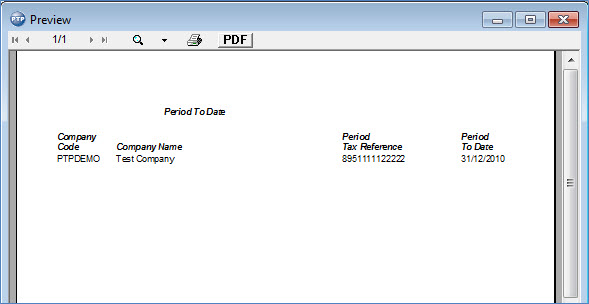
This report may be printed directly from the Preview screen by clicking the Printer icon or saved as a pdf by clicking PDF.