 |
 |
|
|
This topic explains how to prepare an iXBRL report for Limited Companies under International Financial Reporting Standards (IFRS) for submission to HMRC from the Accounts Production module.
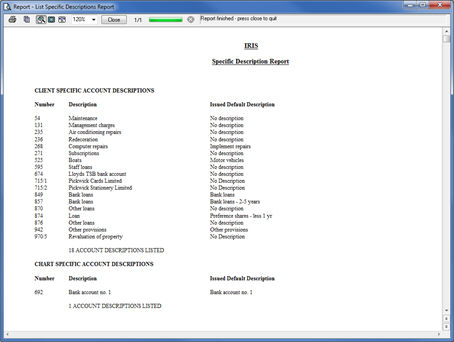
Step 1 – Identifying Account/Group descriptions that have been amended from the IRIS default
Step 2 – Tagging text within the data screens
Step 3 – Generating the iXBRL Accounts for submission to HMRC
Step 4 – Tagging report items within the Tag Editor
Step 5 – Reviewing the tagged report
Step 6 – Finalising the iXBRL Report
Step 7 – Creating a submission for HMRC
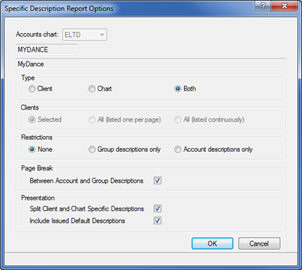
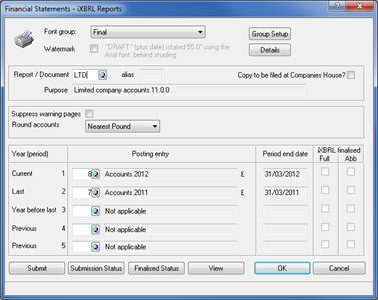
Select the relevant options for each section.
Click OK.
Close the report once the items have been reviewed.
Select Edit | Data Screens
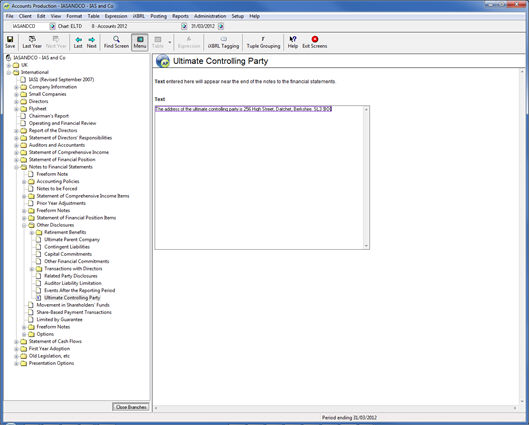
Select the relevant section of the reports to tag from the data screen branches. For example, select Notes to Financial Statements | Other Disclosures | Ultimate Controlling Party
Highlight the text to be tagged.
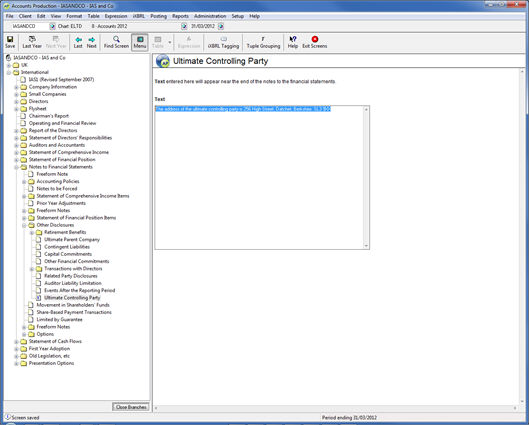
Click the iXBRL tagging icon at the top of the menu bar or right-click and select iXBRL tagging.
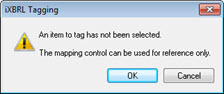
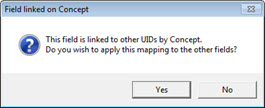
If no text has been highlighted, selecting the iXBRL Tagging option, displays the iXBRL Tagging warning displays:
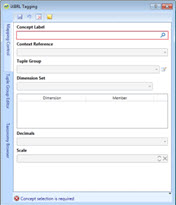
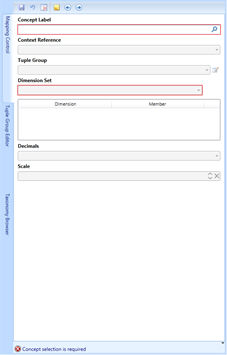
The following screen displays.
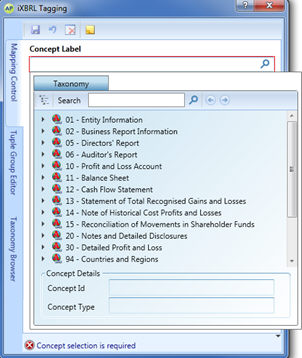
The following screen displays.
Browse the Taxonomy to find the appropriate Concept Label by clicking on the arrow icon next to the relevant headings. This will to list the available concept labels for selection. Alternatively, manually enter text in the search field, for example, controlling party, press Enter.
Select the relevant Context Reference and click Save.

If no Tuple Group field exists for the selected concept label, click on the red cross to exit the iXBRL Tagging screen.
The following screen shows the text which has been tagged within the data screen highlighted in a purple text box.
Click Save to save the changes to the data screens.
Click Exit Screens.
Click OK to generate the accounts to the Tag Editor.
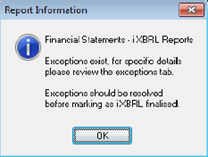
If exceptions exist within the report for specific details, the following dialog displays:
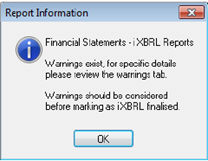
If warnings exist within the report for specific items, the following dialog displays:
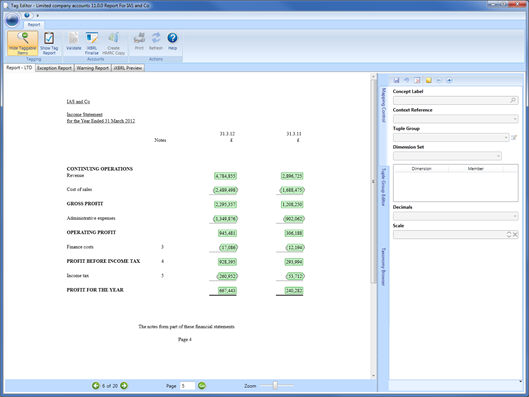
The following screen displays.
The Report – LTD tab displays the report that has been generated with tags applied and/or available to be tagged.
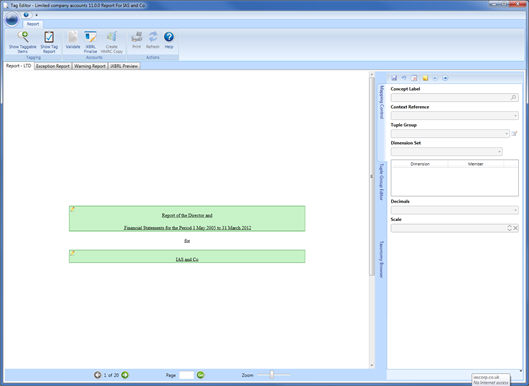
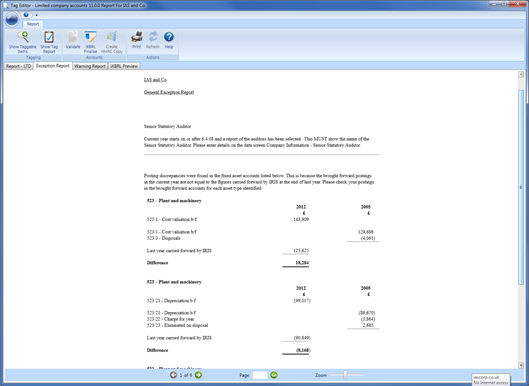
The Exception Report tab displays exceptions within the report that need to be modified before the iXBRL report can be finalised.
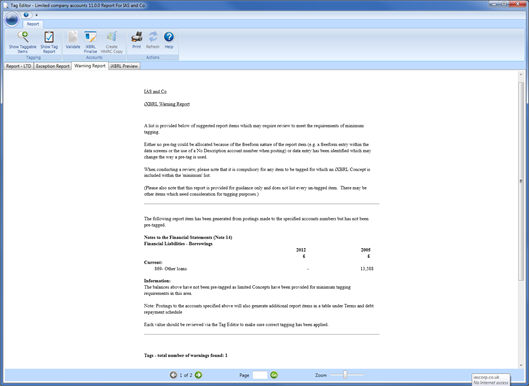
The Warning Report tab gives details of report items which have not been pre-tagged and may require manual tagging if there is an appropriate concept in the minimum tagging list.
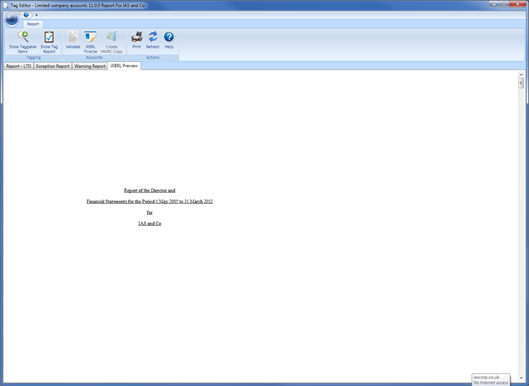
The iXBRL Preview tab displays the full report in a readable format that will be sent to HMRC.
Things to consider when tagging your iXBRL accounts:
Concept labels for the totals
cannot be amended, for example, Operating Profit and Profit before
Income Tax.
Pencil icon next to the Notes (on left), indicates that the concept
label of the notes can be amended.
If required, reports can be printed from the iXBRL
Preview tab, not from the Report
– LTD tab.
Within the Tag Editor screen, click the Report – LTD tab.
From the toolbar, click on the Show Taggable Items icon.
Click on the 
 arrow to scroll to the next page to review tagging.
Selecting Show Taggable Item will show items not pre-tagged by in BLUE or hide them if they are no longer required.
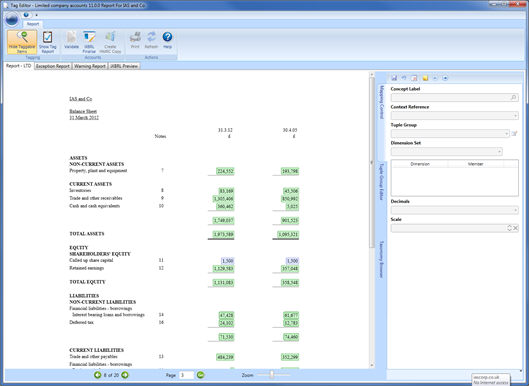
Select the item to be tagged, the box will then be highlighted
with a green outlined.
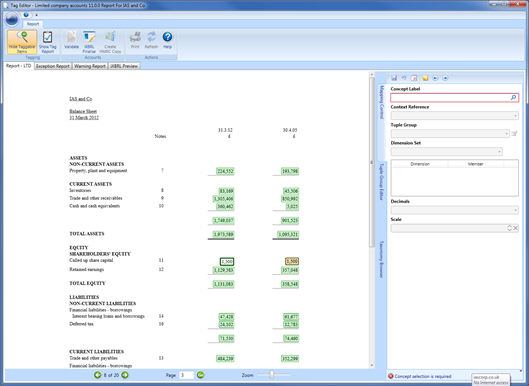
On the right within the Mapping Control section, select the magnifying glass next to Concept Label field.
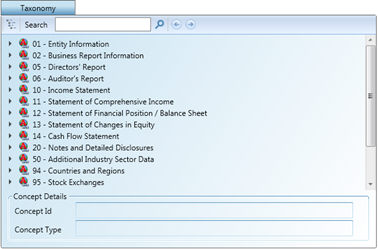
The following screen displays.
The taxonomy is displayed in a presentation view, the tree structure relates to the report structure.
The Mapping Control toolbar also consists
of the following icons:
Apply default - this option reverts the tagged item back to the PTP default; this option only applies to pre-tagged items of the report that have been amended.
Clear mapping – this option clears mapped tags that have been applied.
Show/Hide notes – this option shows or hides notes.
Next/Back - this option selects the next or previous item to be tagged.
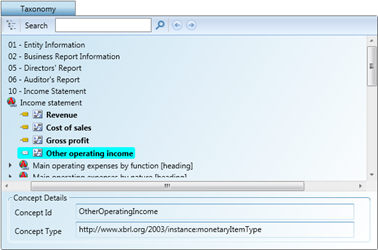
Double-click on the relevant Concept Label.
 Available
 Not available
If required, select the relevant option from the Context Reference drop-down list.
Click Save.
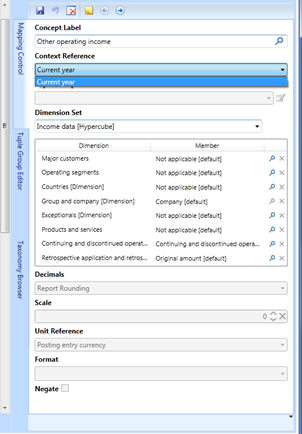
The following dialog displays:
Below is an example of the items that are automatically tagged, for example, Revenue:
Items that are not pre-tagged by IRIS but
are included within the Minimum tagging list are as follows:
Statement of Comprehensive Income |
Each value should be tagged within the Tag Editor with an appropriate Concept if available. |
Segmental Reporting note |
The content of the Segmental Reporting Data screen should be reviewed and tagged within the Data screen with appropriate Concept(s) if available. |
Factors affecting tax charge (Income Tax note) |
Each value should be tagged via the Tag Editor with an appropriate Concept if available. |
Fixed Asset Investments note |
Country of incorporation field must be tagged within the Tag Editor with the Concept label ‘Country of incorporation’. When tagging with the Concept, generic dimensions for Subsidiaries/Joint-ventures/Associates and Countries will need to be completed. Please review the Dimensions section under Mapping when applying tags |
Financial Liabilities – Borrowings note |
Postings to Account 839-840, 849-852, 869-873, 841-848, 853-868 and 875-879. Each value should be reviewed within the Tag Editor to make sure correct tagging has been applied. |
Financial Instruments note |
The content of the Financial Instruments Data screen should be reviewed and tagged within the Data screen with appropriate Concept(s) if available. |
Provisions note |
The content of the Provisions Movement Data screen should be reviewed and tagged within the Data screen with appropriate Concept(s) if available. |
Related Party Disclosures note |
The content of the Related Party Disclosures Data screen should be reviewed and tagged within the Data screen with appropriate Concept(s) if available. |
Movement in Shareholders’ fund note |
Each value should be tagged via the Tag Editor with an appropriate Concept if available. |
Other reserves – Postings to Account 973 |
Each value should be tagged via the Tag Editor with an appropriate Concept if available |
Users are required to manually tag the following items with an appropriate concept label(s) if present within the iXBRL report. These items will be highlighted within the Warning Report if present in accounts.
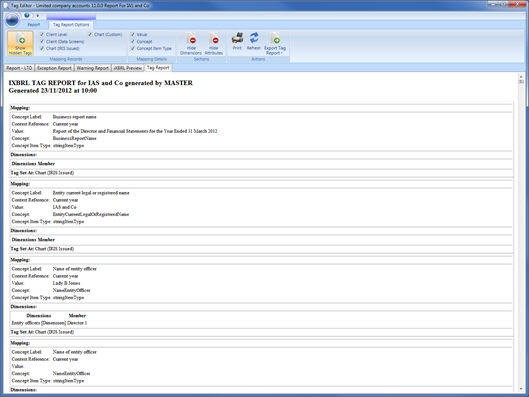
From the toolbar, click the Show Tag Report icon.
Selecting Show Tag Report will show the Tag Report as a new tab (window) within the main screen.
The Tag Report displays an overview of iXBRL tags and associated attributes that will be contained within the iXBRL report created for HMRC.
The report generated provides detailed information regarding all of the tags that have been applied for the client within the Tag Editor screen. This report is useful for audit purposes and can be exported as a CSV by clicking on the Export Tag Report icon.
If freeform text exists within the report, these must be reviewed and manually tagged with an appropriate concept label(s). The Warning Report will highlight these items if they are present within the report.
Follow Step 3 to generate the Tag Editor screen.
Click the Validate icon.
Selecting Validate
will perform validation on the tags applied to the report and a report
will be generated which shows the Tag Errors that needs to be reviewed
prior to finalising the iXBRL report.
The Tag Errors tab contains
a grid view of all the report items where problems have been found.
Each record provides details on the Concept, Value and Attributes
selected against the report item when mapped within the Mapping Control.
Selecting an item in the grid displays more detail in the bottom half
of the window which gives an indication as to the action required
to clear the error. Once selected, the Mapping Control will also display
the details for that report item. The mapping can be updated /cleared
here if required. Double clicking or selecting View
Report Item will jump to the report item within the Report
tab, where the details can also be corrected as applicable.
Upon successful validation, the following message displays.
The Validate
icon displays: 
The Accounts Finalised screen displays.
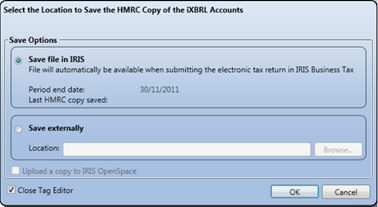
Save file in IRIS – This allows
the iXBRL account file to be automatically attached when generating the
Electronic CT600 in IRIS Business Tax.
Save externally – This allows
the iXBRL accounts file to be saved in a specific folder.
Click OK.
Click here for a glossary of terms relevant to iXBRL.