 |
 |
This topic explains how to set a new privilege to enable users access to the template selection functionality, from where templates can be viewed; generating draft invoices from the Billing screen, reviewing the invoices and finally, searching for Timesheets.
Multiple Templates for Selection - Viewing Templates
Generating a draft invoice from the Billings screens
Posting an invoice from another screen
Review Invoice documents - Review Invoice Posting
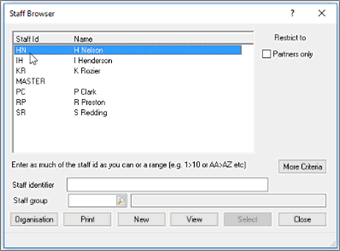
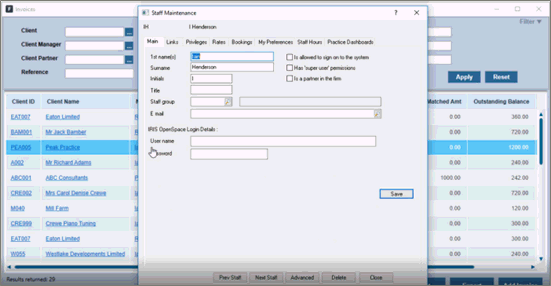
In order to grant users access to the template selection functionality, a new privilege needs to be set for them. This new privilege can be found within Staff Maintenance and needs to be set for each individual staff ID requiring access.
Select IRIS Fees from the product list.
Select New Staff.

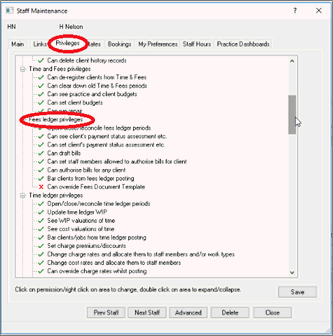
Select the Privileges tab and scroll down to Fees ledger privileges.
The option to override a fees document template crossed out, simply click on it to set the privilege and click Save.
The templates displayed to the user are based on the folder. The system will display to the user all the templates from that folder for selection.
It is easy to hide any unnecessary templates from the display by simply
moving them to another folder that you chose to use, for example, Inactive
templates.
To set the templates visible for invoices documents:
Select IRIS Fees from the IRIS Main Menu.
Select Options | Documents
Click Maintain Templates.
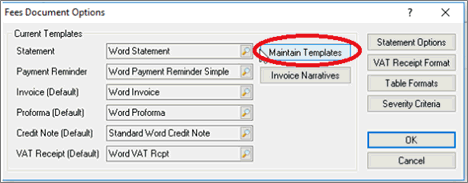

Invoices are used as an example of how this feature works. You can select any of the folders, for example, Receipts, Credit Notes and so on.
For example, create a subfolder called Old invoice templates. Select the template to be moved and drag it across to the relevant folder.

This is how to manage which templates will be displayed to the user.
Be sure to select the default template from the same main folder where the other templates are.
When clients are billed using On Screen Billing, all the templates from the folder used for default invoice template can be selected within IRIS Time & Fees. The invoice can also be previewed prior to posting. The interface of On Screen Billing remembers any changes to column sizes and order.
Select IRIS Fees from the product list.
Select On Screen Billing.

A drop-down menu now displays the templates that are available for selection for the invoice.


The draft of the invoice will be generated and displayed.
The invoice can also save it as draft and send for approval.

With this functionality you can preview the actual document prior to posting
in your preferred template.
The draft bill can be re-open by going to:
On Screen Billing, selecting the client and then clicking Yes.
Once you are happy with the invoice,
click Bill Now to post the
invoice to the ledger in the template selected.
The invoice can be printed immediately after posting with one click
or go and view the fees account details.
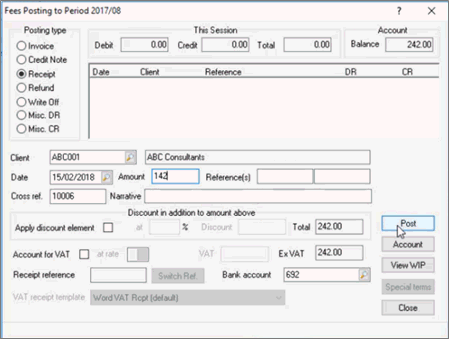
The template can also be selected for the documents on the Fees posting screen.
Select IRIS Fees from the product list.
Select Posting | Ad Hoc Posting
The posting types are displayed on the left-hand side.
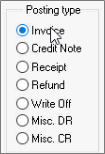
Select Invoice and Invoice template, the list of templates will then be displayed.
Select Credit note, Credit note template and the list of templates will be displayed.
Select Receipt; you will notice the invoice template box not available for selection, the box account or VAT must be selected in order to view the templates.
Close out of the screen and click Yes.
The tracking screen from the invoice now displays the invoice template and time when the invoice has been generated.
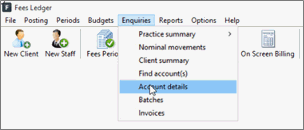
Click the client magnifying glass to select the client or type in their ID.
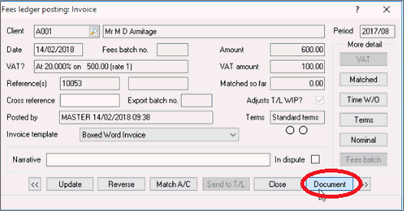
Select Invoice and click View.
Then click Document.
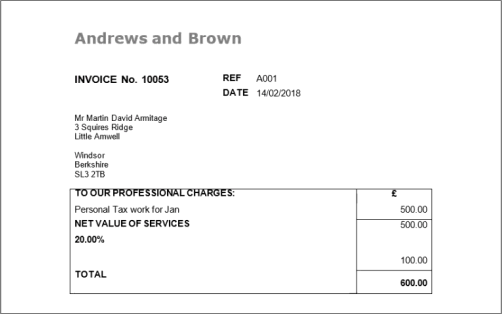
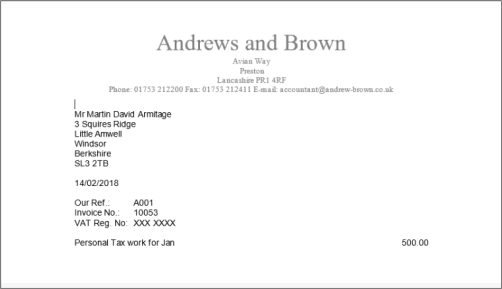
The invoice will then be displayed showing the template used and the invoice
ref number.
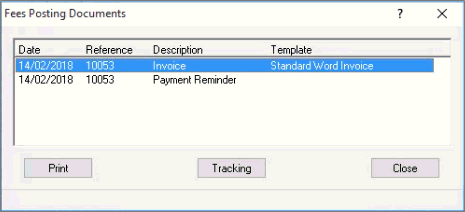
Select Tracking and you will see the exact date and time the invoice was logged as well as the template used.
Select View to view the invoice document.
Click Close.
The template can be changed via the drop-down. Select a new template…
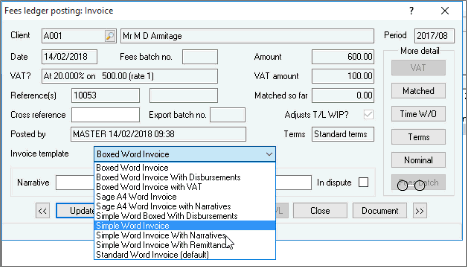
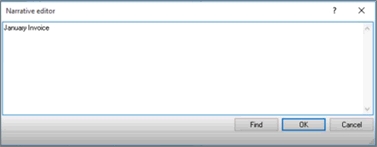
…enter a narrative and click OK.
Click Update and click Yes.

The invoice in the new template is displayed.
Close out of the screen.
Again, click Print later….

…and OK to log the letter request.
Select Document and the template has changed.
Select Tracking to see the changes history.
To review the invoices:
Select IRIS Fees from the product list.
Click Invoices or Enquires | Invoices from the menu.

A range of filters are available to help find invoices.
Multiple clients can be selected in Client, Client Manager and Client Partner to view and find the invoices.
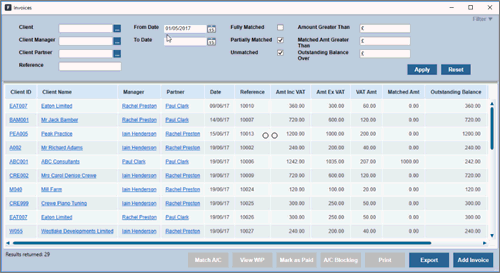
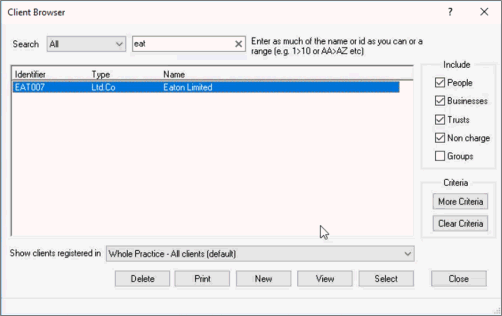

Clients can also be listed using the comma without using the Client Browser.
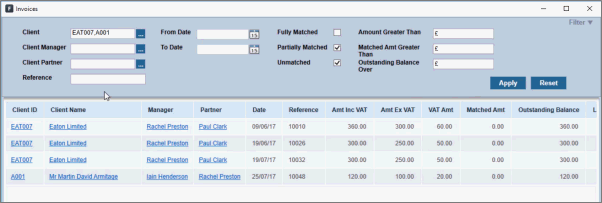
Invoices can also be found by using any part of the reference number. For example, find all the invoices containing a number in the reference.
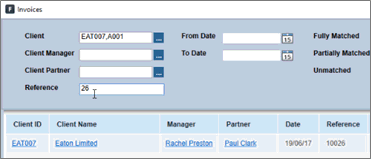
You can also find all the invoices where the outstanding balance is over a specified amount.

Amount Greater Than and Matched Amt Greater Than can also be searched via the filter process. The filter can also be reset at any time.
Drill-down into client details and contact information regarding payment is also accessible via the new screen.
By clicking the client name, the client details can be accessed directly from the screen.
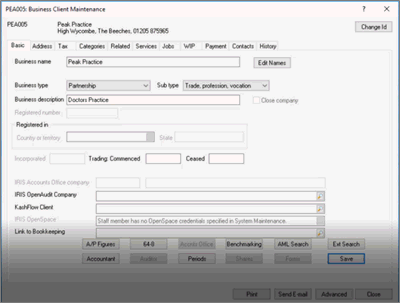
The manager’s details are also available.

Type in a file name and click Save.
Select the invoice link to access the document. Close out of the screen and then click OK.

Invoices can also be mark as paid.

A screen in Time that makes it easy to search for Timesheets review them and post to the ledger.
Select Time from the product list.
Click Timesheets from the toolbar.
This screen shows all important information from each timesheet without the need to open it. You can see the time posted, time expected, and time remaining. Also the breakdown of charges and totals can also be seen.
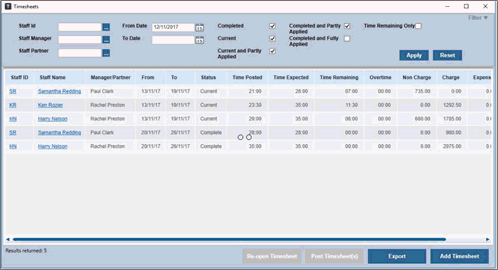
There is also a number of search criteria available including staff member, staff manager, staff partner, time period and the status of the timesheets.

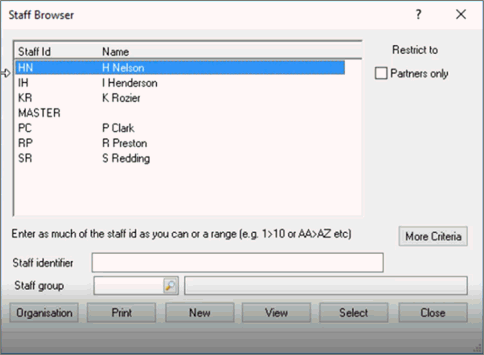
Staff Manager and Staff Partner are now multiple selection.
For example, multiple partners can be selected to view the time sheets of all the staff members.

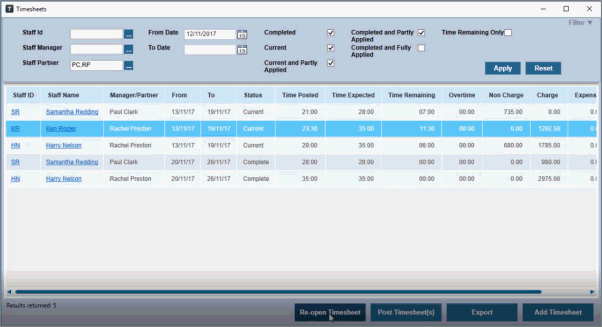
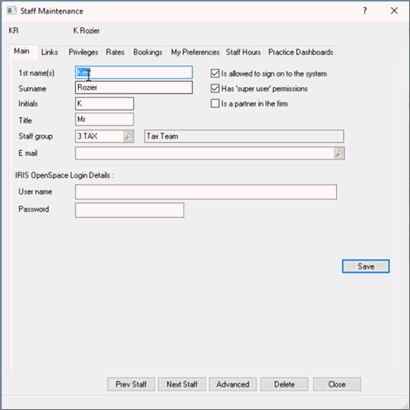
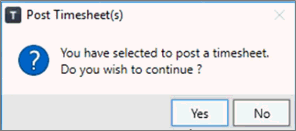
You can also post selected timesheets to the ledger directly from this screen.
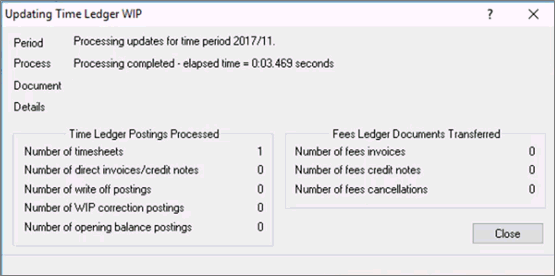
The timesheets have now been posted to the ledger.