 |
 |
In IRIS Time and Fees there are various methods to post a Invoice.
This topic explains each method allowing you to find the most suitable for your business.
Open IRIS Fees.
Click Enquiries | Client Summary
Click the magnifying glass and select the appropriate client.
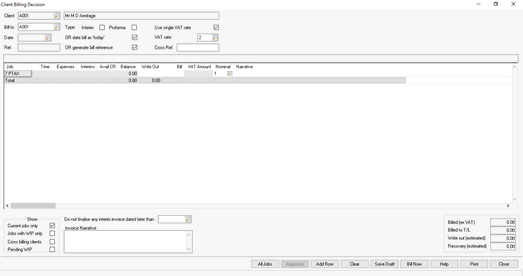
Click Billing and the following screen displays.
Enter a Bill amount and a Write Out amount, (if time needs to be reduced on the clients account through the bill being posted). Right-click on the Write Out column to choose different methods of writing out time.
Write out to date - any postings made to the client/job will be automatically matched against this bill until the date entered is reached.
Write out to value - the value entered will be deducted from the client/job.
Write out All Outstanding - the total balance on the particular job for the client will be written out.
Write out selected postings - this allows users to pick particular WIP postings to be written out on the client/job.
Select the Bill Type; Final Bill or an Interim Bill. By default Interim is not selected (at the top of the screen). Select Interim to post an interim bill.
The invoice Date/Ref can be changed. These fields will initially pick the date as today and automatically assign an invoice reference. To amend these fields, deselect OR date bill as 'today’ and enter the invoice date required. To change the invoice reference, deselect OR generate bill reference and enter a chosen reference.
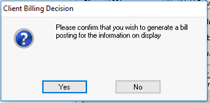
Alternatively, invoices can be posted via Ad hoc billing:
Open IRIS Fees.
Click Posting | Ad Hoc Posting
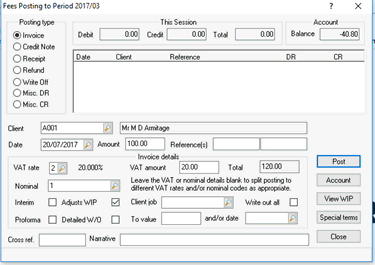
Enter the Client, Date, Amount, Reference(s), VAT details and Nominal code.
To adjust WIP and reduce time on the clients account, select Adjust WIP. To reduce WIP on a single job click the magnifying glass next to Client job and select the appropriate job.
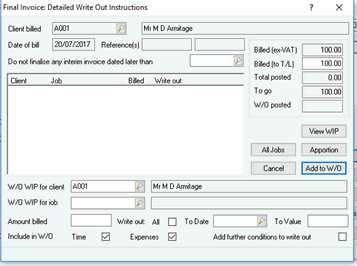
To write out WIP on multiple jobs, select Detailed W/O and click Post.
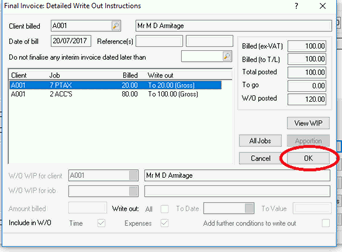
Select the first job and choose how much to bill/write out.
Click Add to W/O.
Repeat this process until the bill amount entered in step 3 has been met.
To generate invoice documents after they have been posted onto the Fees Ledger:
Open IRIS Fees.
Click Reports | Client Documents | Invoices etc.
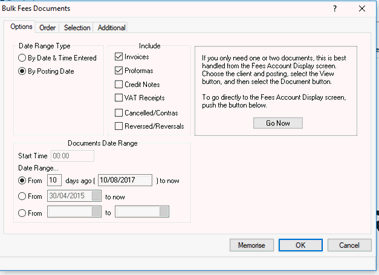
Select Invoices (or Proformas if proforma invoice was posted).
In the Date Range Type section, select whether to generate documents By Date & Time Entered onto the system or By Posting Date they were given.
In the Documents Date Range section, choose the date range for the documents.
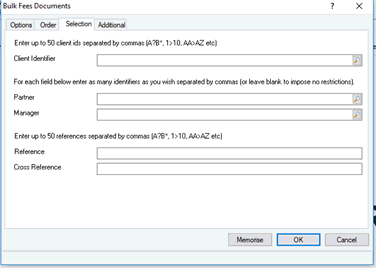
On the Selection tab, enter any required filters. For example, if invoices need to be generated for a particular client manager or for a particular client.
Click OK to generate invoice(s).
