 |
 |
The Export Invoices screen allows to export invoices, including invoice breakdown.
This screen can be accessed from Fees Ledger | Posting | Posting Export | Export Posting to CSV
A ‘Definition’ saves filtering options, by clicking Save As, which can be used to quickly export invoices in the future.
This section of the page is for searching for Clients, Manager or Partners.
Client - Clients can be found by entering comma-separated values directly into the field. Clicking the ellipses button opens the Client Browser to search for clients.
Client Manager/Partner – if the ID is known, Managers and Partners can be found by entering comma-separated values directly into the field. Clicking the ellipses button opens the Staff Browser. Only one manager or partner can be selected at a time.
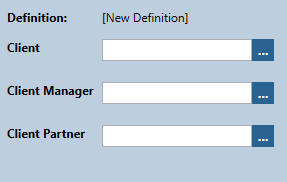
Only full, valid IDs will return results. If an invalid or partial client ID is entered, no results will be returned.
Date fields - dates can be entered manually in the preferred date format of DD/MM/YYYY or can be selected by using the date picker.

The following options relate to the Invoice amount against the outstanding balance. If all options are selected, all status options will be displayed. It can be also further defined by selecting one of the following options:
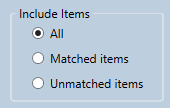
This section should display following Posting type in the exported .csv file.
Changing selections and clicking Save, will save to the same definition as Save As.
Clicking Open will retrieve previously
saved export filtering options.
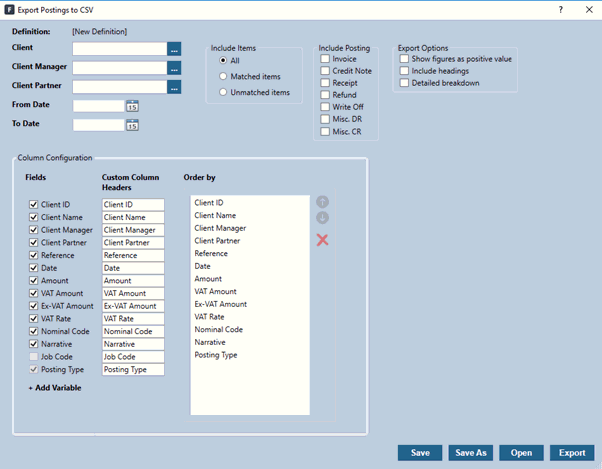
Columns to be exported can be selected under the Fields section. Only the Posting Type field is mandatory and will be selected by default.
Column headers can be customised using the Custom Column Headers text box.
Custom Column Heading will appear as the heading in the exported .csv
file.
Further columns can be selected by clicking +
Add Variable:
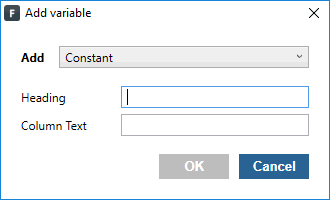
Constant – allows entry of a value
that does not change; remains constant:
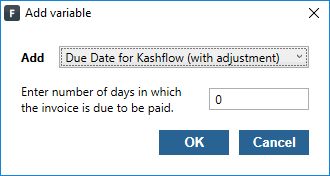
Due Date for Kashflow (with adjustment) – this is a required field in Kashflow import. Number of days can be entered to create a due date.
For example, if 20 days is entered, it will add 20 days to the Invoice
date 01/01/2019 so the due date will be 21/01/2019.
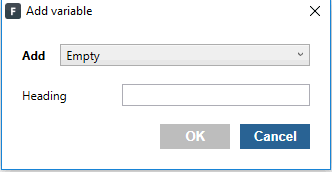
Empty columns can be added to the exported Excel sheet using Add variable – Empty option from the drop-down list.
Heading can be added to this empty column using Heading
text box.
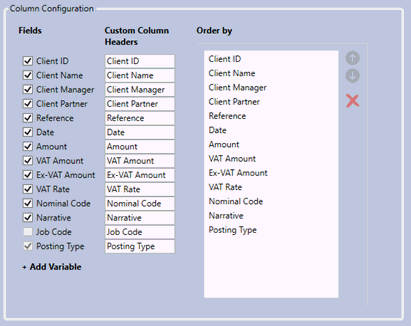
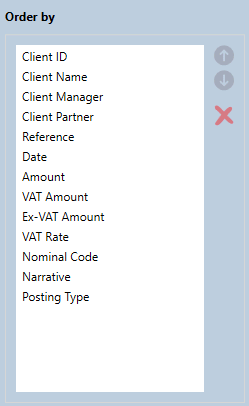
Order by section allows columns to be re-ordered using the up and down arrows. Only the Posting Type field is mandatory. All fields tick boxes will be selected by default.
Columns can also be removed at this stage by clicking the red cross:
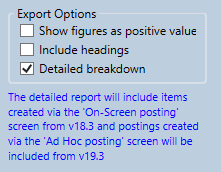
Include headings - selecting this option will include the column headings.
Detailed invoice breakdown - selecting this option will show the breakdown of the invoice by job types.
It also allows Job code field to be selected under Fields.
Show figures as positive value – selecting this option will display all the output figures positive.
Not selecting this tick box will display the Receipt amount as negative
figures in Exported CSV output.
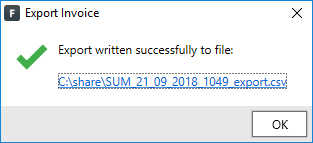
Clicking Export now, will save
the results on a CSV format. Clicking the hyperlink will open the
file location.
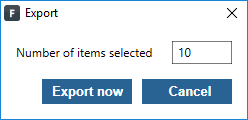
Clicking OK will display the
number of items that are ready to be exported.
To change/view the location where exported files are saved to:
Log in as MASTER.
Go to System Maintenance | Practice | Practice Options | F/T tab